| Plan Availability | Starter | Pro | Premium | Enterprise |
 |
 |
|
|
For customers with contracts starting March 2024 or later, feature availability is based on your pricing tier. If interested, contact your CSM or our Sales Team to discuss pricing options.
Goldcast enables you to monitor event user activities via Webhooks. In this guide, we walk you through the step-by-step process of connecting your Goldcast event to any external platform using webhooks.
What are webhooks?
Webhooks connect two different applications. These are the automated calls in which a condition or event is set on the workflow/API call, and the action takes place only when the specific event or condition occurs. You can consider a webhook a lightweight API, as it offers only one-way data sharing triggered by events. Check this guide for more information on connecting web apps with webhooks.
Prerequisites
To set up Webhooks in Goldcast, you require the following:
- Organization Admin or Integrations Editor access to Goldcast Studio
- Webhook URL and Headers to be set up
Enabling webhooks in Goldcast Studio
Heads up! Before you begin the Webhooks integration process, we recommend logging into your Goldcast Studio to avoid doing so later in the setup process.
Installing webhooks
- Open the Goldcast Marketplace page and click the Webhooks tile.
- Click the Connect App button to initiate the installation. If you're located in the European Union, click the Connect App in EU button for region-specific settings.

- Upon clicking, you will be redirected to the Integrations page in your Goldcast Studio, and a pop-up titled Install Webhooks will appear.
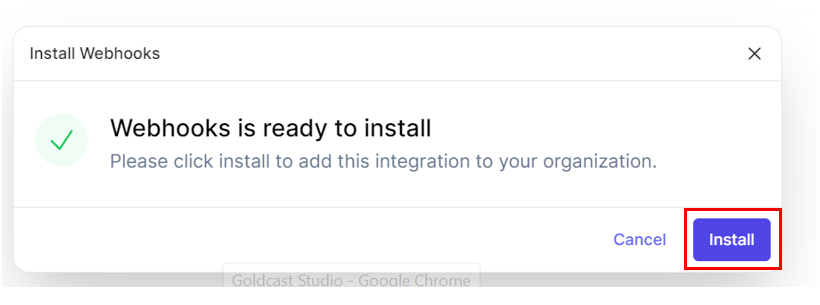
- Click the Install button to complete the installation.
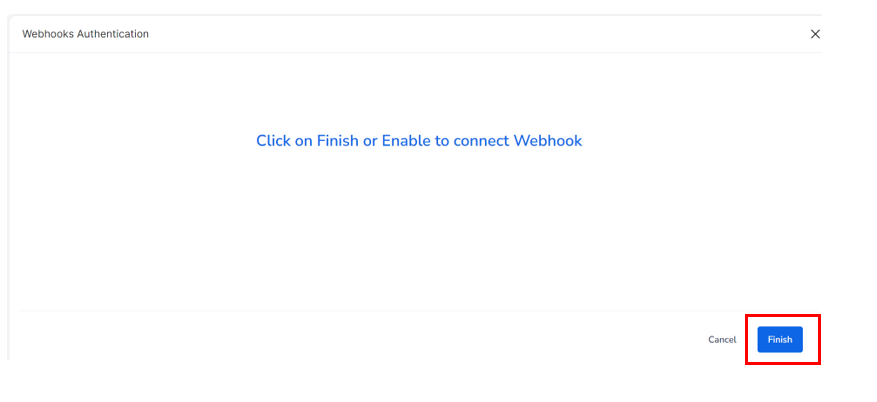
- You will receive a confirmation pop-up for the installation, and then you will be redirected to a screen to complete the authentication process.

- Click the Finish button to complete the Integration Setup for Webhooks in your Goldcast account.
Webhooks integration is a Goldcast built-in functionality. So, you don't need to provide any extra authentication for the setup.

Configuring webhooks
Pro Tip: Check this guide to look at the structure of the payload of activities that will be sent to your Webhooks.
Follow these steps to set up the Webhook integration for an event/webinar:
#1: Open your event/webinar in Studio
Log in to Goldcast Studio with your credentials. Click the Events tab and open your preferred event/webinar. You will be redirected to the Event Dashboard page.
#2: Navigate to the Integrations Tab
Click the Integrations tab on the left-side panel. For webinars, the Integrations tab is on the top.
#3: Navigate to webhooks
Once on the Integrations page, click Webhooks integration.


#4: Create a new webhook
- Click Create Webhook to create a new webhook. This action opens the Create New Webhook pop-up on the screen.
- Enter a name of your choice for the Webhook
- Enter the Webhook URL to which you want the activities to be sent.
- If you have a connection with security, please add the Headers in the format of the key-value pair needed for successful authentication and authorization.
- Click on Trigger Activities to select the custom activities you want Goldcast to send to your Webhook.

Heads up! Refer to the list of our activity triggers to see all the custom activities Goldcast can send to your Webhooks.
Editing a webhook
- To modify a created Webhook, navigate to the Integrations tab at the event level.
- Click on the already configured webhook to open the Webhooks Settings drawer with all the configurations selected.
- Make the required changes and click Save.
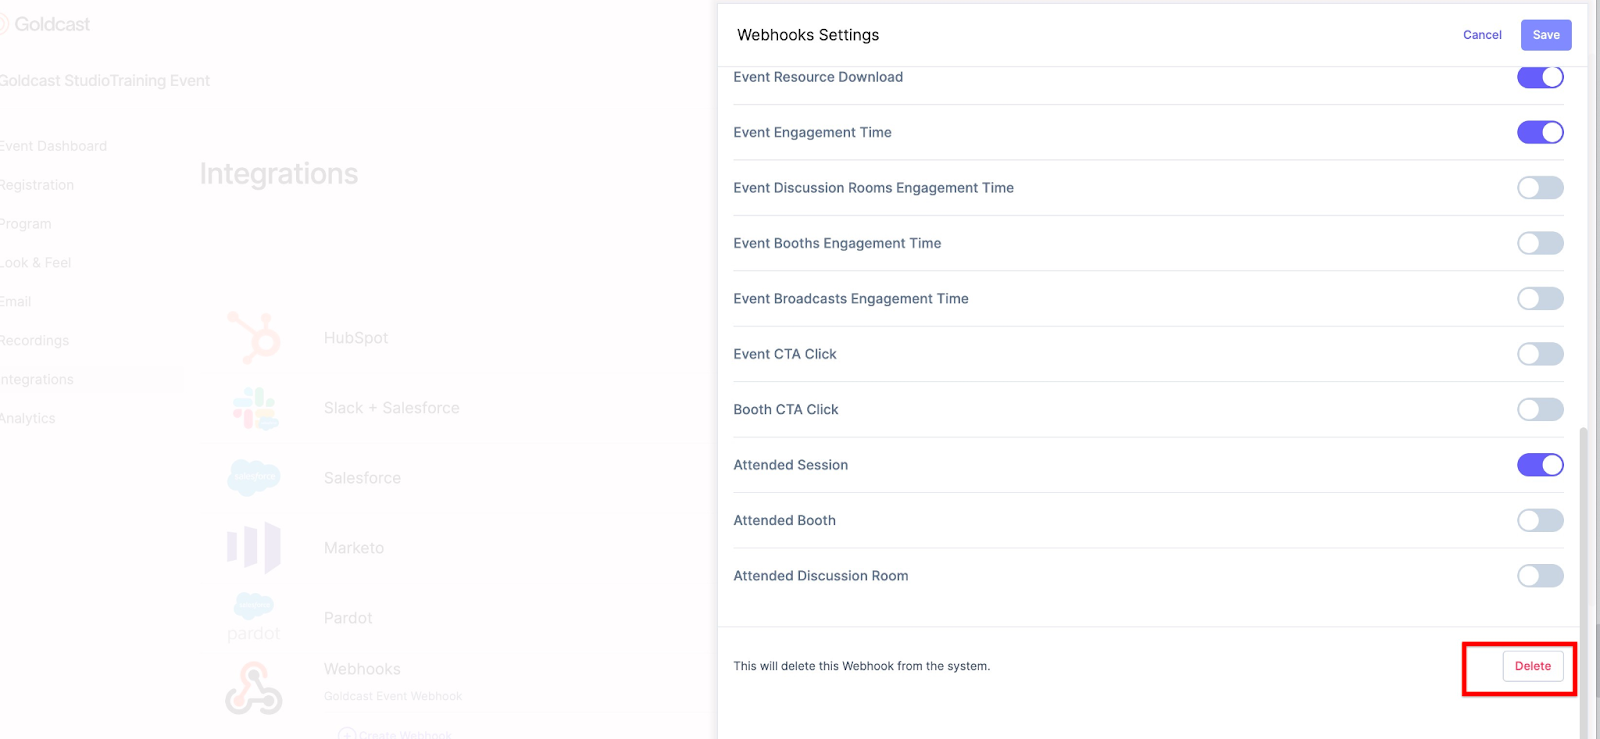
Deleting a webhook
- To delete a configured Webhook, navigate to the Integrations tab at the event level.
- Click on the already configured webhook to open the Webhooks Settings drawer.
- Scroll down to find the Delete button. Click it and confirm Delete in the pop-up on the screen to successfully remove the Webhook setup for your event.
FAQs & Troubleshooting
Who can set up webhooks in Goldcast?
To install a webhook, you must be either an Organization Admin or an Integrations Editor. Only these roles can start the webhook installation process at the organization level.
In addition to Organization Admins and Integrations Editors, Team Admins and Event Admins can create and manage webhooks for specific events. However, Team and Event Admins can only handle webhooks for events they have access to, while Organization Admins and Integrations Editors can manage webhooks for all events.
Does the webhook integration trigger a separate post for each event action?
Yes. For example, if a user attends your webinar and asks two questions in the Q&A tab, submits one poll response, and downloads a resource from the documents tab, you will receive separate posts for each event action. In this case, you will receive four posts for the user.
What are the IP addresses for webhooks?
The US webhook IP addresses are:
52.40.200.24852.39.10.6152.26.59.155
For the EU, the IP addresses are:
108.129.66.8354.73.116.15563.33.233.130