Table of Contents
|
Feature Availability |
Starter | Pro | Premium | Enterprise |
 |
|
 |
|
For customers with contracts starting March 2024 or later, feature availability is based on your pricing tier. If interested, contact your CSM or our Sales Team to discuss pricing options.
The RTMP In feature enables speakers and event organizers to seamlessly broadcast live streams from external platforms directly into a Goldcast event. This process occurs in real-time and is especially beneficial for events hosted outside the Goldcast platform, such as those on Zoom or in-person locations, using tools like Restream or OBS Studio. With this feature, you can still offer virtual attendees an engaging and interactive experience within Goldcast.
Recommended streaming specs for RTMP sessions
| Video Size | 16:9 aspect ratio |
|---|---|
| Video Resolution | Ideal resolution is 720p or 1080p |
| Video Bitrate | 8 - 10 Mbps |
| Video Frame rate | 24 - 30fps |
| Video codec | H.264 |
| Video Profile | Any |
| GOP | 10-15 |
| Audio Codec | AAC |
| Audio Bitrate |
128 Kbps, stereo |
| Audio Sample Rate | 44.1 KHz |
| Buffer image prior to the video | 1920 x 1080 |
Limitations of RTMP sessions
You cannot use the following audience engagement features for these sessions:
| What’s unavailable? | What’s available? |
|---|---|
|
|
Creating an RTMP session
You need to create an RTMP channel for your RTMP session creation.
Points to Know:
- Events can have up to five RTMP channels.
- The RTMP feeds will not broadcast to your event before the event start time.
- Once an RTMP channel has been connected to a stream and the channel is live, it cannot be deleted.
To create an RTMP session and channel:
For Events
- Log in to Goldcast Studio and use the Events tab to open your preferred event.
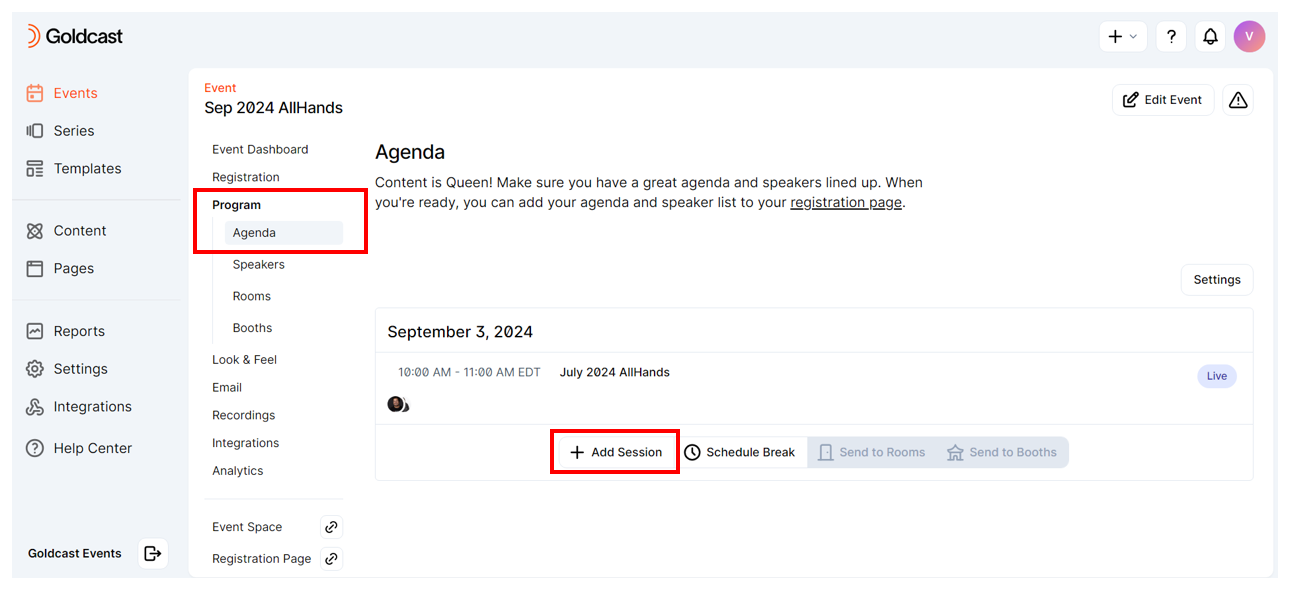
- Click Program → Agenda on the left menu to open your event Agenda.
- Click the +Add Session button.
- Select RTMP session type
- Enter a session title, start time, and end time (Heads up: The session time must fall during the event’s start and end time).
- Select an RTMP channel. If you’ve previously created channels for this event, you can select one from the dropdown. If you have no channels, you can add one by entering the channel name and clicking Save to the right. Once the channel is successfully saved, you can continue editing your session.
- Click Save to save the session.
- You will receive a pop-up saying Broadcast session created successfully.
You can use the same RTMP channel for multiple sessions. This is helpful, when your event has multiple sessions with each using the same source stream. To learn more about the attendee redirection experience between sessions, see here.
Heads Up! You can also change the RTMP channel to which a session is assigned to at any time.
For Webinars
- Log in to Goldcast Studio and use the Events tab to open your preferred webinar.
- Click the Edit Event button on the top-right.

-
Click the Assets tab and set the Broadcast type as RTMP.

- Click Create Channel, enter the Channel Name and click Save.
Click Save on the top-right. Watch out for the success message.

Editing an RTMP session
For Events
- Log in to Goldcast Studio with your credentials, and use the Events tab to locate and open your preferred event.
- Click Program on the menu on the left side of your event and click Agenda.
- Click on the session name you’d like to edit.

- Scroll to the RTMP Channel section and open it by clicking the arrow on the right.
- Click the dropdown to change the channel selection or create a new one.
- Click Save in the upper right corner of the window.

For Webinars
- Log in to Goldcast Studio with your credentials, and select the Events tab to locate and open your preferred webinar.
- From the webinar dashboard, click the Edit Event button and use the Assets tab to modify the RTMP broadcast.
- Scroll to the RTMP Channel section and open it by clicking the arrow on the right.

- Click the dropdown to change the channel selection or create a new one.
- Click Save in the upper right corner of the window.
Connecting an RTMP channel to an external streaming platform
Pro Tip: If you plan on connecting your RTMP Channel to a Zoom live stream, please review the platform's live streaming documentation in addition to the information provided in this section.
After you've created an RTMP session, you will have access to the Stream URL and Stream Key, which will be used to connect the channel to your live stream. Click the Link and Key icons on your agenda to copy your stream URL and stream key from the session. We recommend storing them in a note or document for later reference.
While the exact location will vary depending on your platform, you will typically paste this information into fields provided in the Stream Settings for your streaming platform.
Heads Up! To complete the setup process, particularly on Zoom, you may need to bring the Channel live first.
Testing an RTMP session
Before your event begins, you will want to test your RTMP channels to ensure the connection has been established correctly.
For Events
RTMP Channel testing can be performed from the Agenda section on the menu on the left side of your event.
- Find the session you would like to test. Before starting the test, the channel name will be listed on the left side of the tile with a red dot, indicating the channel is not running.
- Click the Test Rtmp In button.
- The button will display Connecting…
- Once the channel loads, it will be live for 2 hours. The red dot will turn green, and the status will say, Channel active until xx: xx time
- Click the Watch button and then click Watch Live to view the stream
Now, you can confirm that your stream is set up correctly and is visible inside Goldcast.
For Webinars
- Log into Goldcast Studio and open your preferred webinar.
- From the webinar dashboard, click the Edit Event button, and navigate to the Assets tab.
- Before starting the test, the channel name will be listed on the left side of the tile with a red dot, indicating the channel is not running.
- Click the Test Rtmp In button.

- The button will display Connecting…
- Once the channel loads, it will be live for 2 hours. The red dot will turn green, and the status will say, Channel active until xx: xx time
- Click the Watch button and then click Watch Live to view the stream
Now, you can confirm that your stream is set up correctly and is visible inside Goldcast.
Best practices
Pro Tip: We highly recommend adding a failover key for RTMP In broadcasts, as it helps prevent service disruption.
What is a failover key?
As the name implies, the failover key is a backup stream that ensures uninterrupted live streaming in case the primary RTMP stream fails. It acts as a secondary backup channel if the primary stream becomes unavailable.
How does it work?
If the primary RTMP stream goes down (due to downtime or other reasons), Goldcast will automatically detect that data has stopped on the primary stream and switch to the backup stream. This ensures your session continues seamlessly, without any noticeable interruption for the audience.
How to copy the failover stream key and URL
Copy the failover stream key and URL from Goldcast and paste it into your streaming platform.
For Events
- Open your preferred event in Goldcast Studio and navigate to Program → Agenda.
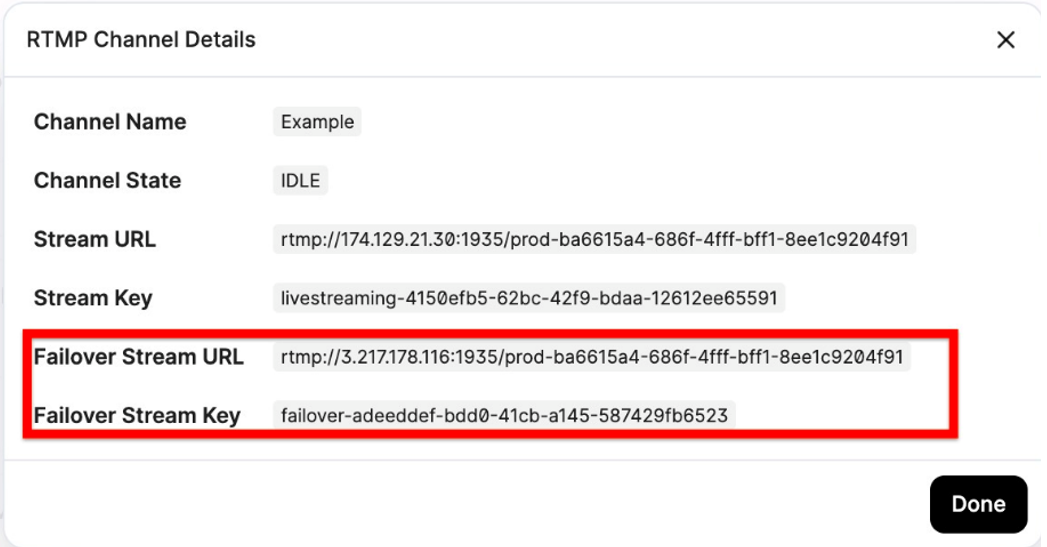
- On the agenda page, navigate to your RTMP session and click the info
icon to its right.

- Copy the Failover Stream URL and Key from the popup.
- Paste the details in your streaming platform.
For Webinars
- Open your webinar in Goldcast Studio, and click the Edit Event button, and navigate to the Assets tab.
- Navigate to your RTMP session and click the info

- Copy the Failover Stream URL and Key from the popup.
- Paste the details in your streaming platform.

The exact location for where to paste the failover stream URL and key will vary depending on your platform. Check out these guides on how to enter this info into a few popular platforms: