| Plan Availability | Starter | Pro | Premium | Enterprise |
| Add-on |  |
|
|
For customers with contracts starting March 2024 or later, feature availability is based on your pricing tier. If interested, contact your CSM or our Sales Team to discuss pricing options.
Overview
The Pardot Field Mapping feature lets you map Goldcast’s Standard and Custom Event User properties to your Pardot Prospects. In Goldcast, standard fields are mapped at the organization level, while custom fields are mapped at the event level. In this article, we explain how to map your standard fields. For custom field mapping, refer here.
Before You Begin: Make sure your event registration forms are set up to collect the Goldcast properties you’ve mapped to Pardot Prospects. If you aren’t collecting registrant data for your mapped properties, no data can be sent to Pardot. For more information about how to create and assign forms for your events, refer Creating and Editing Registration Forms.
Heads Up! To utilize this feature, your Pardot instance must be configured with API Version 4 or higher.
Initial Setup
To set up your Prospects mapping for Pardot in the Goldcast, you should install and connect your Goldcast org to your Pardot account.
- Login to Goldcast Studio using your credentials.
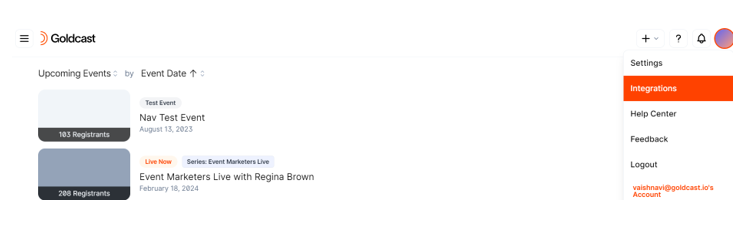
- Click on the Avatar logo in the top right corner of your screen.

- Click on Integrations and navigate to Pardot Integration.

- Navigate to the Prospect Field Mapping Section and click on Edit to configure or modify.
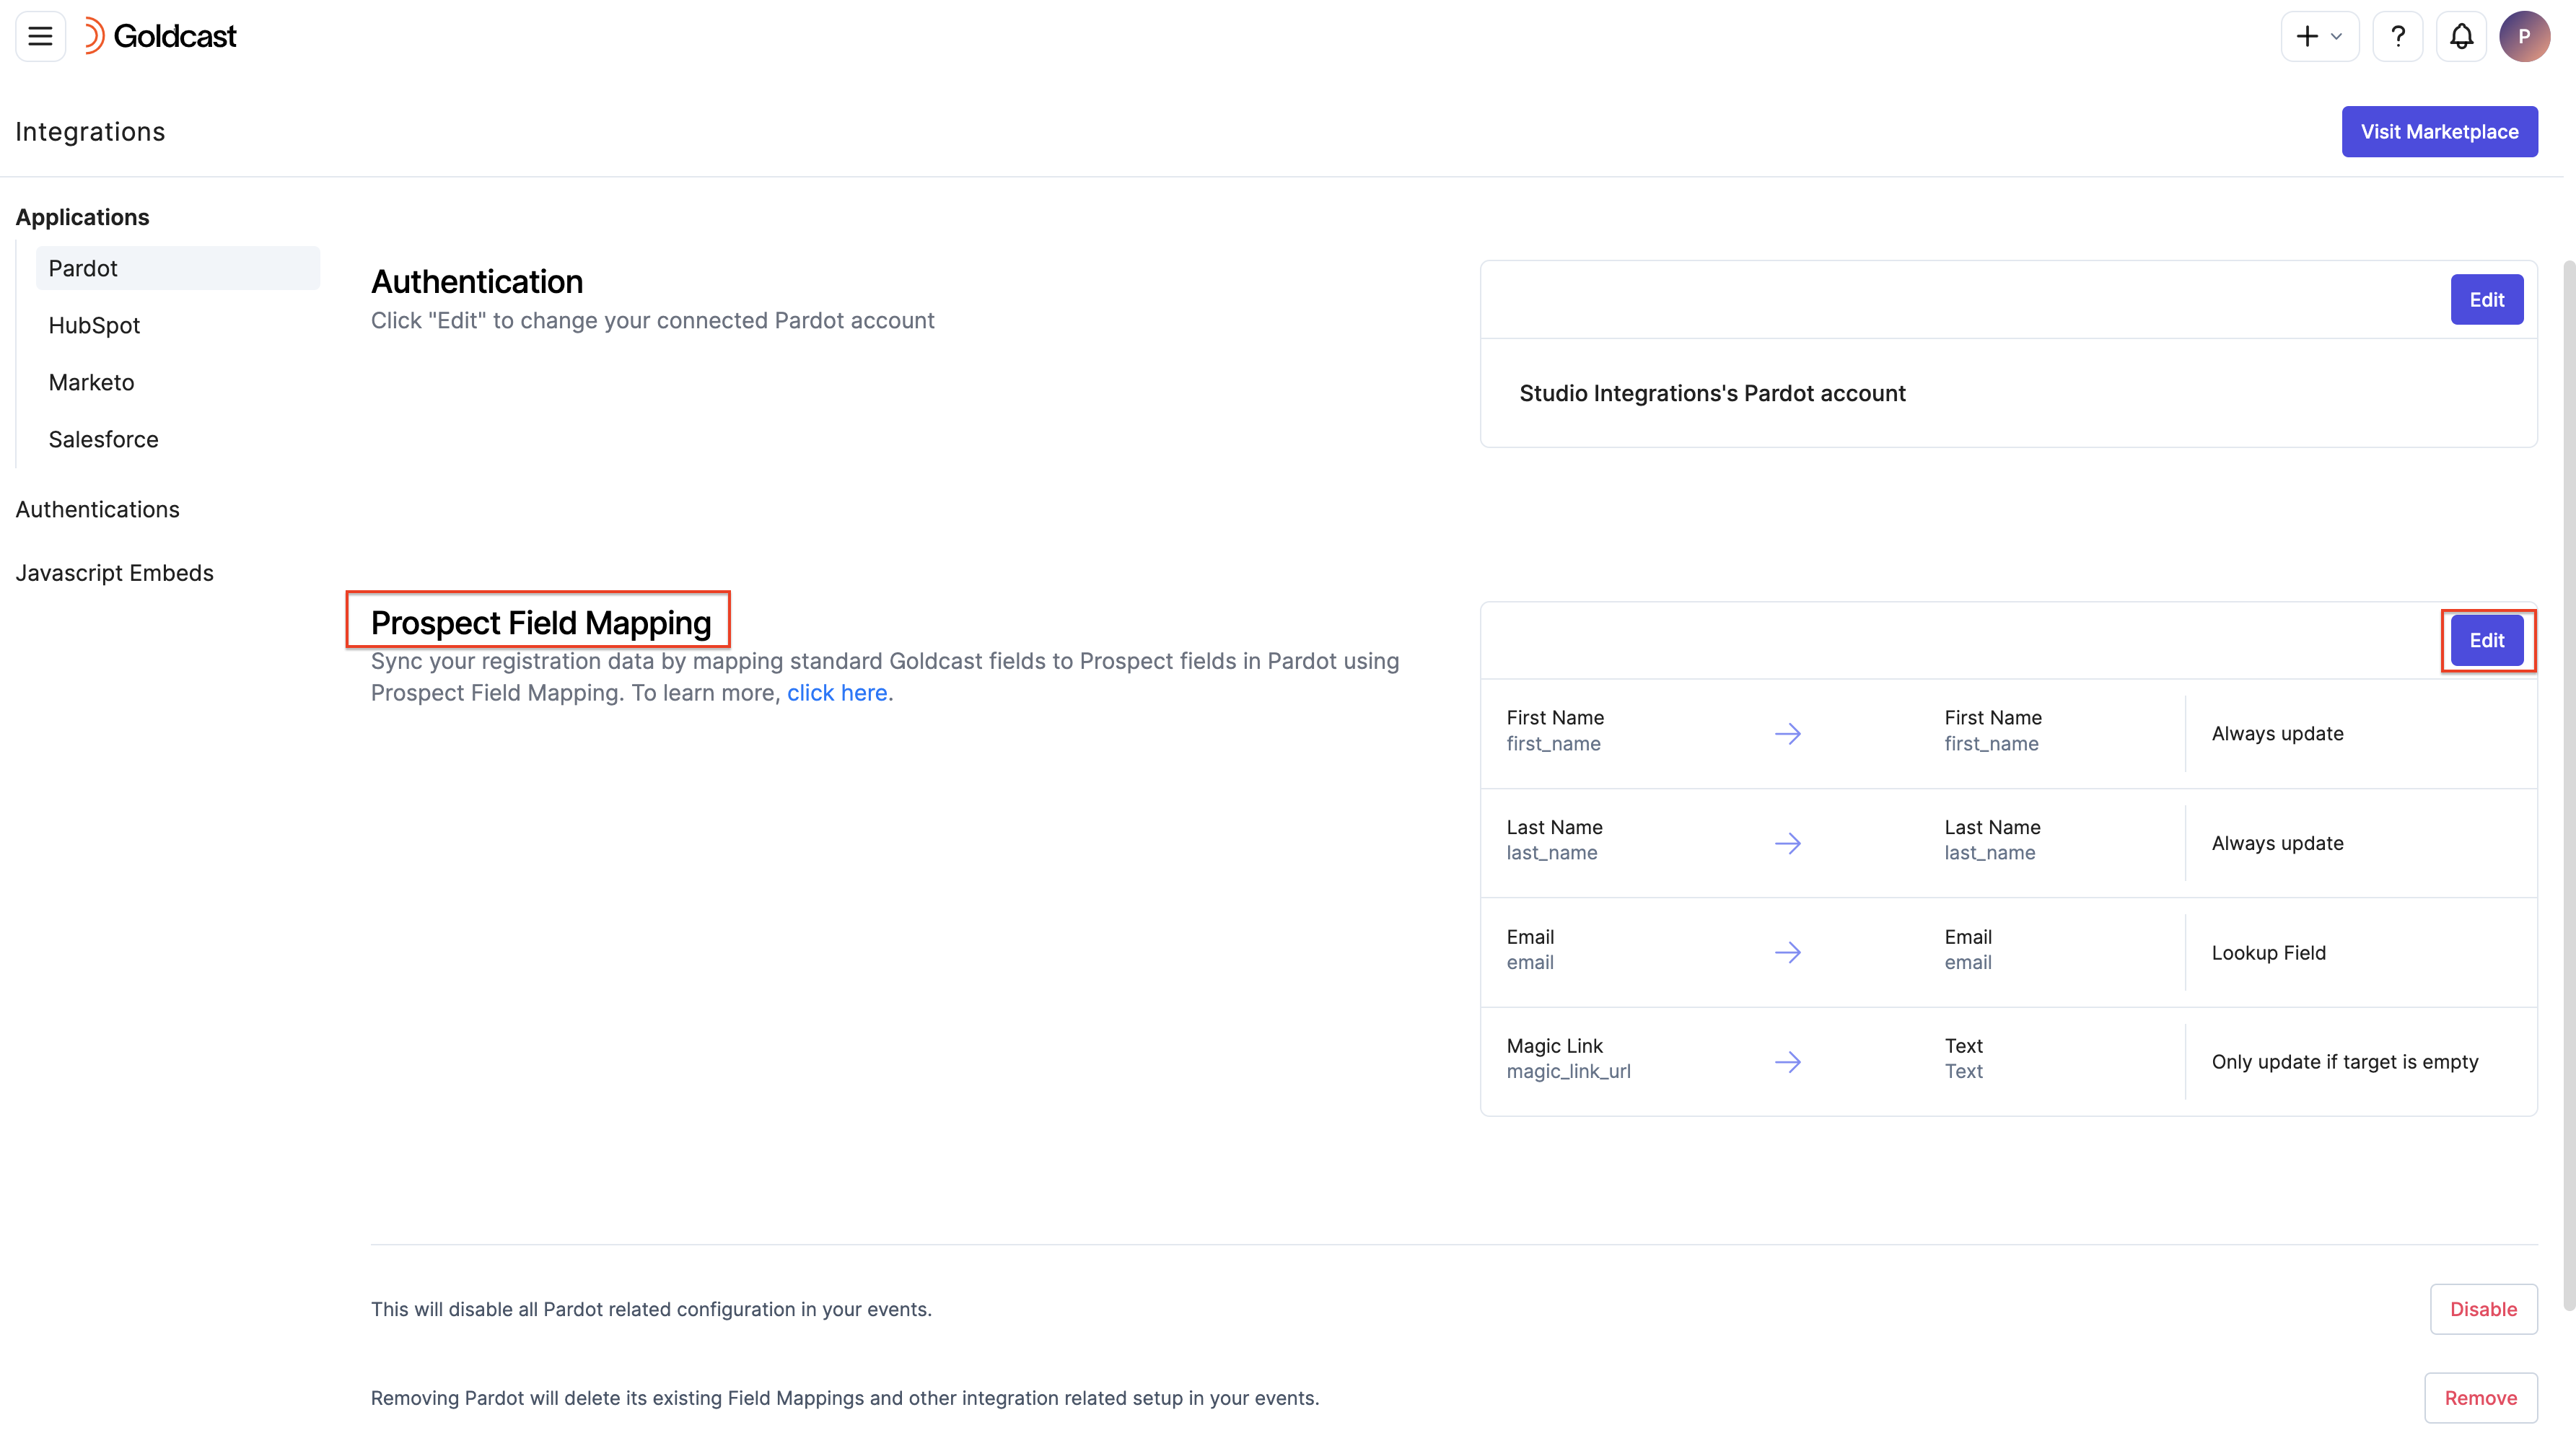
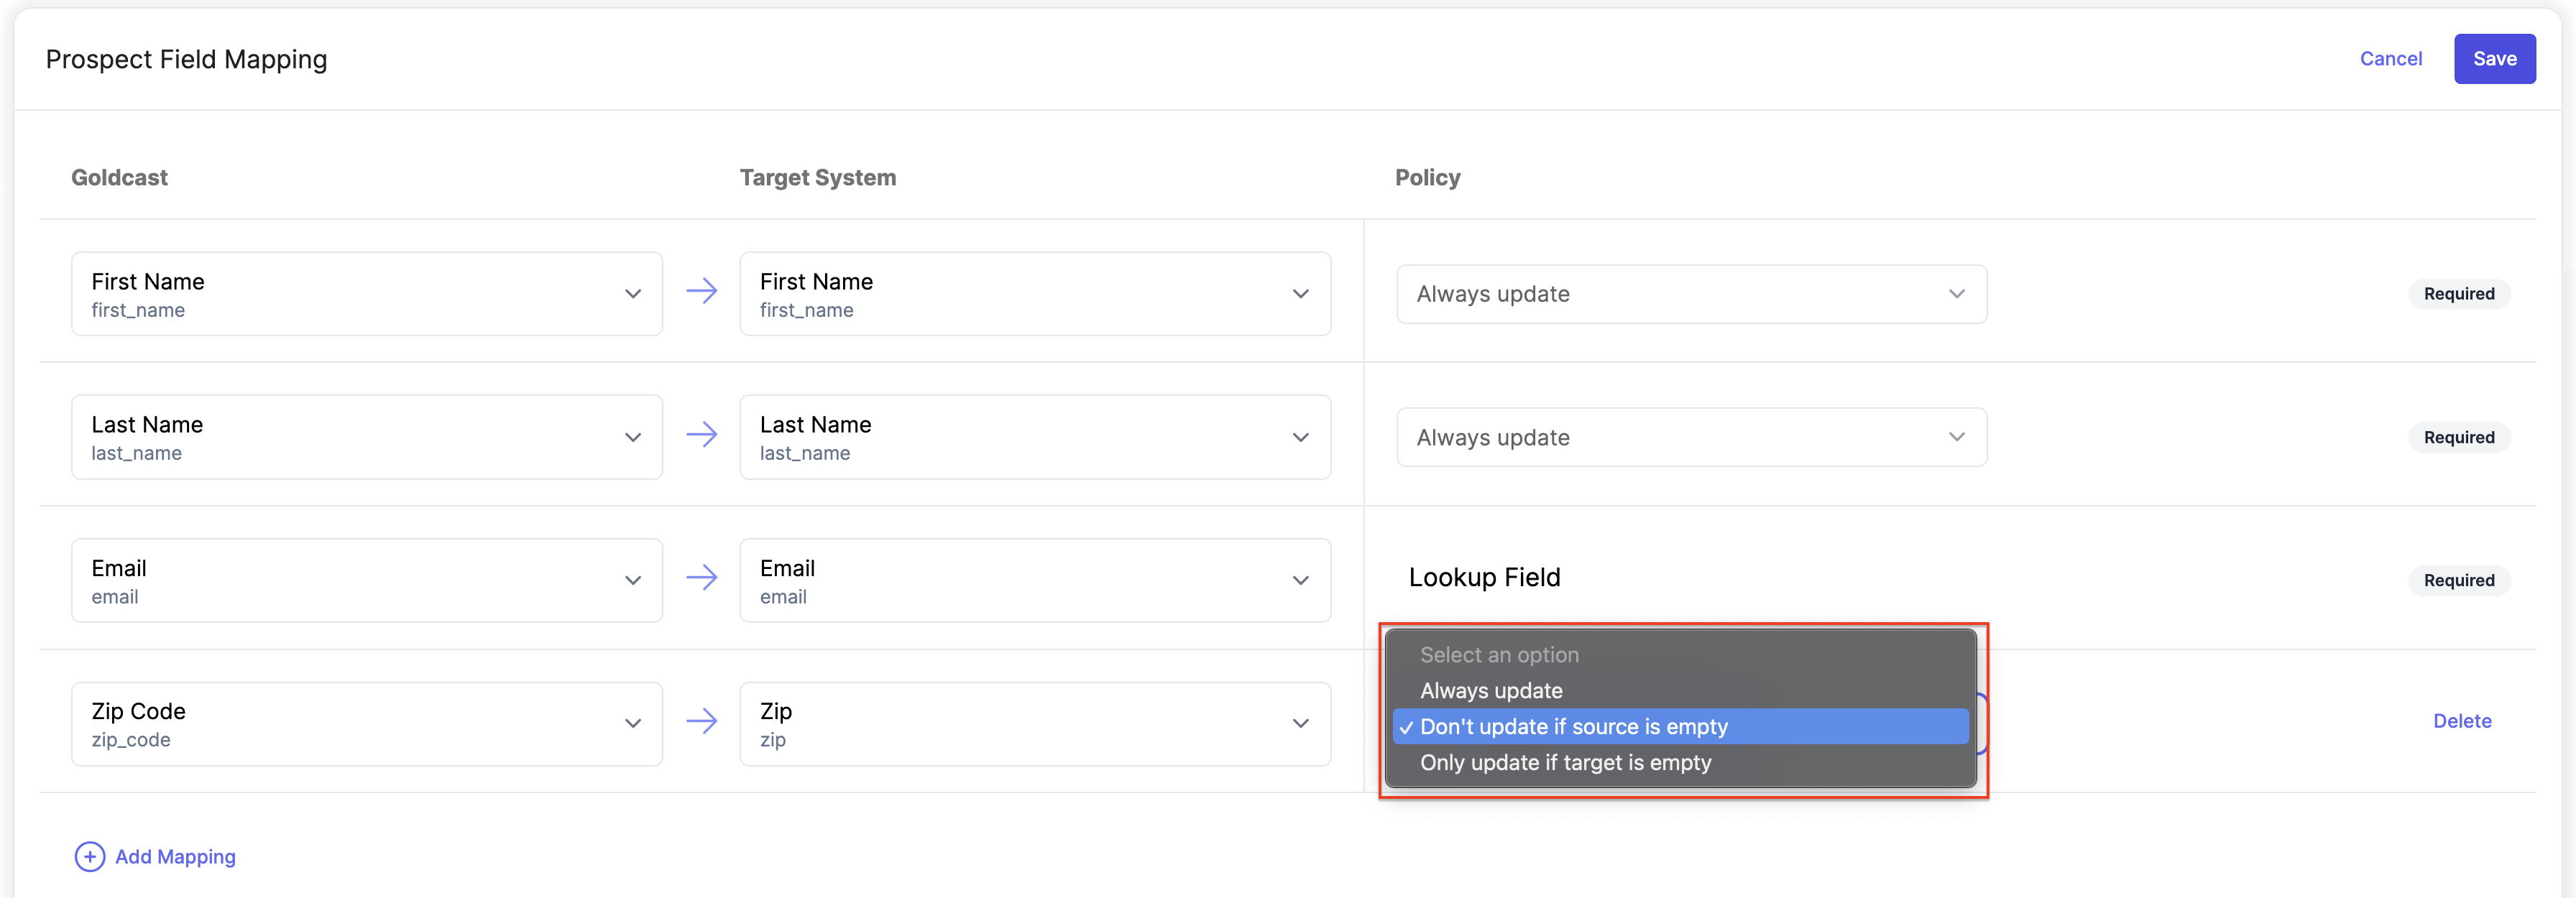
You will now be able to see a screen that lets you map your Goldcast Standard properties to Prospect Properties in Pardot. Make sure you can see 3 default mappings already set up for First Name, Last Name and Email. Also, Email being a unique field in Goldcast used to identify an event registrant, the update policy for the Email field cannot be modified.
 Note: The Policy(Update Policy) denotes how the fields in Pardot will get updated upon change in Goldcast Fields. We have three options for the Update policy. With the AMPSEA in Pardot, if there are multiple prospects in Pardot with the same email already existing, we choose to update the OLDEST record in your account.
- Always Update: This option updates your Prospects fields in Pardot always when your mapped field in Goldcast gets updated.
- Don’t update if source is empty: This option will not update your Prospects fields in Pardot if the mapped field in Goldcast is empty(blank).
- Only update when target is empty: This option will only update your Prospects fields in Pardot if the mapped field in Pardot is empty(blank).
Configuring Prospect Field Mapping in your Goldcast org
Setup your new Prospects mapping from the record created on the screen. This will consist of selecting three components:
- Standard Fields in Goldcast will be collected from your forms.
- Prospects Fields in Pardot that will get updated.
- Update Policy: This is the behaviour for Prospects Field Mapping to update target fields in Pardot upon registration.
- To add a new mapping, click the Add Mapping button displayed on the bottom of your screen.
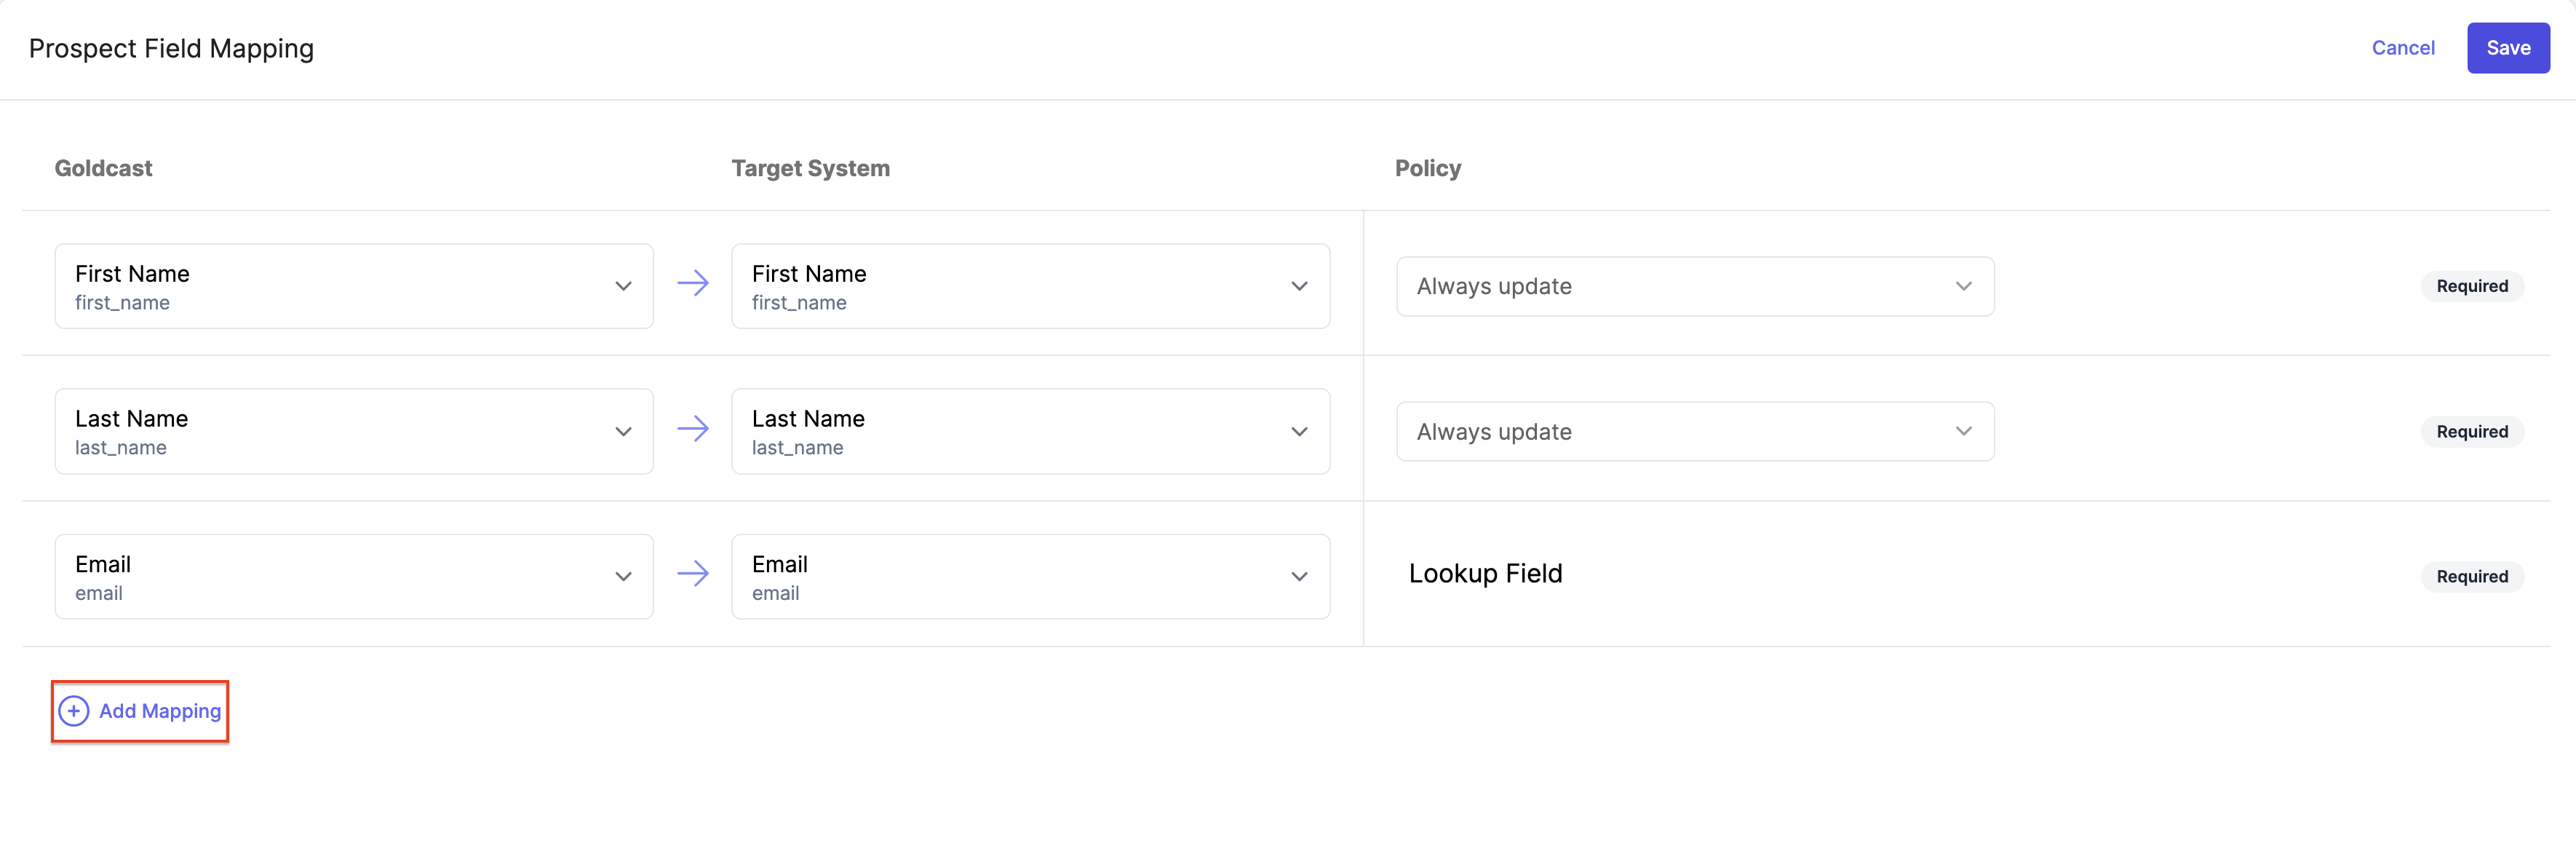
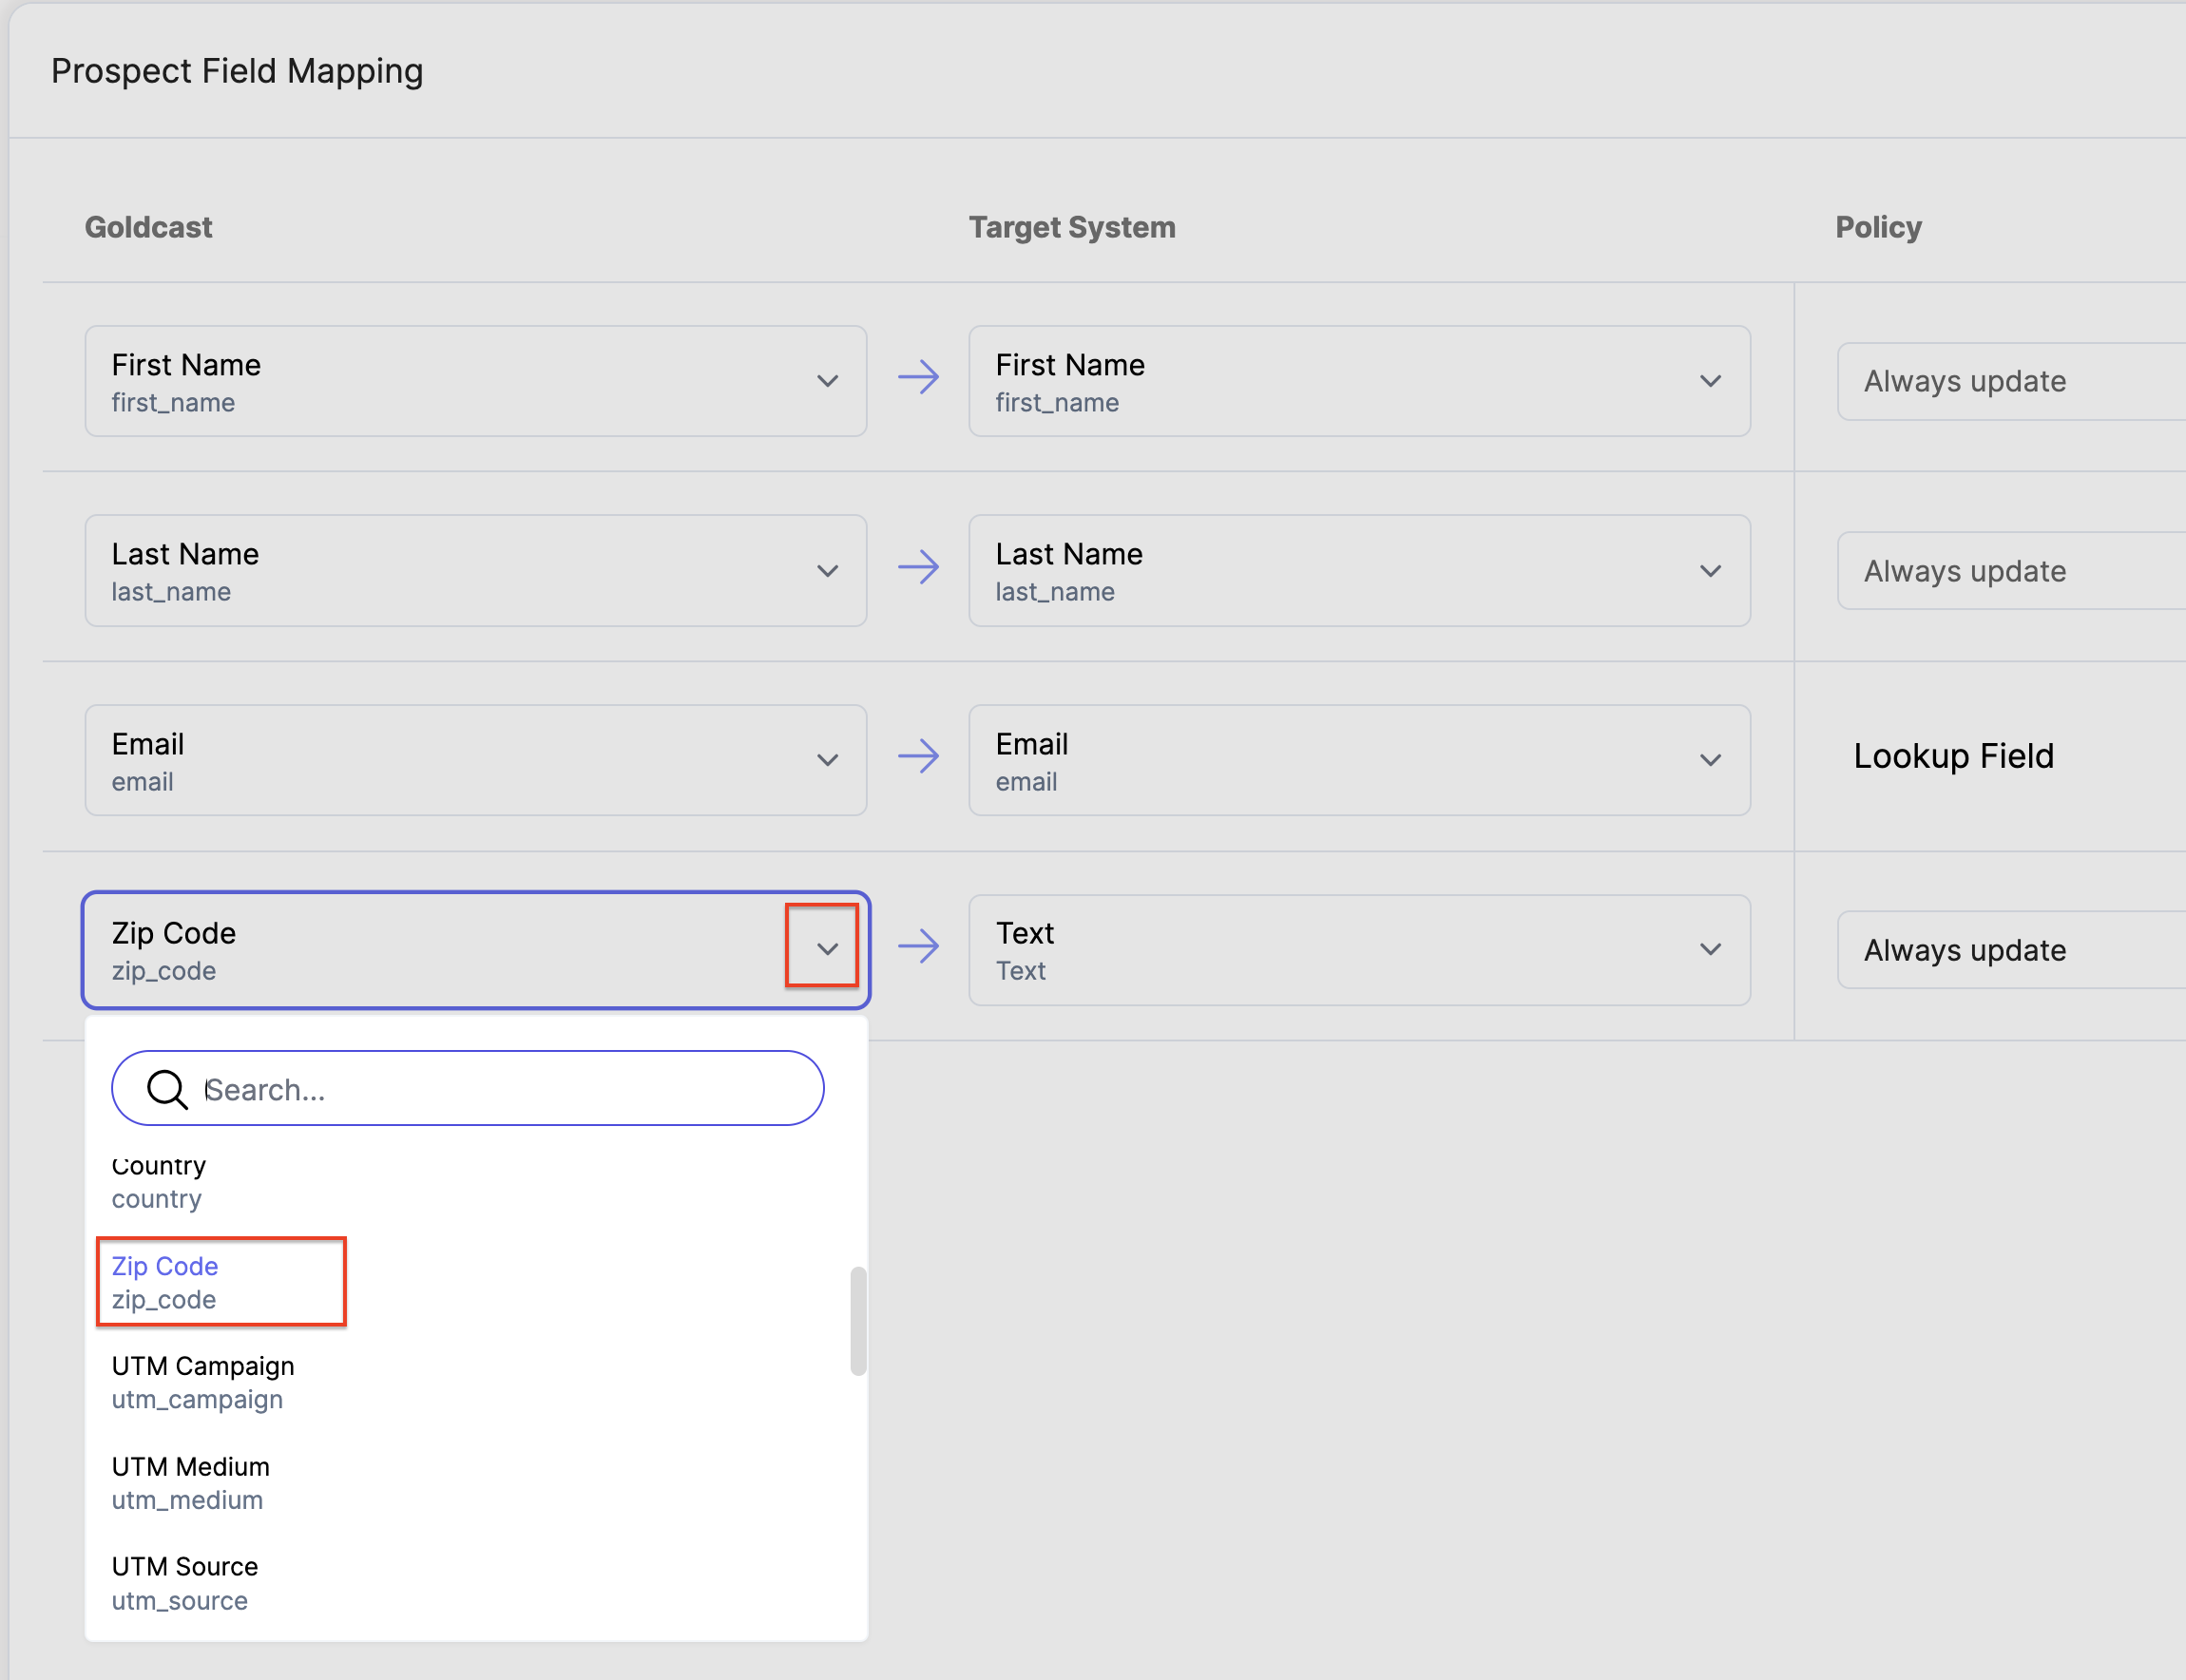
- Select your Field name in Goldcast from the first drop down, for ex. Zip Code.
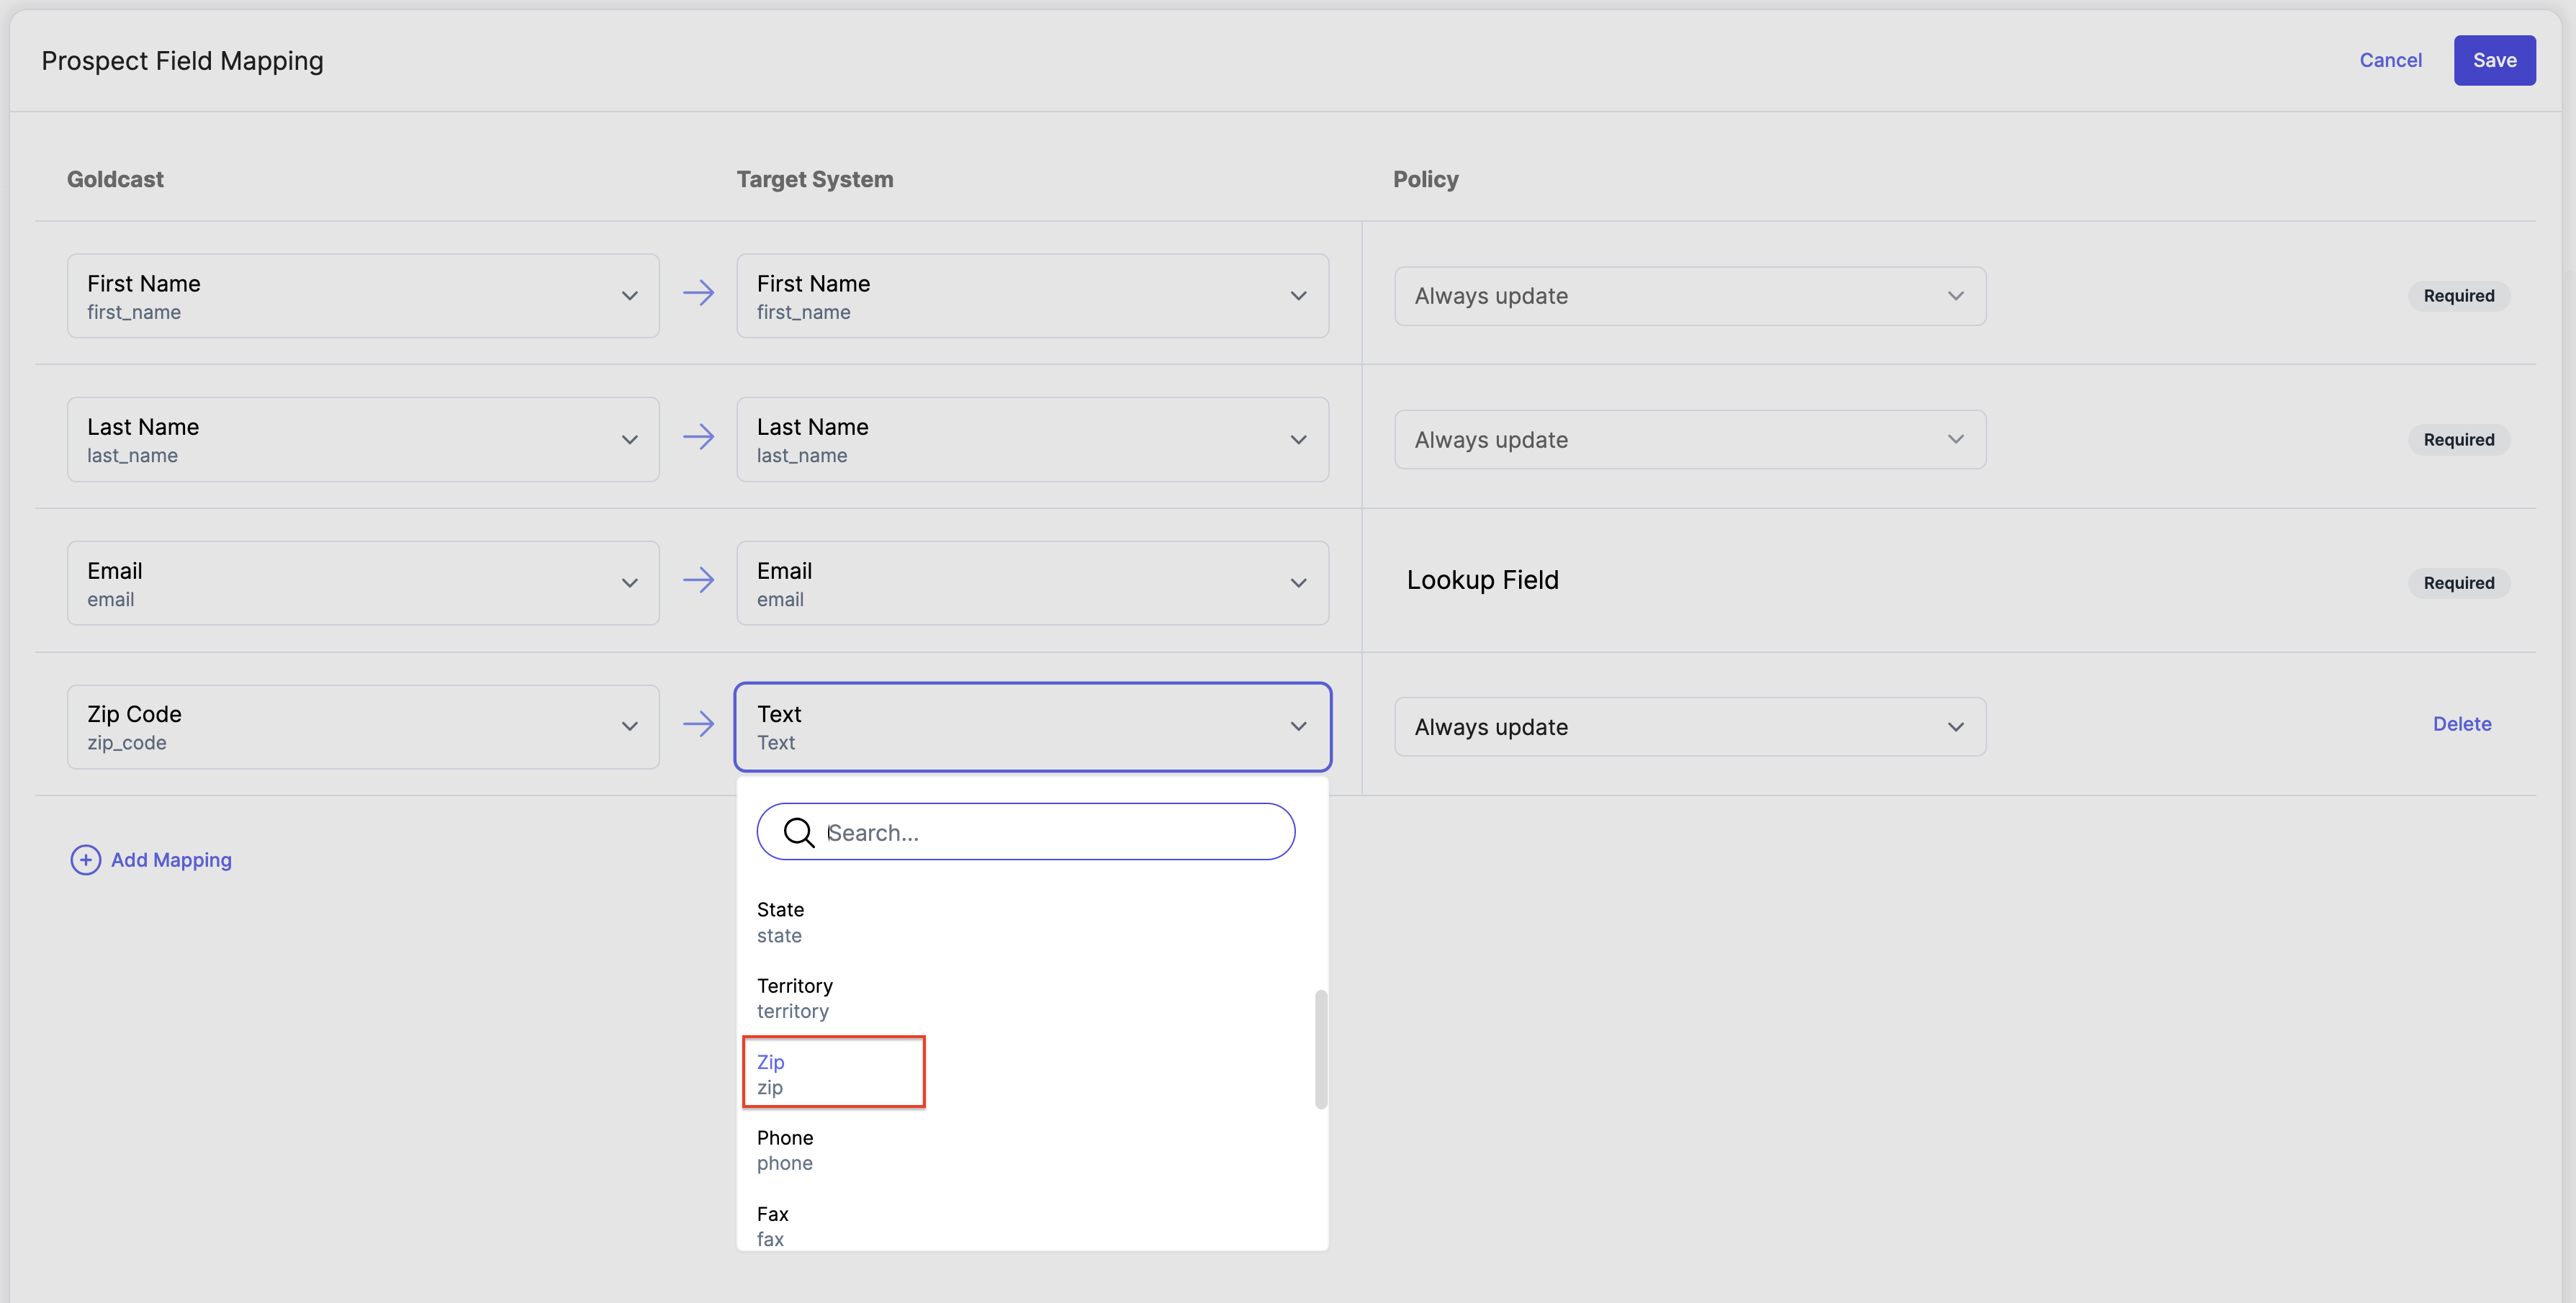
- Select the corresponding Prospects Field name in Pardot. If the data type of the fields do not match you will see an error on your screen.
- Choose the update policy that seems appropriate according to your requirement for Prospects in Pardot.
- Similarly, repeat this process for all the Standard Fields you want to map.
- Once done, click on Save to save the Prospects field mapping for Pardot, this will give you a green pop up with a success message Field mapping created/updated successfully.

Viewing data in Pardot
To see the field mapping in action, you need to set up a form using our Form Builder. For instructions on how to set up a form, refer to Creating and Editing Registration Forms.
IMPORTANT: Make sure the Goldcast Fields you want to map to Pardot Prospects are present in the Form(default form).
Once you have your form set up for the event and field mapping setup is done for the registrations to go through your forms, go to your respective Prospects and open each record to check respective mapped fields to see the results.
You can now map data like UTM parameters, Magic Link for your events, etc., to your fields in Pardot.
To view data in Pardot:
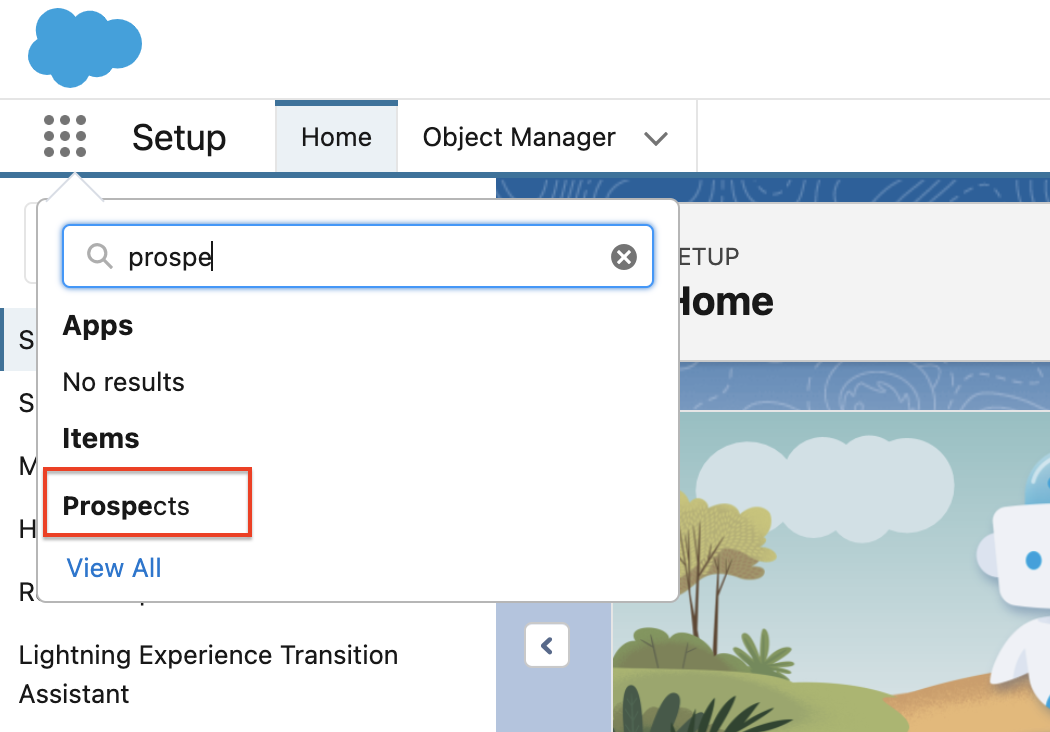
- Select the App Launcher then search for and select Prospects.
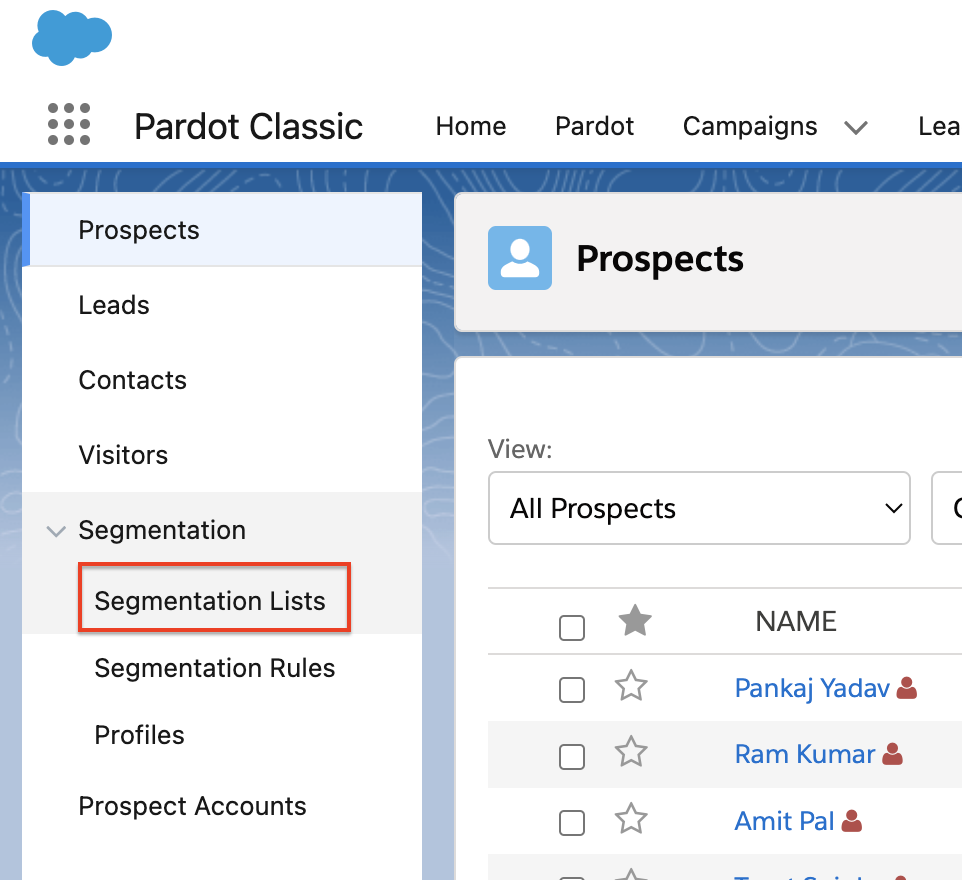
- From the Prospects page, select the Segmentation Lists link from the Segmentation dropdown on the Prospects Panel to continue.
- Click the required prospect name to open each record and check the respective mapped fields to see the results.
For ex. A Custom Field called Text created for Magic Link from Goldcast.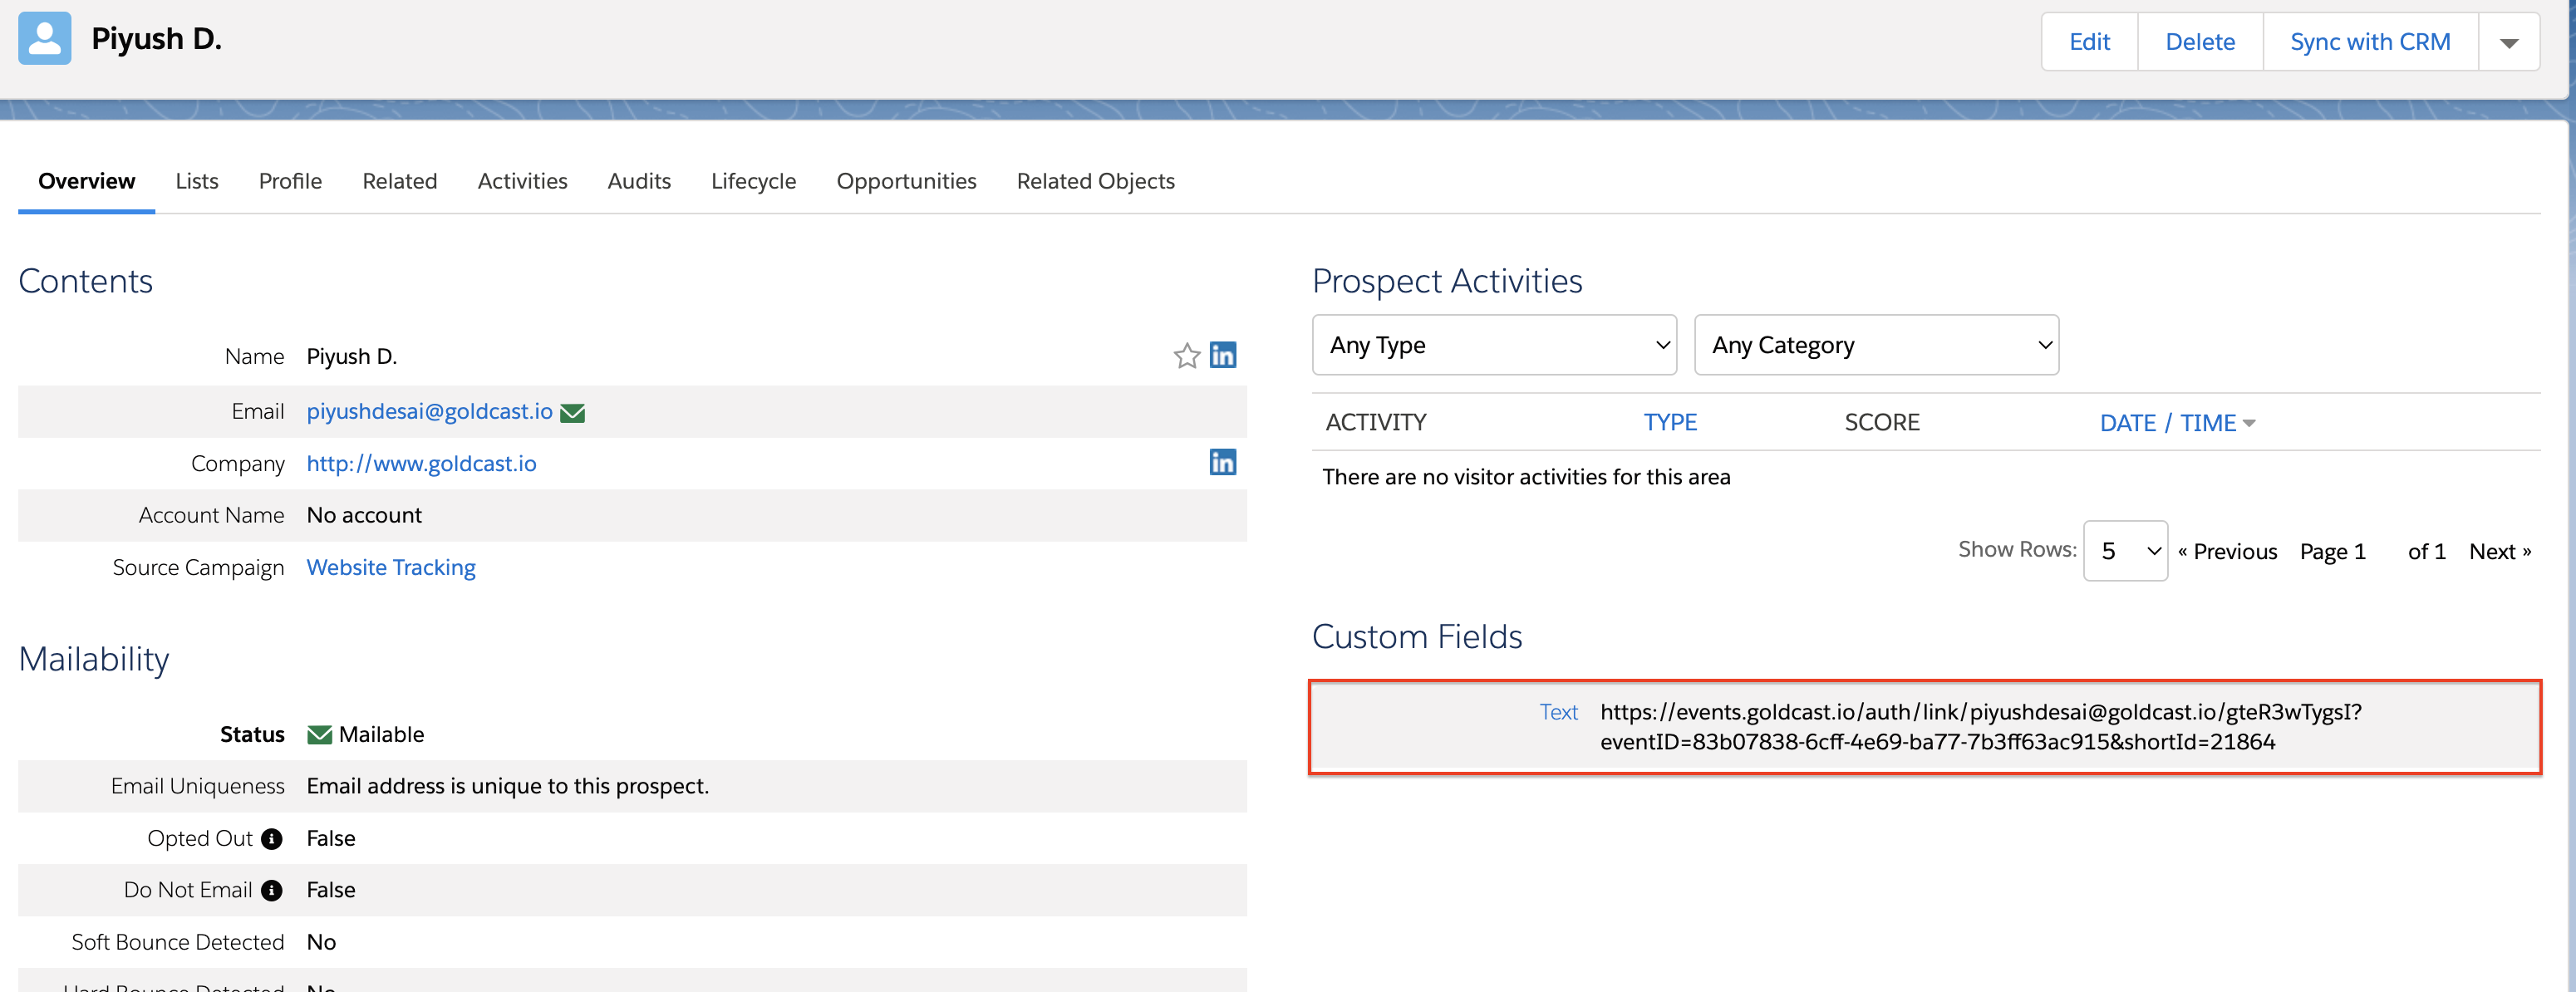
Re-authenticate your Pardot Integration
- Login to Goldcast Studio using your credentials.
- Click on the Avatar logo in the top right corner of your screen.
- Click on Integrations and navigate to the Pardot Integration

- Navigate to the Authentication section and click on Edit.

- You will see your existing authentication on your screen.
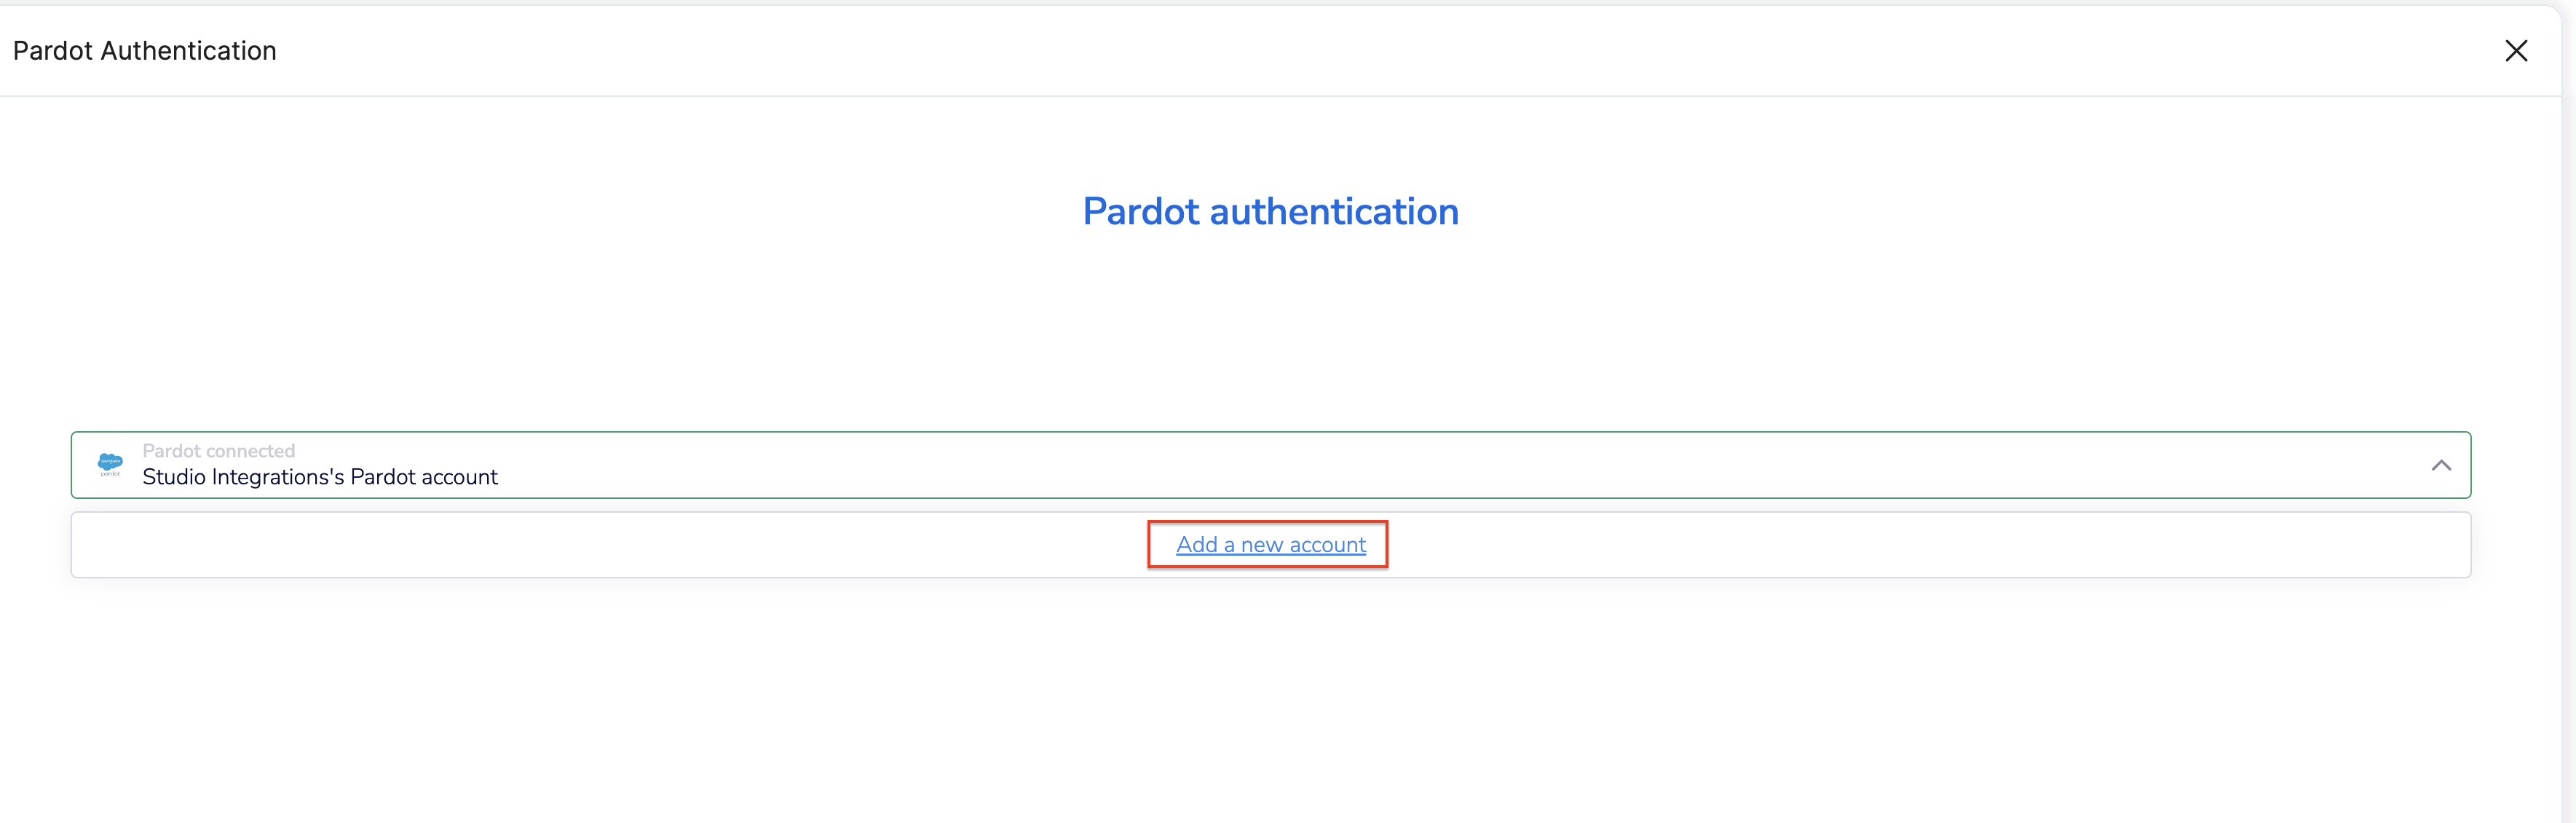
- To reauthenticate, click on the drop-down icon(beside the pencil icon).
- Click on the New Authentication button on your screen.
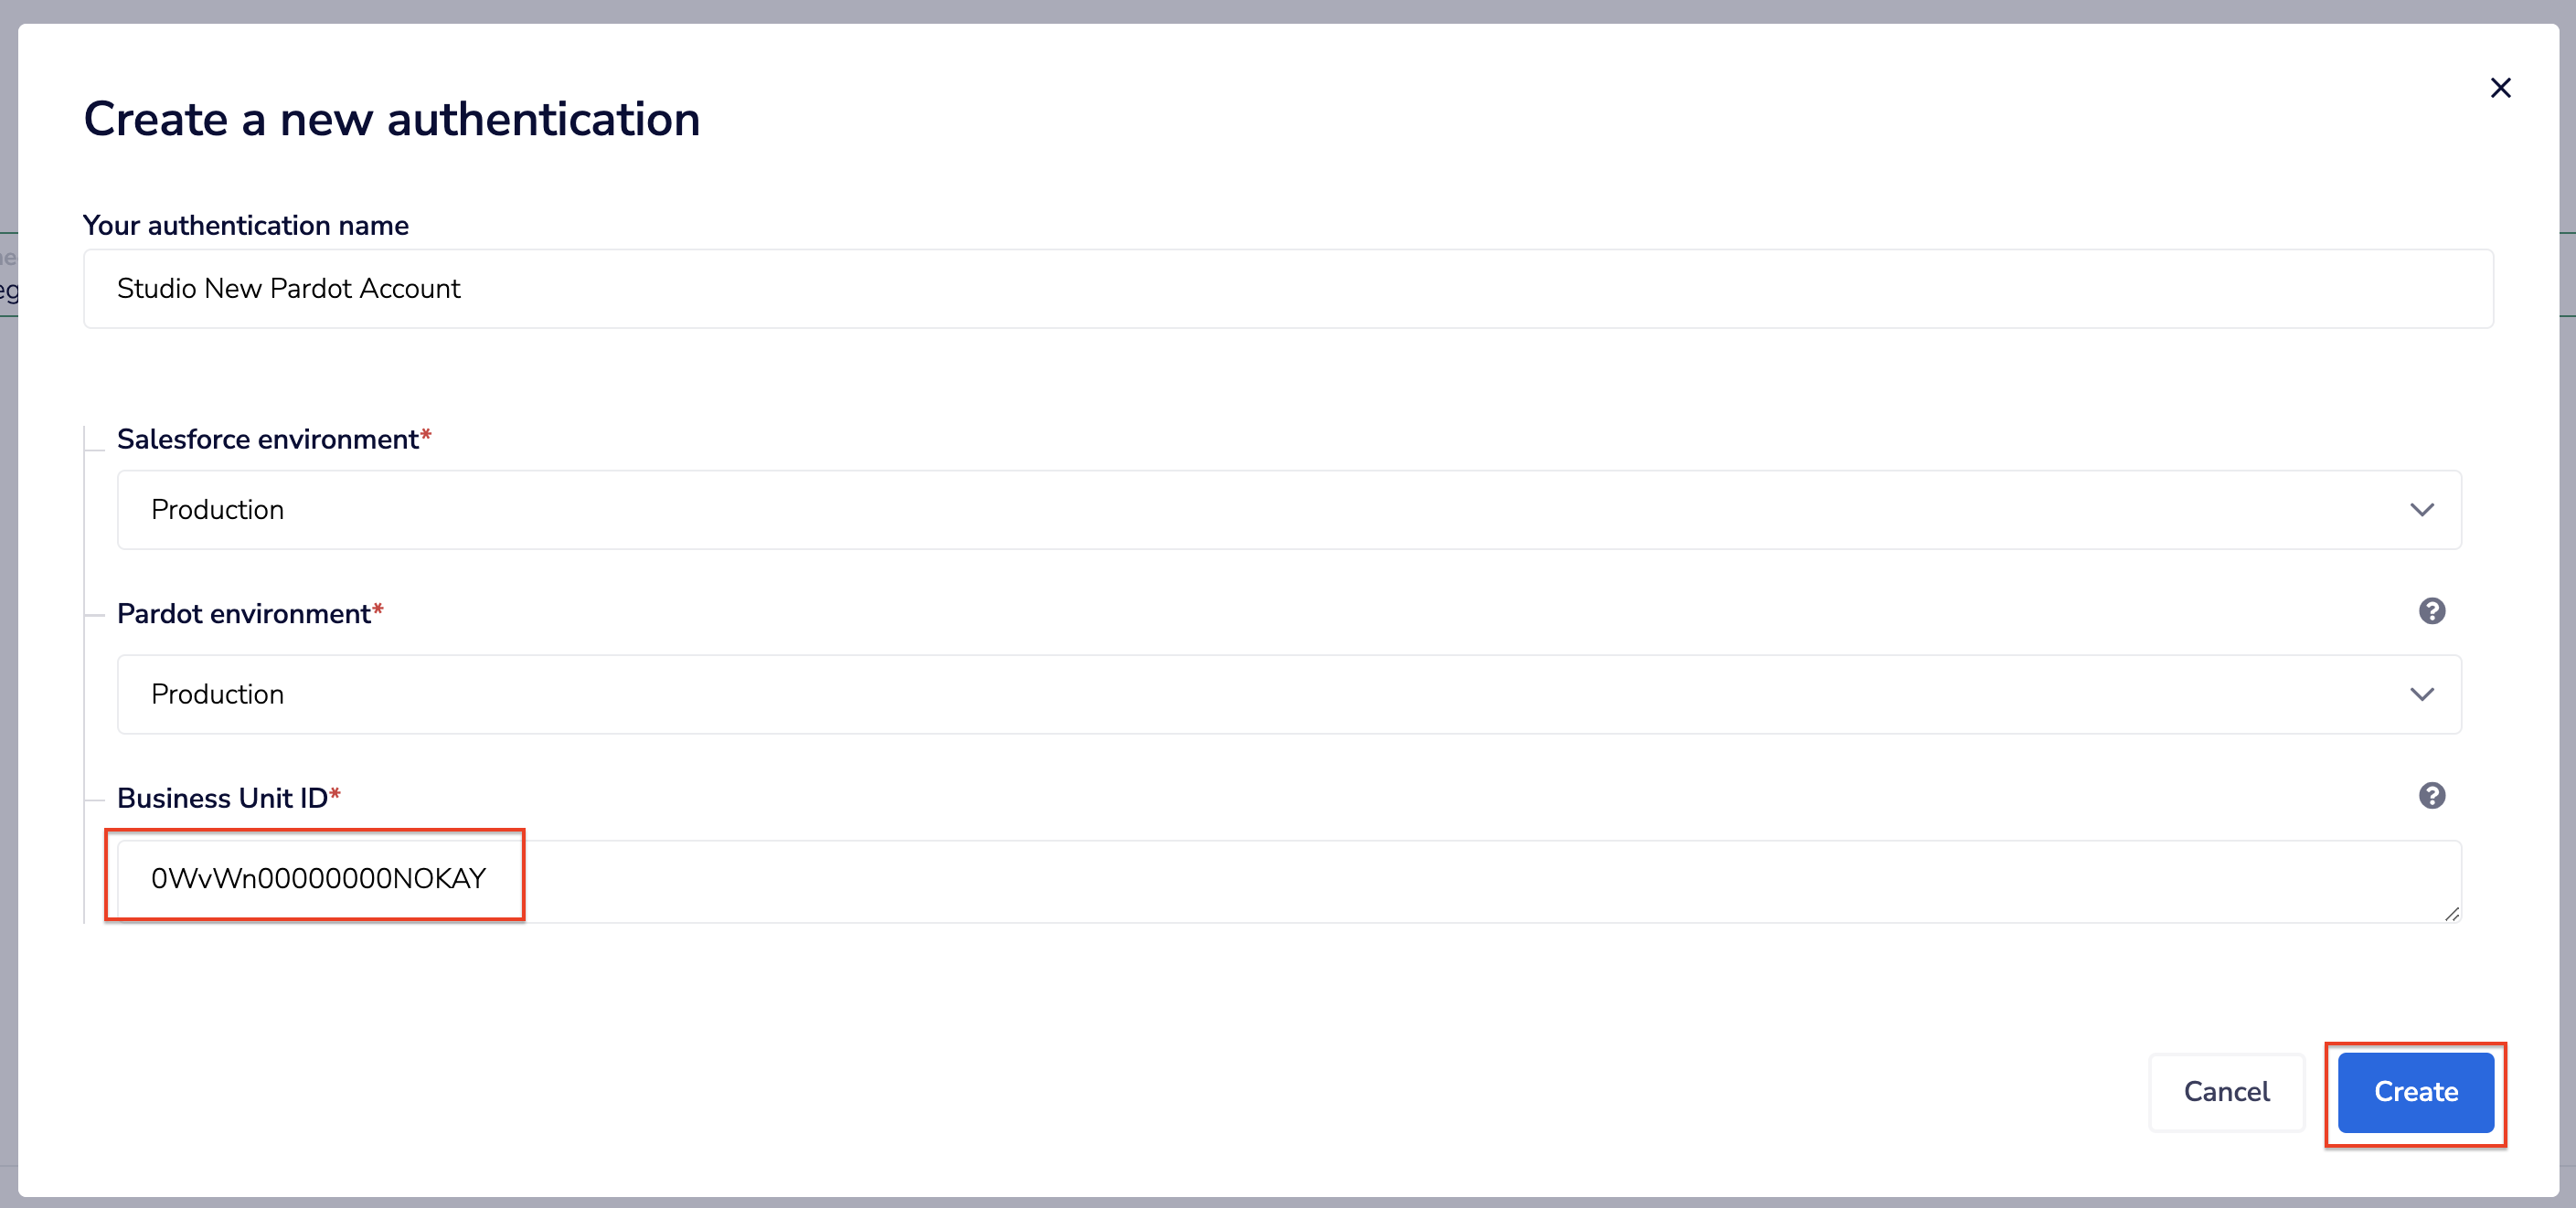
- In the popup, enter a name of your choice in the Your authentication name field.
- From the Salesforce Environment dropdown, select either Production or Sandbox based on your Salesforce Pardot account.
- From the Pardot Environment dropdown, select either Product or Developer/Sandbox corresponding to your Salesforce Pardot account.
- Enter the Business Unit ID into the Business Unit ID field.
- Click the Create button to re-authenticate your Pardot account.
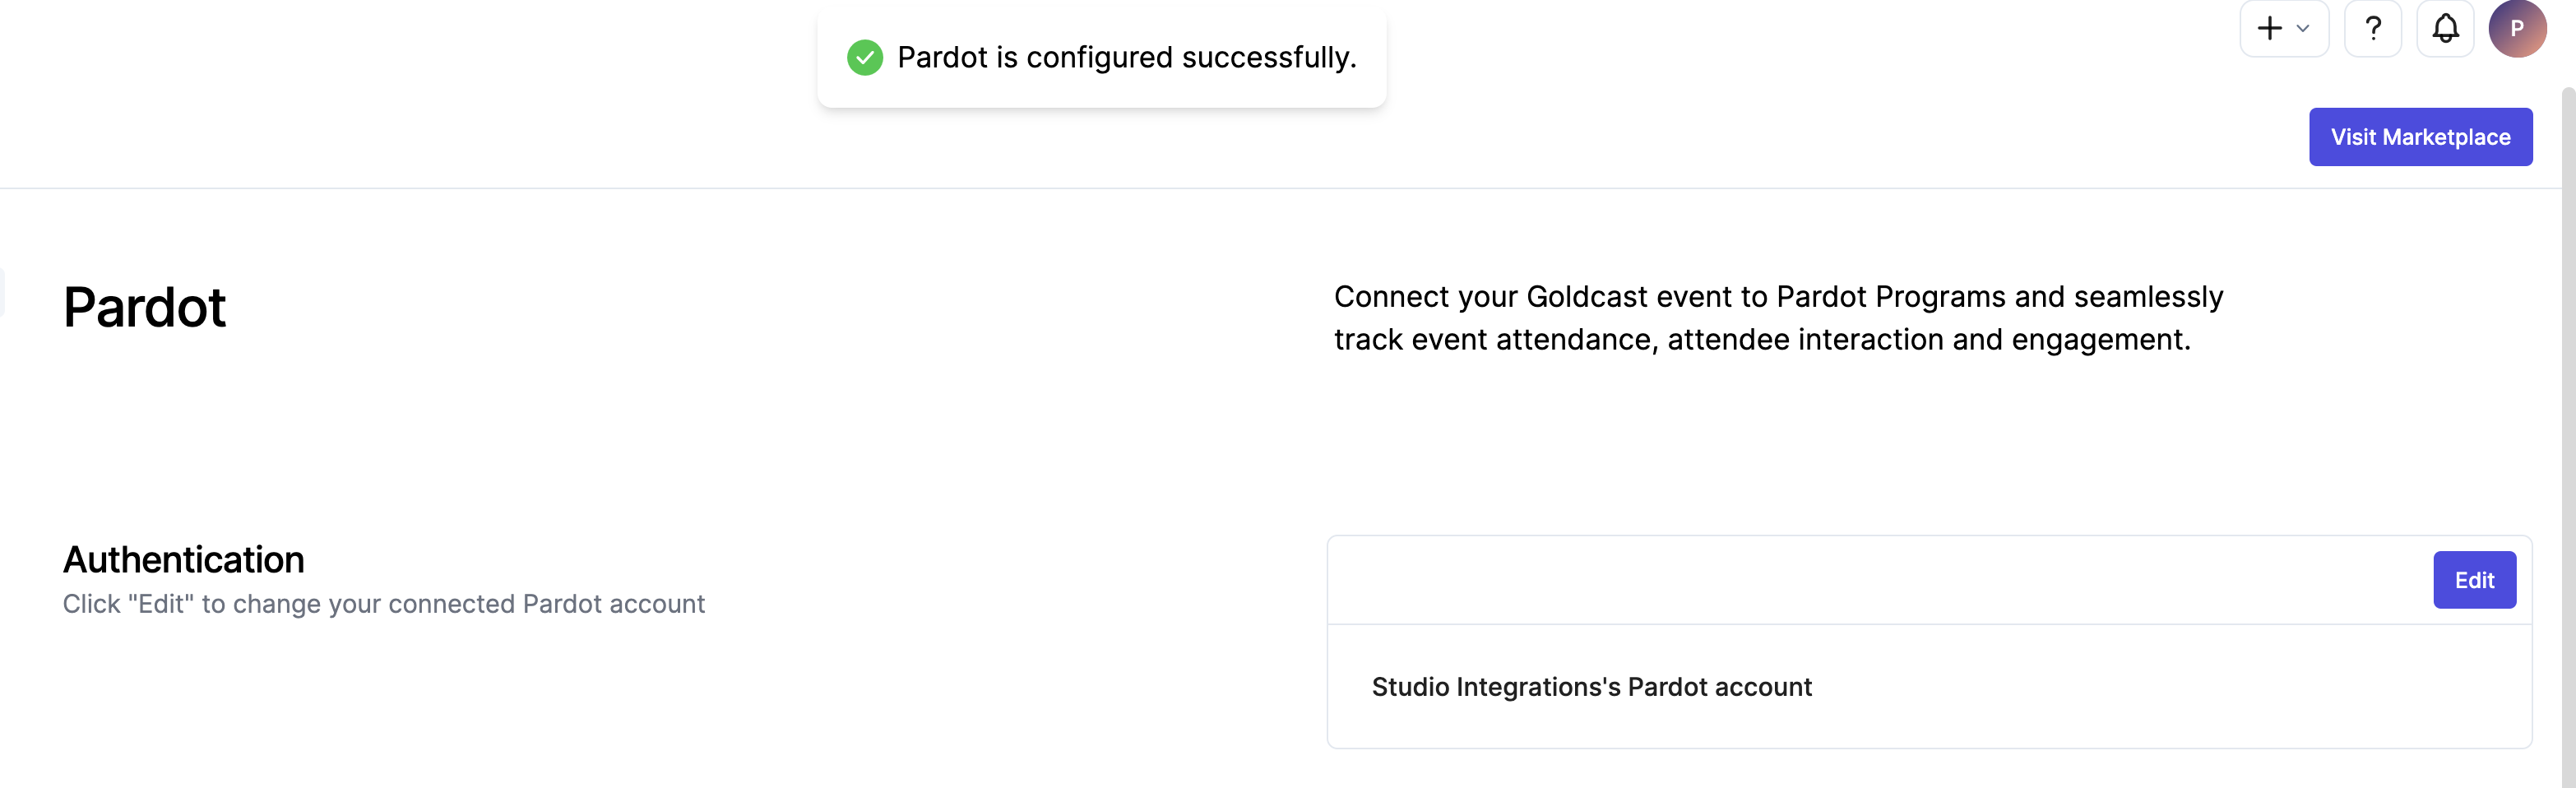
- Once the account connection is successful, click on the Finish button on your screen to complete the process.
Recommended Practices
- It is recommended to map Goldcast fields like Magic Link URL, Calendar Invite URL, Linkedin URL, X URL (formerly Twitter) to field type ‘Text Area’ in Pardot as this has character limits.
- It is recommended to map Goldcast fields like Registrant Type or Dietary restrictions(drop down fields) to field type of ‘Text’ in Pardot for the data to show up seamlessly.
- It is recommended to map boolean fields in Goldcast like Data share consent, Visa Required, etc. to Pardot fields of type 'Radio Button' with value Yes or No.
- If you delete or change the field type of a Prospect field in Pardot that is mapped in Goldcast, you MUST go to Prospect Field Mapping in Goldcast to delete and remap the mapping in question to make sure your data sync is seamless.
List of Standard Fields in Goldcast
| UTM Hidden Field | |||
| UTM Hidden Field | |||
| UTM Hidden Field | |||
| UTM Hidden Field | |||
| UTM Hidden Field | |||
| UTM Hidden Field | |||
| UTM Hidden Field | |||
| UTM Region | utm_region | string | UTM Hidden Field |
|---|---|---|---|
Important Notes:
- By default, the Country form field in Goldcast has Country Name to Country mapping.
The country name is displayed in the form when a user selects it. However, while syncing this value, it syncs as Country Code. Make sure the field in your target system is configured to accommodate Country. If you want the country name to be synced, you must change it manually in the Goldcast form in the Field's data section. - UTM Tracking Fields should be passed through your Registration Form URL to capture the data and then passed to your target system.
- The Calendar Invite URL field is more than 500 characters, so choose your target field accordingly.
- QR Code URL field is only applicable for field events.