| Plan Availability | Starter | Pro | Premium | Enterprise |
| Add-on |  |
|
|
For customers with contracts starting March 2024 or later, feature availability is based on your pricing tier. If interested, contact your CSM or our Sales Team to discuss pricing options.
Overview
The Pardot Integration offers a seamless solution for exporting your event registrant from Goldcast to different Segmentation Lists in Pardot.
You can effortlessly classify and segment registrants based on event engagement criteria defined within Goldcast Events and sync them to Pardot list as prospects.
By seamlessly integrating Goldcast Events with Pardot, you can streamline registrant management, segment them for targeted marketing efforts like emails, and follow-up campaigns, track their engagement, and leverage automation to deliver personalized experiences, ultimately maximizing the impact and success of your events based on engagement activities in Goldcast.
Prerequisites
Goldcast
- Event Organizer access to your instance of Goldcast
- Pardot Integration Installed and Configured (Instructions to setup)
Pardot
- A Pardot account with Administrator Role and permissions to create Lists.
 Note: The Goldcast platform requires integration with Pardot instances utilizing version 4 or higher of the Pardot API. To ensure seamless integration, please follow the provided instructions for transitioning to version 4 of Pardot API.
Activities for Exporting Goldcast Registrants to Pardot Lists
You can export your event registrants to Pardot Segmentation Lists as Prospects based on their event engagement activity in Goldcast.
Listed below are the activities for which you can filter Goldcast registrants and export them to your target Pardot Segmentation Lists.
- Registered: Sync all users who registered for an event and status in the Registrants tab is Registered.
- Waitlisted: Sync all users who were waitlisted for an event. This is available only for waitlist-enabled events.
- Rejected: Sync all users who were rejected for a waitlist-enabled event. This is available only for waitlist-enabled events.
- Canceled: Sync all users whose registration status was canceled.
- Attended: Sync all users who attended the event virtually or in person (for field and hybrid events).
- No Show: Sync all registered users who didn’t attend the event live or in person (for field/hybrid events).
- Attended Session: Sync users who have attended a particular session in the event. In case of multiple sessions, you can further select the Session(broadcast) name from the Entity dropdown.
- Attended Booth: Sync users who attended a particular Booth in the event. You can further select the Booth name from the Entity dropdown.
- Attended Discussion Discussion Group: Sync users who attended a particular Discussion Room in the event. You can further select the Discussion Room name from the Entity dropdown.
- Resource Downloaded: Sync all event users who downloaded any resource in the event, which can be further filtered by Resource name in the Entity dropdown.
Setting up Registrants Export to Pardot for your event
Note: Please refer to the instructions on Obtaining Your Pardot Business ID to find your List ID in Pardot.
To configure the export of your Goldcast registrants to Pardot for a specific event, please follow these steps:
-
Select the Event
Log in to Goldcast Studio with your credentials. Click the hamburger icon on the top left, and select the Events tab to get a list of all your events.
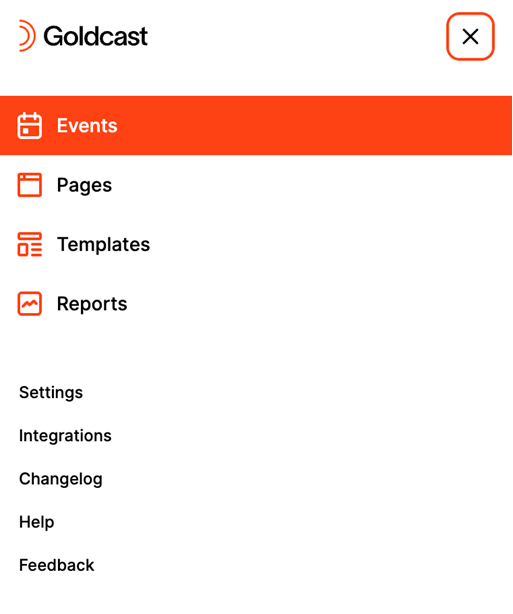
From the Events page, choose the event you want to set up the Pardot integration for. You will be redirected to the Event Dashboard page. -
Access Integrations
Click on the Integrations option from the left-side panel. Alternatively, you can click on the Configure option in the Integrations available section within the Event dashboard.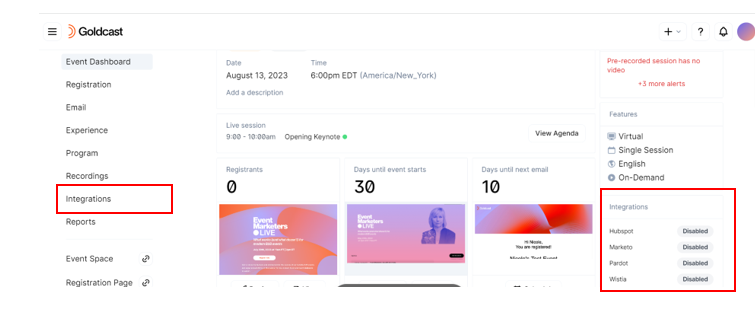
-
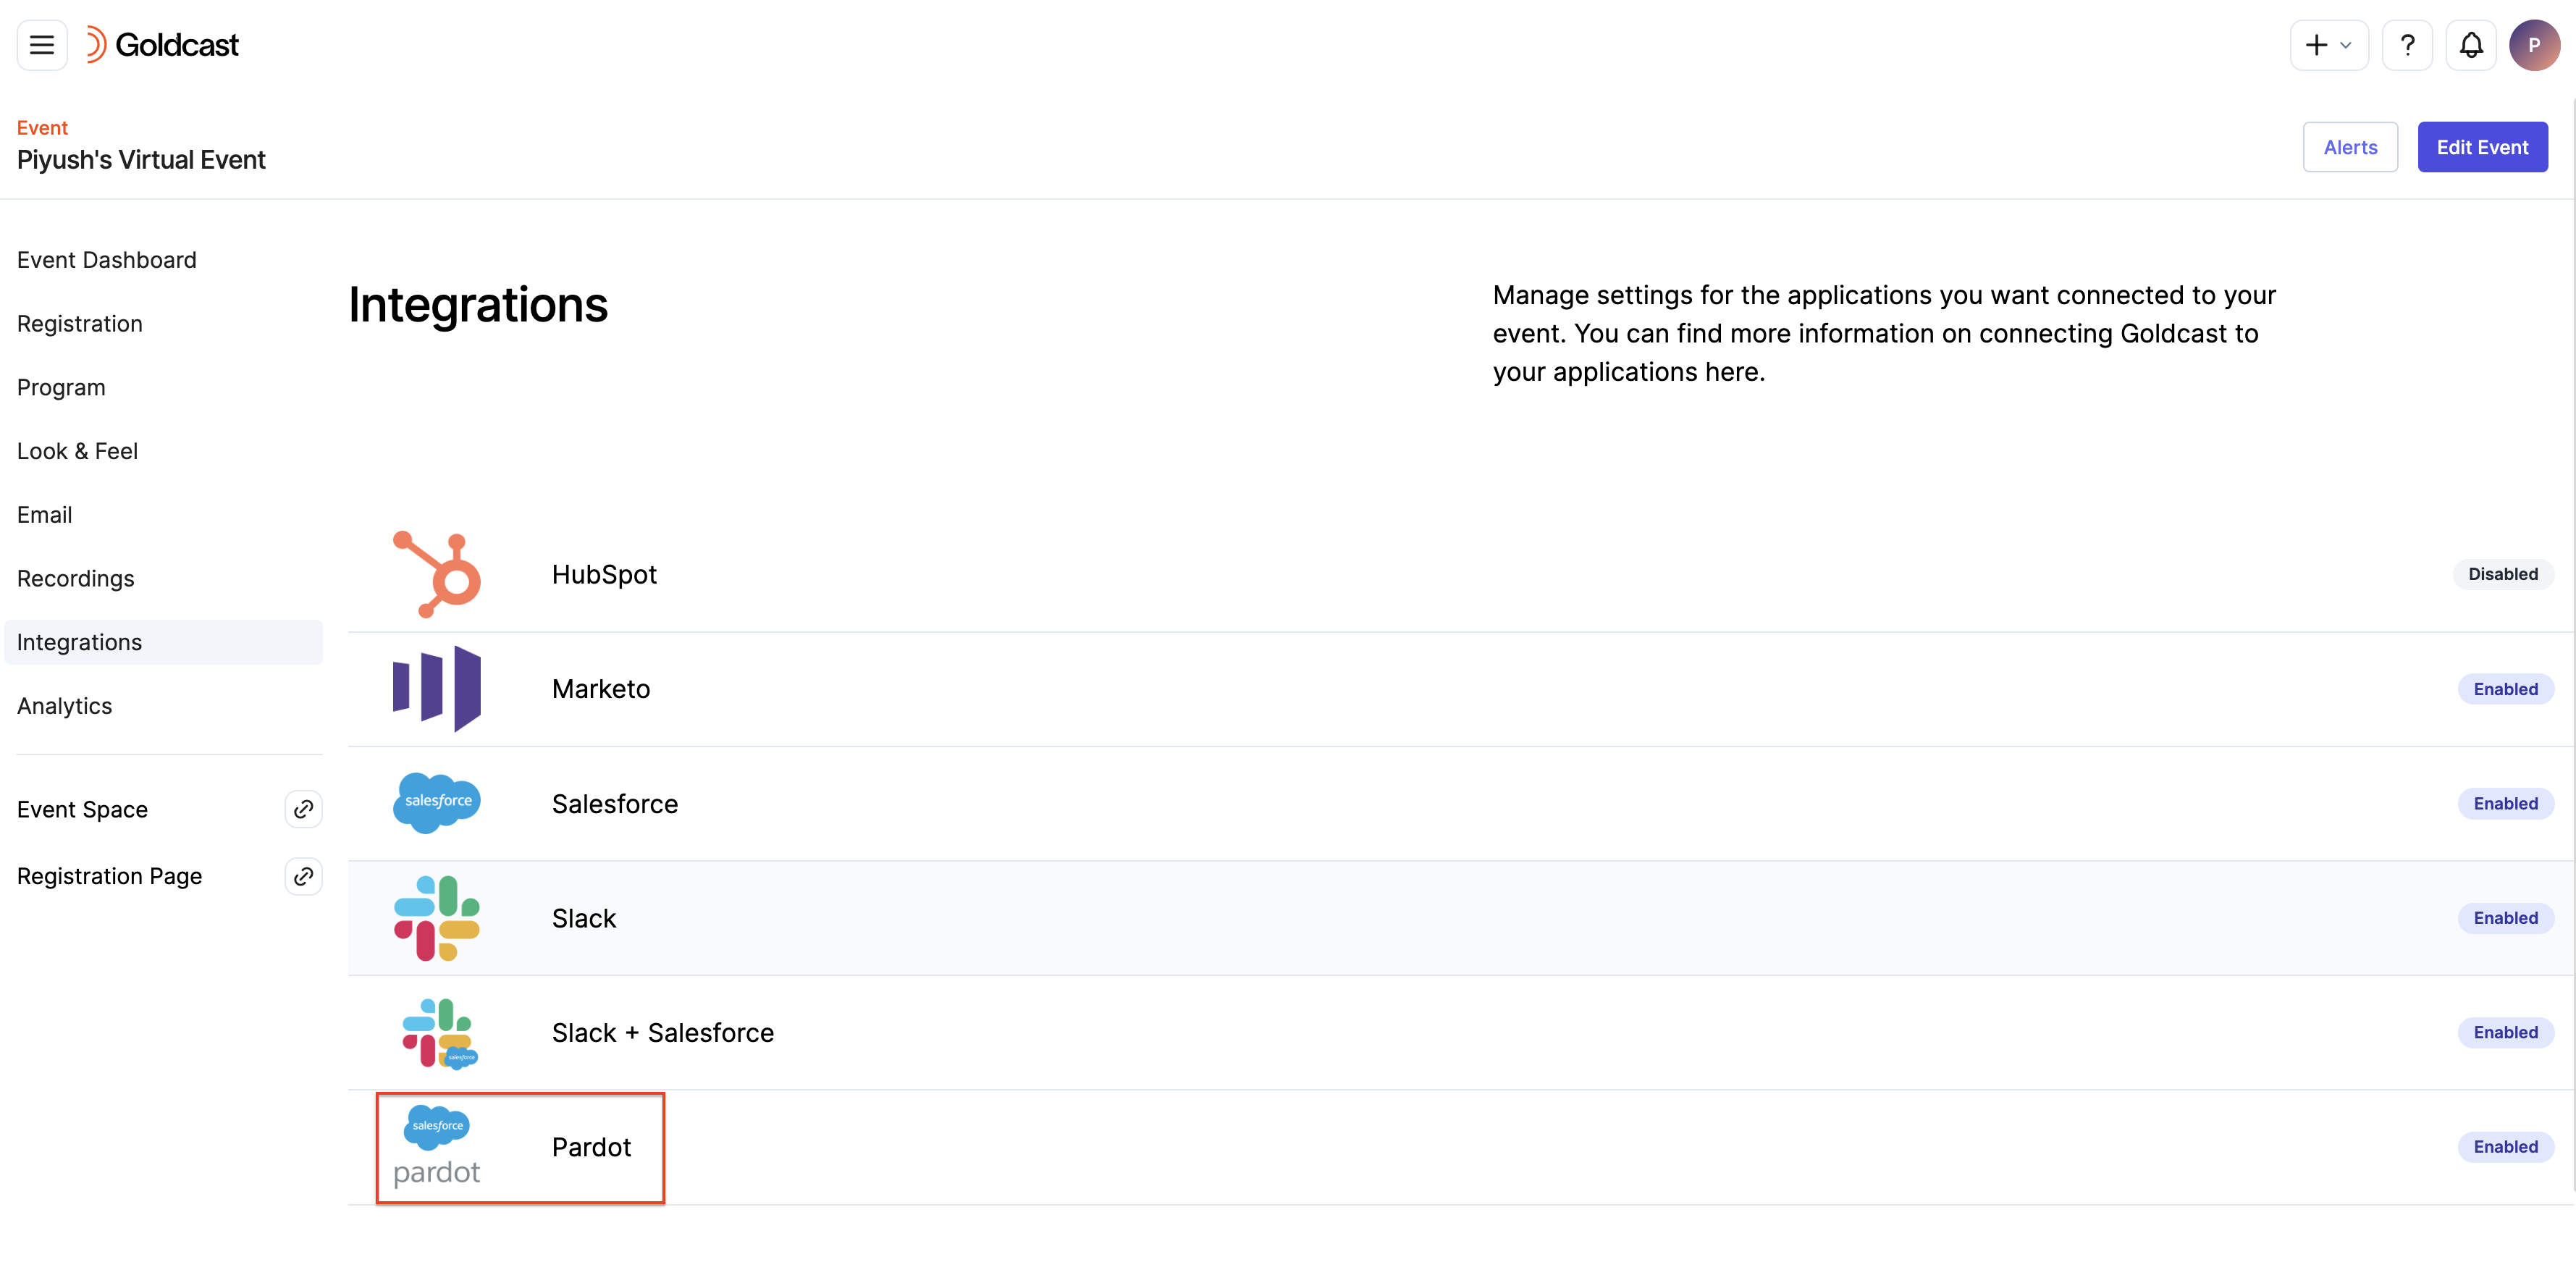
Navigate to Pardot
On the Integrations page, locate and click on the Pardot integration.
-
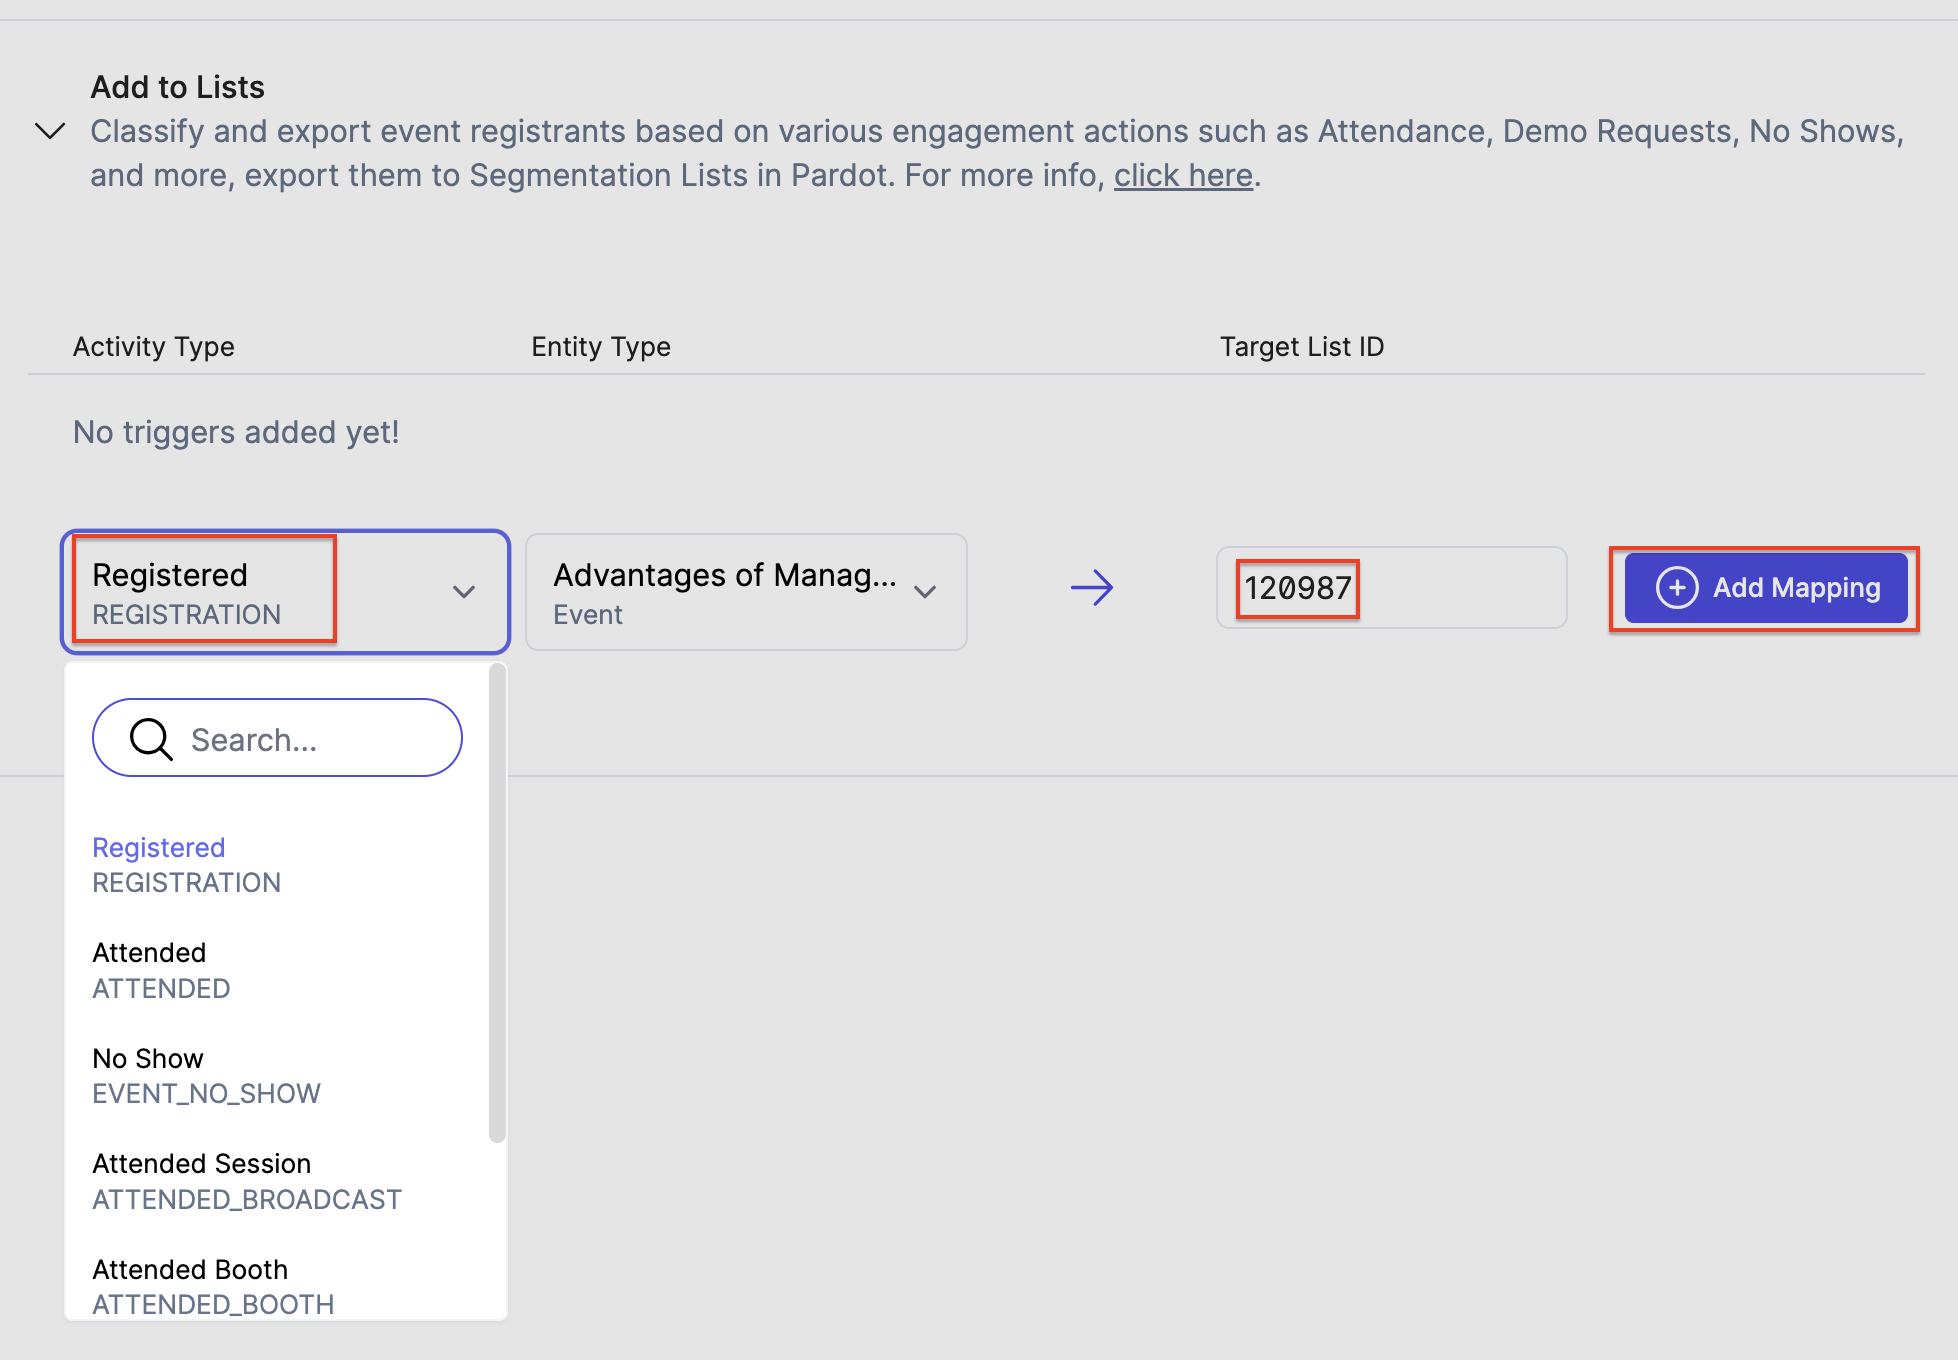
Navigate to Add to Lists for Setup
A configuration drawer will appear on the right side of the screen. Locate and expand the Add to Lists section.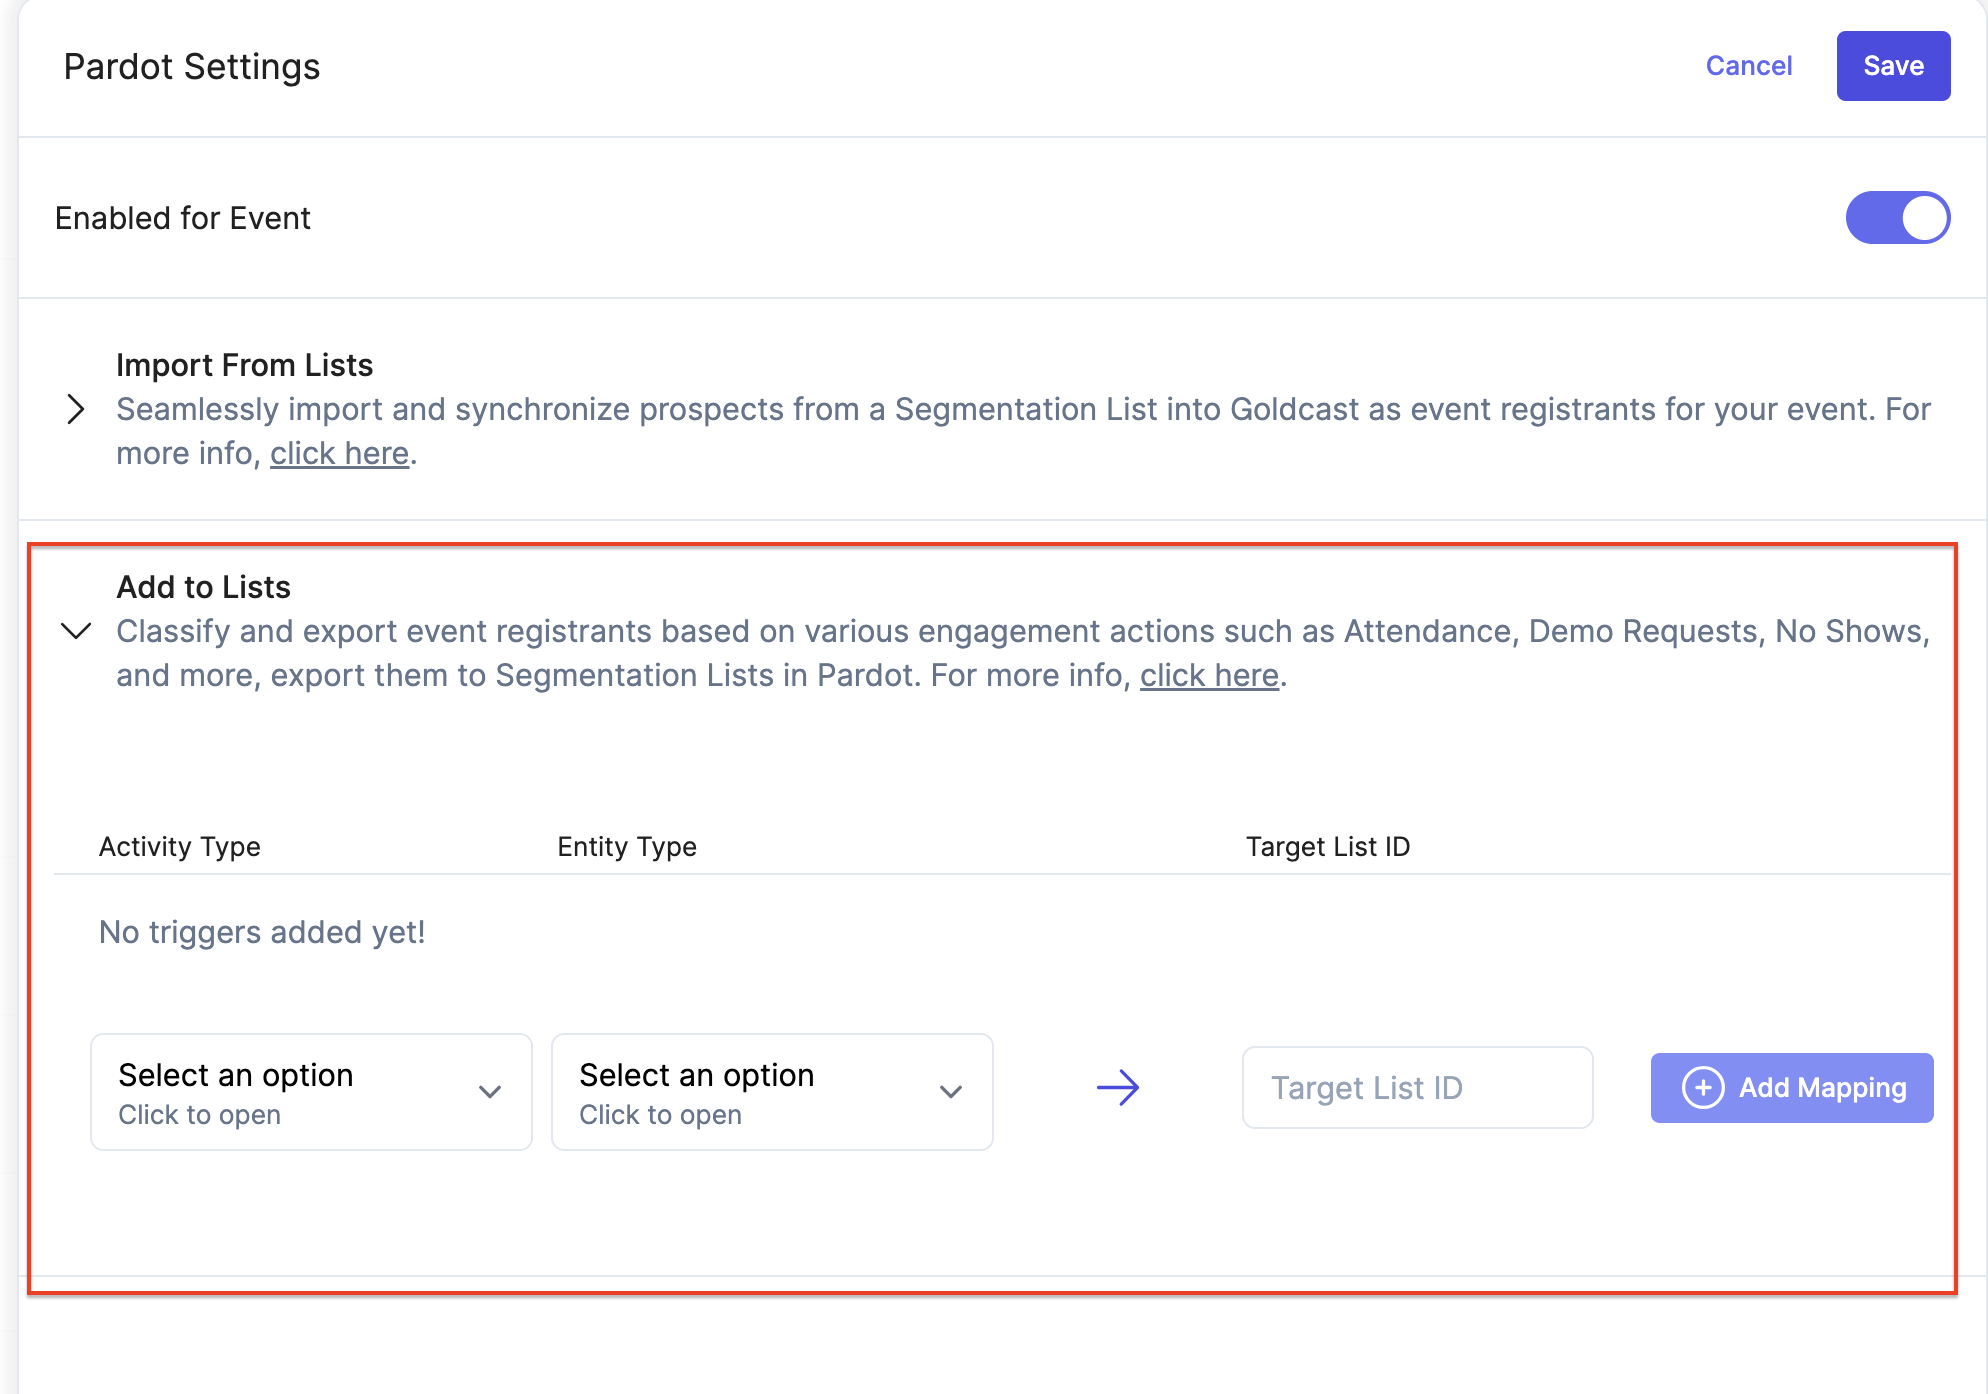
-
Configure your filter mapping and Save
- Select the desired Activity Type from the first drop-down menu. For example, choose Registered. This will be the user action that will be filtered on.
- Choose the Entity Type from the second drop-down menu. This will specify the entity to which the filter is to be applied.
- Enter the Pardot List ID in the provided field. This is the list to which the registrants will be exported in Pardot.
- Click on the Add Mapping button.
- Upon successful setup, a record will be created with the Activity Type, Entity Name, List ID, and List Name.
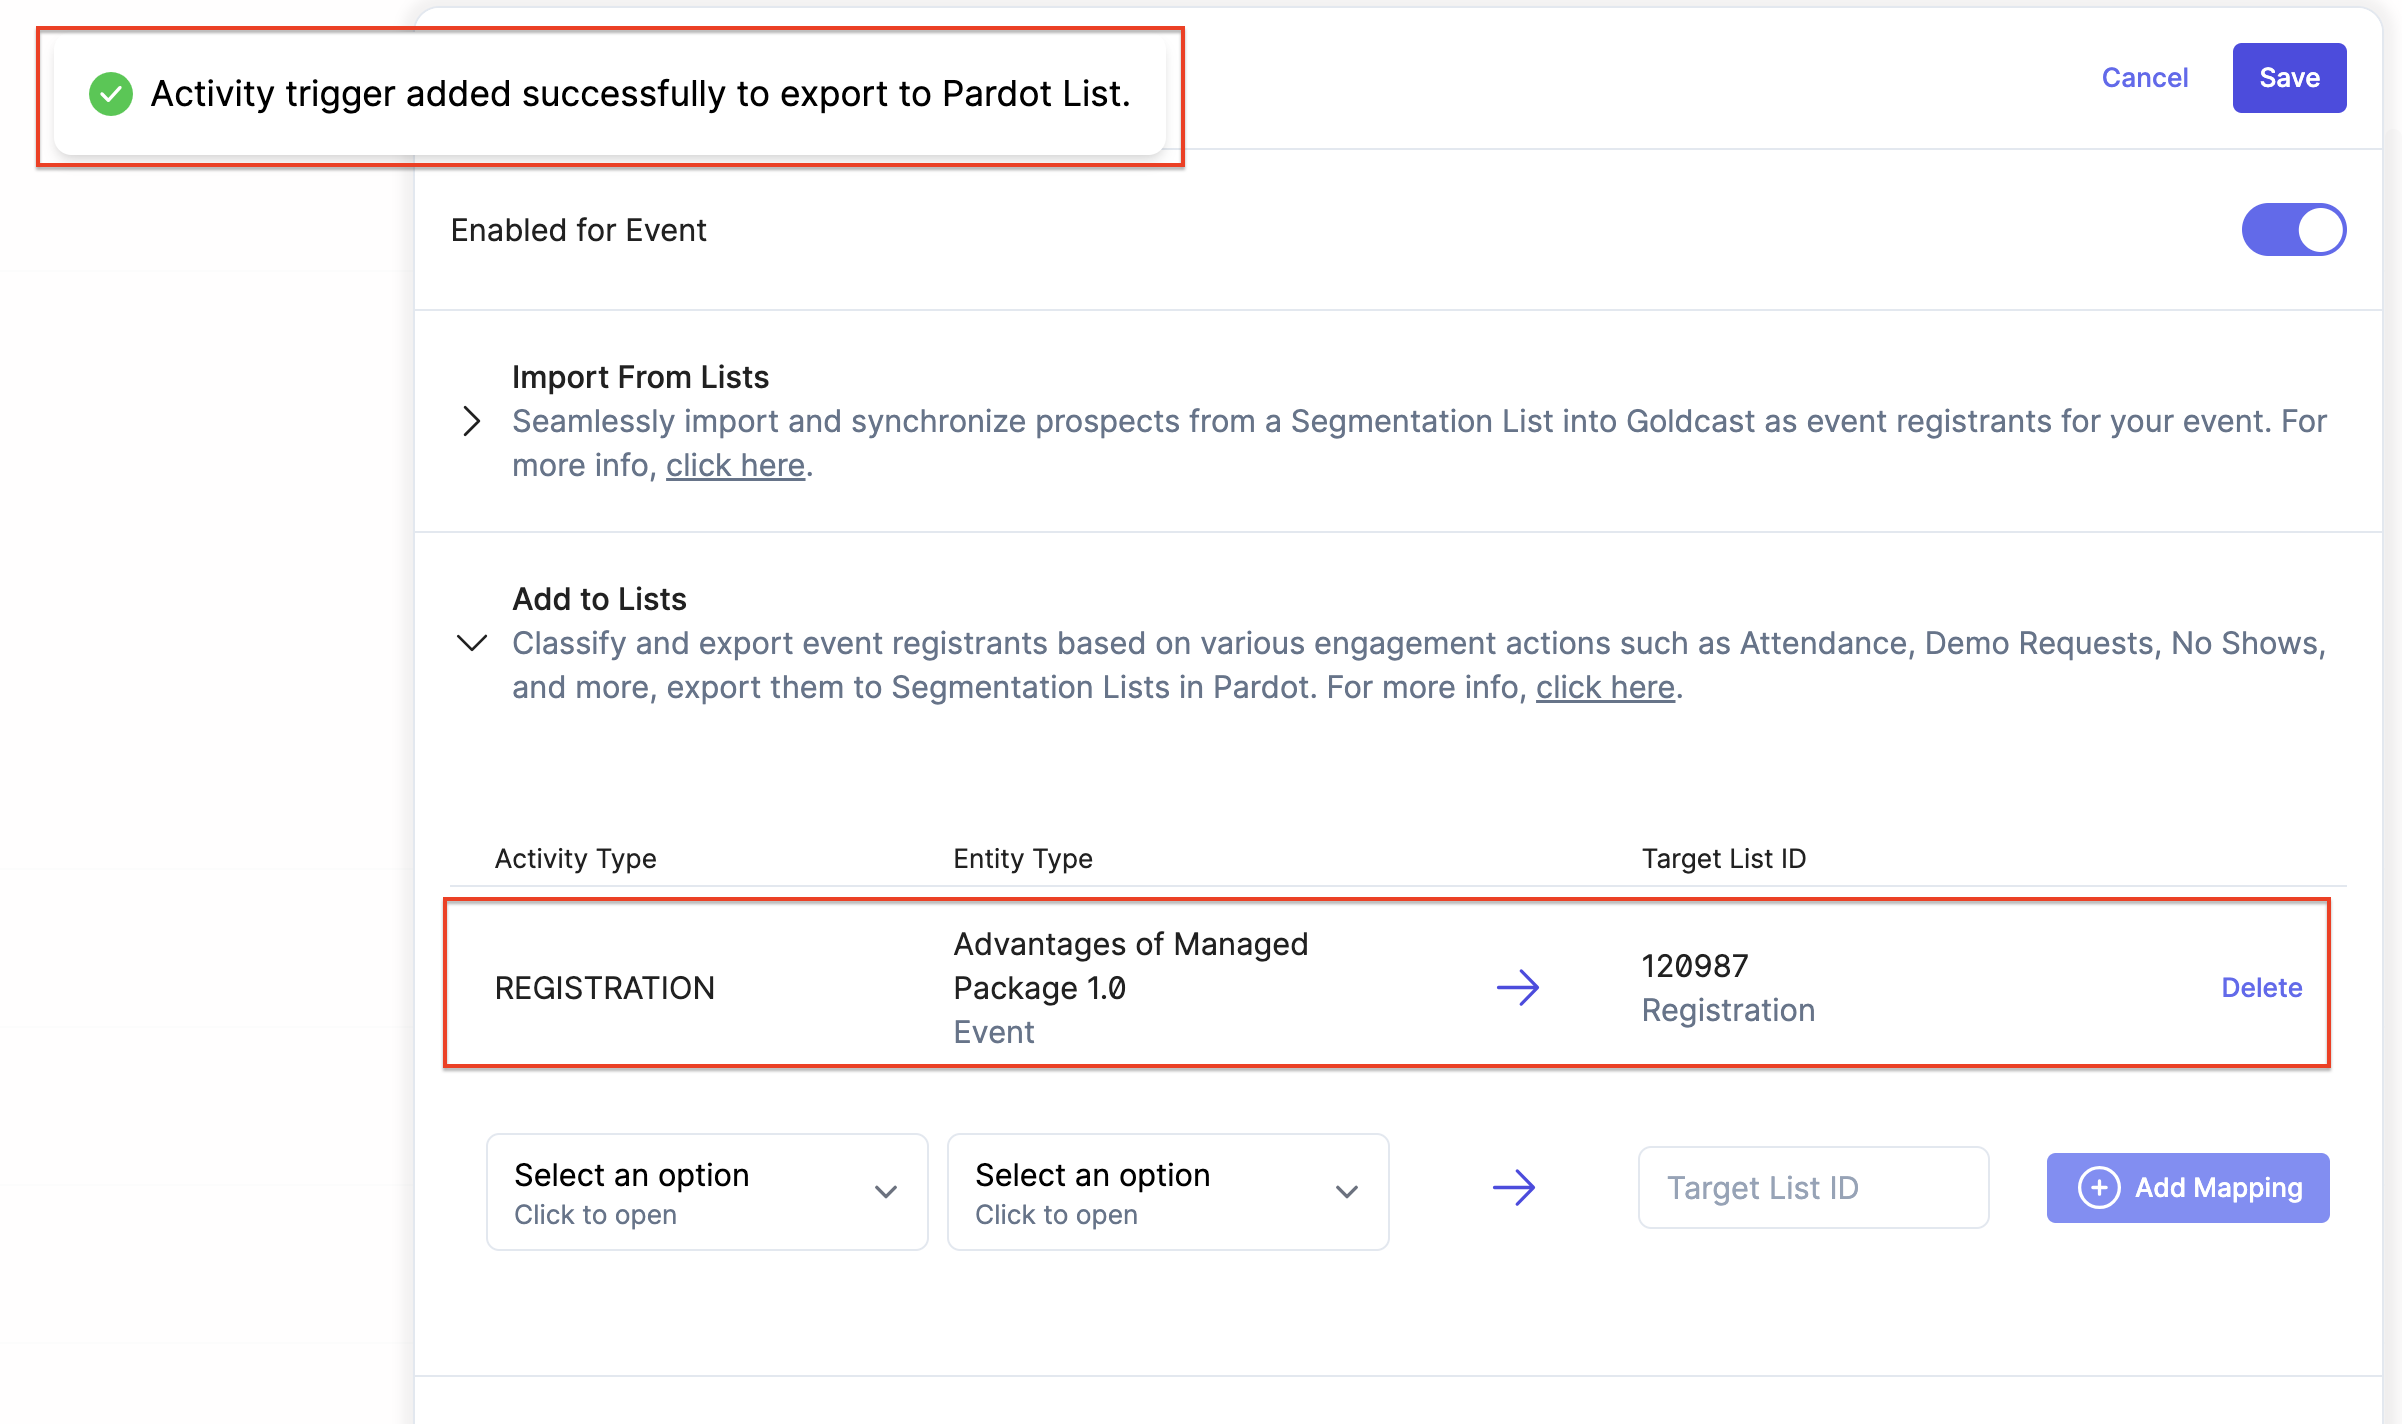
- Finally, click Save in the upper right corner to save the configuration changes.
By following these steps, you can successfully configure the export of event registrants from Goldcast to a Pardot List as Prospects using our Pardot Integration.
Once you have set up the mapping for specific activities during your event, prospects will automatically be added to your Segmentation Lists when they perform those activities. This allows you to track and organize prospects based on their event engagement in a streamlined manner.
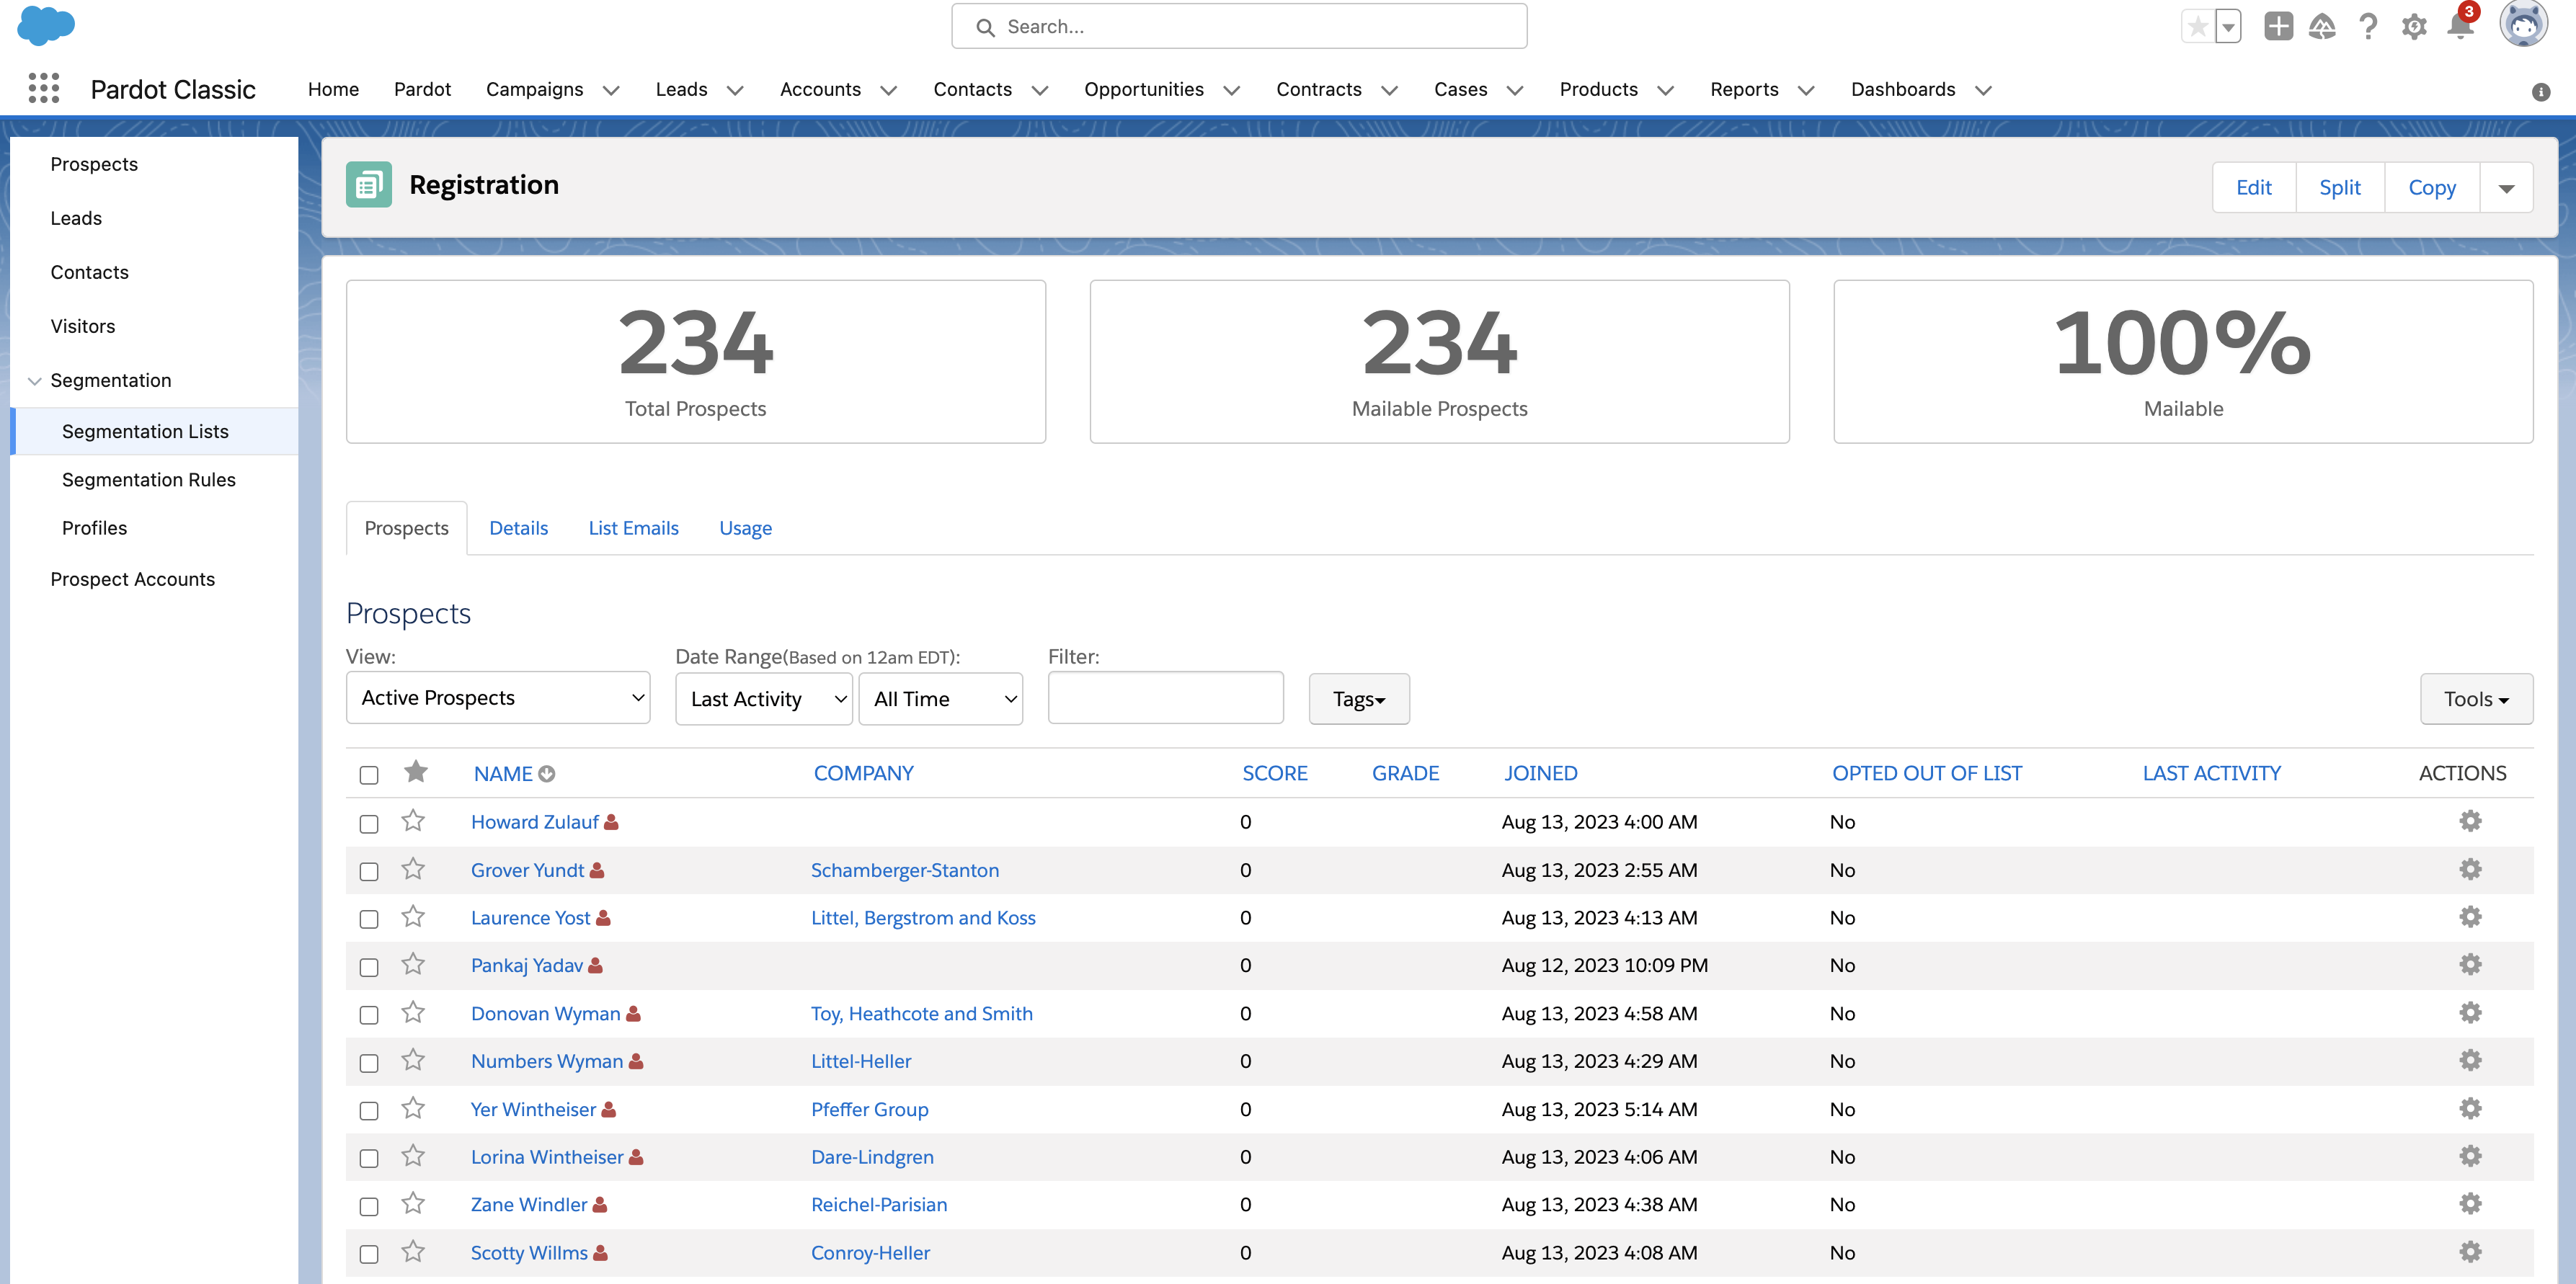
To check the sync, please go to your Pardot Segmentation Lists that were setup in previous steps. You can find records for registrants in your event in Goldcast as prospects in your Pardot List.
Note:
- If you do not immediately see prospects in the Pardot Lists setup for the event, please allow some time for the synchronization to complete.
- If the issue persists and your registrants are not being exported to Pardot Lists, kindly reach out to our Support Team or your Customer Success Manager (CSM) for further assistance.