| Plan Availability | Starter | Pro | Premium | Enterprise |
 |
 |
|
|
For customers with contracts starting March 2024 or later, feature availability is based on your pricing tier. If interested, contact your CSM or our Sales Team to discuss pricing options.
When sending registration and custom emails in a series, instead of using the Default Goldcast Template, you can upload an HTML email template that matches your company’s branding and event styles.
How to upload a custom HTML email template for Series
Event organizers can customize the emails they send from a series by uploading a custom HTML template. This allows you to create visually appealing emails that match your branding and theming requirements.
Follow these steps to add a custom HTML email template to a series:
- Login to Goldcast Studio using your credentials, and open your preferred Series from the list.
- Navigate to Email → Templates using the left sidebar.
- Click the New Template button on the right, and select Upload HTML Template.
- In the Create Template popup, give a name for your template and Upload your preferred HTML file.
- Click Create Template.
Here are a few points to remember as you begin working on an HTML email template for a series.
Customize the base email markup
Goldcast uses the Event List Model Row to dynamically populate the series registration email with corresponding magic links and calendar invites. This block is invisible to recipients. However, it’s mandatory to include this block for magic links and calendar invites to render correctly for each event the registrant signs up for.
The [Series] Default Registration Email starts with a table structure. The Event List Model Row is a data cell within this table.
We recommend using the email markup code shared below as the starting point for your HTML template. You can customize it to suit your branding requirements.
<table>
      <tr>
        <td class="column">
          <div id="event-row-model" style="display: none">
            DO NOT DELETE. THIS IS FOR IDENTIFICATION AND
            WILL NOT SHOW UP IN YOUR EMAIL.
          </div>
          <!--
            HTML ENTERED HERE WILL BE DUPLICATED FOR EACH EVENT
            IN YOUR SERIES A USER REGISTERS FOR.

            MACROS AVAILABLE:
            Event Name: ##title
            Magic Link: ####
            Add to Calendar: ##$$
            Event Date: ##date
            Location: ##location
          -->

         <!-- ENTER YOUR CODE HERE -->

        </td>
      </tr>
 </table>
Here’s a sample HTML email snippet you can refer to while creating your own.
<!DOCTYPE html>
<html lang="en">
<head>
   <meta charset="UTF-8">
   <meta name="viewport" content="width=device-width, initial-scale=1.0">
   <title>Example Email template</title>
</head>
<style>
</style>
<body>
   <h1>You've signed up for our Demo Series</h1>
   <h2>
     Below is information about each event you signed up for
   </h2>
   <table>
     <tr>
       <td class="column">
         <div id="event-row-model" style="display: none">
           DO NOT DELETE. THIS IS FOR IDENTIFICATION AND
           WILL NOT SHOW UP IN YOUR EMAIL.
         </div>
         <!--
           HTML ENTERED BELOW WILL BE DUPLICATED FOR EACH EVENT
           IN YOUR SERIES A USER REGISTERS FOR.
          -->

          <!--
           MACROS AVAILABLE:
           Event Name: ##title
           Magic Link: ####
           Add to Calendar: ##$$
           Event Date: ##date
           Location: ##location
         -->
         <p>
         You've registered for ##title ocurring on ##date
         </p>
         <p>
          <a href="####" target="_blank"> Access your event here</a>
         </p>
         <p>
           <a href="##$$" target="_blank"> Add To Calendar</a>
         </p>
       </td>
     </tr>
   </table>
</body>
</html>
 Note: If you’re sending a custom email (For example, an email intimating registrants about the dress code for an in-person event or listing the system requirements for a virtual event), using the HTML snippet shared above is not mandatory.
Instead, you can use any custom HTML template that doesn’t include the Event List Model Row code. Include the following merge tags (macros) to populate your email with relevant user and event information.
| Merge Tag | To Display |
|---|---|
| ##entrance | Entrance Link |
| ##title | Event Name |
| ##description | Event Description |
| ##date | Event Date |
| ##first_name | Recipient's First Name |
| ##last_name | Recipient's Last Name |
| ##$$ | Calendar Link |
| ##unsubscribe_link | Unsubscribe Link |
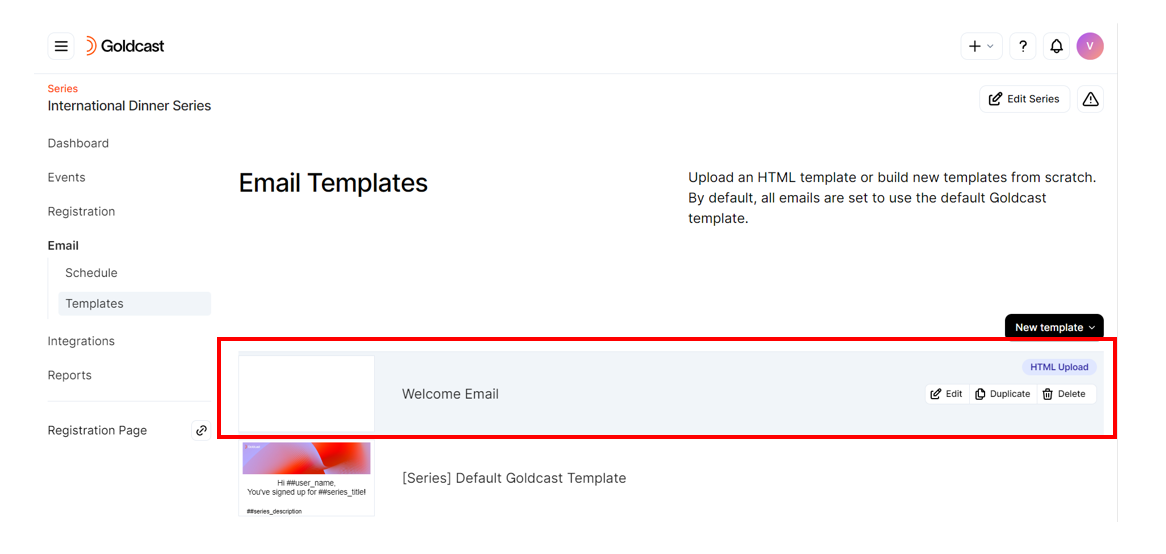
How to apply the uploaded HTML template
Once you’ve uploaded the HTML template, it’ll be visible in the list of templates in your series. You can see it by navigating to the Email → Template section. Click on the template to Edit, Duplicate, or Delete it.
To apply this template,
- Navigate to Email → Schedule and click the Series Registration Email.
- In the Edit Registration Email drawer, click on the Template section and choose your uploaded HTML email template.
- Click Save.
- You can also use a custom HTML email template to send custom emails to registrants.
Note: Before using the HTML template to email registrants, send a test email to your registered email address. This helps verify if the HTML template you’ve uploaded renders correctly.
If you would like more information on sending emails in Goldcast, you can refer to Crafting and Scheduling Emails.