Table of Contents
Overview
When attendees register for a Goldcast event, they’ll receive a registration confirmation email and a calendar invite. The calendar invite email includes an iCalendar (.ics attachment) that makes it super easy for attendees to RSVP and add the event to their calendars. The calendar block is available for all webinars, virtual, hybrid, and in-person events.
Heads Up! When you duplicate an event or create a template from an existing event, the calendar invite settings will also be copied.
Configuring the calendar block
By default, the calendar block is set for the entire event duration, from the event's start time to end time, irrespective of whether the event spans single or multiple days. However, you can configure the calendar block in three different ways:
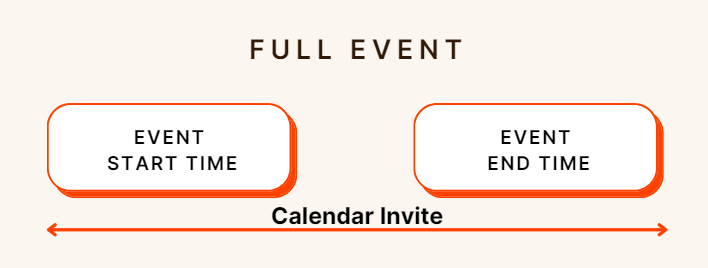
1. Full Event Invite
This is the default option, and the calendar block spans the entire event duration. If your event is scheduled for multiple days, the calendar block will begin on Event Start Time on the first day and stretch till Event End Time on the last day.
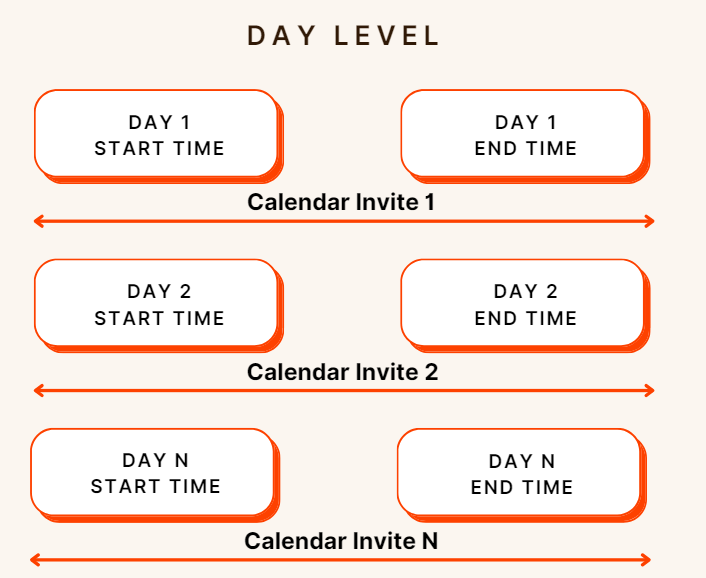
2. Day Level Invite
This option allows you to set individual calendar blocks for each event day. For example, if you have a three-day event scheduled from:
- 11 am to 3 pm on Day 1
- 10 am to 4 pm on Day 2
- 10 am to 1 pm on Day 3
This option will send three calendar invites based on the agenda times for each day.
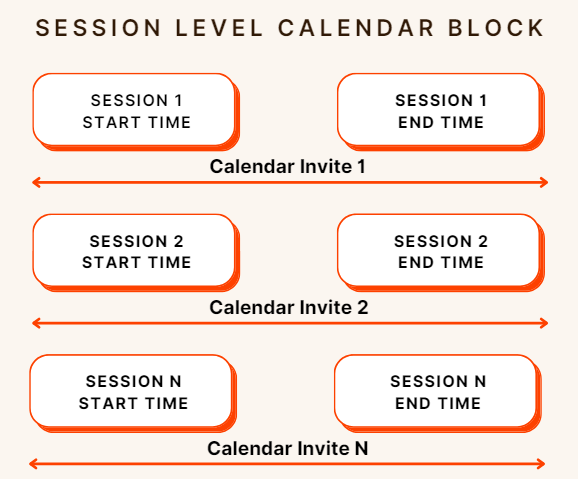
3. Session Level Invite
This option sends calendar invites for each session in the event. For example, if your event has two sessions:
- Session 1 (9 to 10 am)
- Session 2 (10.30 to 11.30 am)
This option will send two calendar invites, one for each session.
Set the calendar block
Heads up! Calendar block configurations cannot be changed once you set them up. So, proceed after careful consideration.
Follow these steps to set up the calendar block configuration for your event:
- Log into Goldcast Studio and open your event.
- Once on the event dashboard, click the Edit Event button on the top right.
- Scroll to the Calendar Invite section and choose your preferred option from the dropdown.
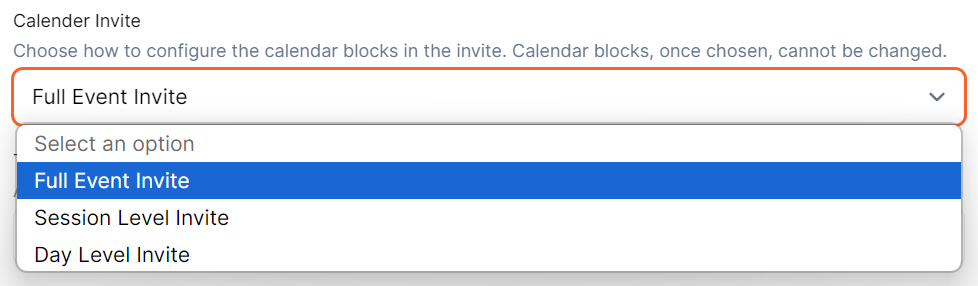
- You can select from:
- Full Event Invite
- Day Level Invite
- Session Level Invite
- Click Save.
How to turn on/off the calendar invite
By default, Goldcast sends the calendar invite when an attendee registers for the event. However, you can turn it on/off as required:
- Log in to Goldcast Studio and select your preferred event from the Events list.
- Navigate to Email → Schedule using the left sidebar.
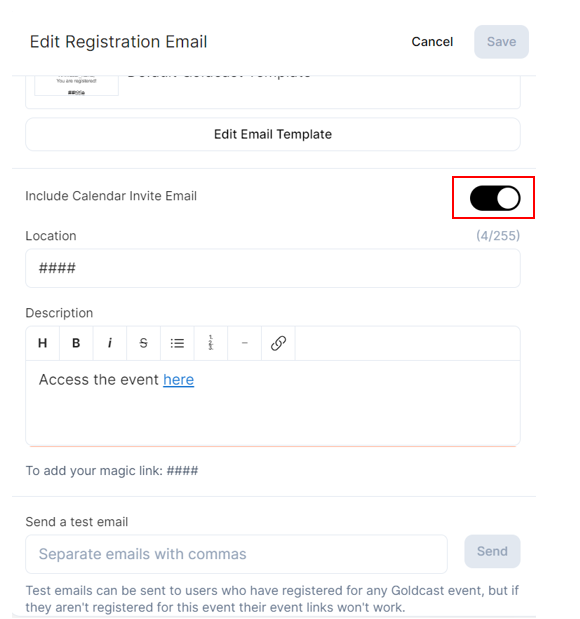
- Click the Registration email to open the Edit Registration Email drawer.
- Turn on/off the Include Calendar Invite Email toggle. If you turn the toggle off, Goldcast will not send the calendar invite with the registration email. In this case, registrants must manually add the event to their calendars.
Customizing the calendar invite email
In Goldcast, you can customize the calendar invite email to align with your specific requirements. Here are a few points to remember while editing the default calendar invite:
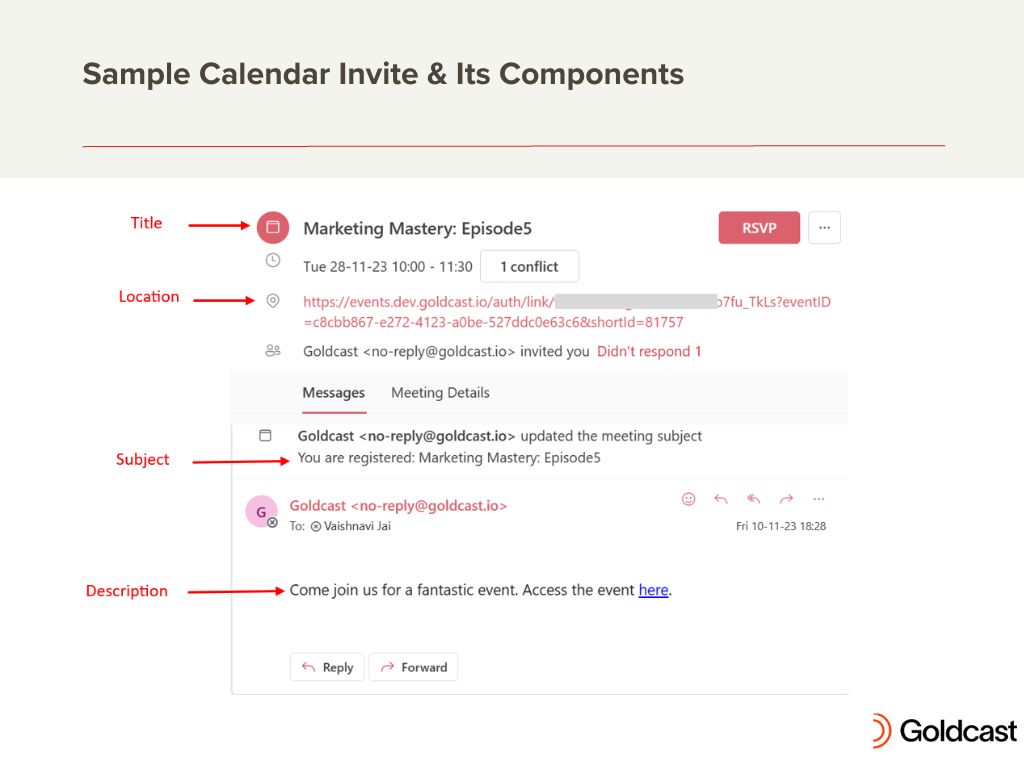
- The title defaults to the Event Name.
- The subject is the same as the one in the Registration Email.
- The calendar invite has a location text field to add the event venue.
- The location field defaults to #### (the magic link) for virtual and hybrid events.
- In case of an in-person, the location field is set to ##event_location to pull in the location details from your event.
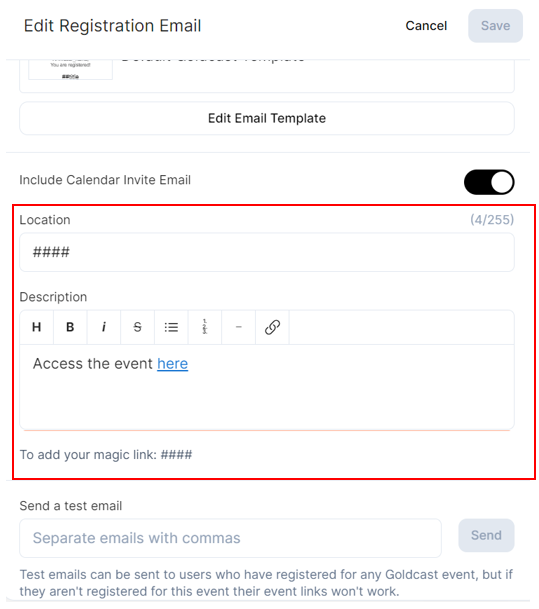
- Use the description text field to customize the body of the Calendar Invite. You can add more info about the event or text encouraging attendees to RSVP Yes and add the date to their calendars.
- By default, this field is set to the text “Access the event here” with a link to the magic link for virtual and hybrid events.
- The default text for in-person events is, “Check into the event using your QR code here,” with a link to the check-in QR code.
Follow these steps to edit the calendar invite:
- Log into Goldcast Studio and select your preferred event from the Events list.
- Navigate to Email → Schedule using the left sidebar.
- Click the Registration email to open the Edit Registration Email drawer.
- Edit the Location and Description text boxes. Include appropriate merge tags to dynamically populate the body of the invite with event-related information.
Note: You cannot edit the Title and Subject as they're automatically pulled from your event and registration email.
- We highly recommend sending a test email to check if the calendar invite fits your needs.
- Once satisfied with the changes, click Save in the top right corner.
Resending calendar invites
There might be scenarios when your event agenda changes from what was initially planned. In such cases, Goldcast allows you to automatically resend modified calendar invites to guests who have registered for the event. They’ll receive an updated calendar invite with the latest event info.
For Full Event Invites
If you've set up full event invites, Goldcast will give you the option to resend calendar invites when you modify one or more of the following details:
- Start and end time
- Duration
- Timezone
Once you edit the event details using the Edit Event button and save the new changes, you will see the following prompt.
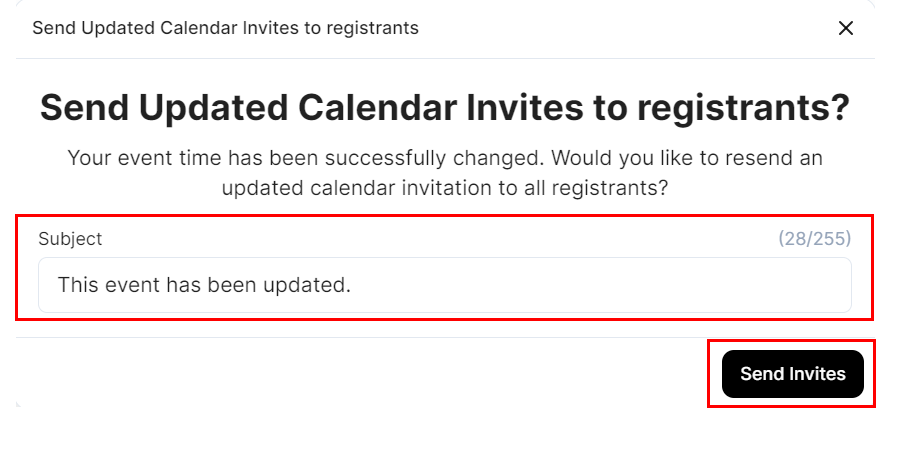
You can update the subject line of the Calendar Invite to reflect the latest changes and send the modified invites to all registrants.
For Day & Session Level Invites
If you've set up day-level or session-level calendar invites, any changes that impact the calendar invites, such as:
- Modifying the start/end times on any event day
- Changing the session start/end timing
Will trigger the following action:
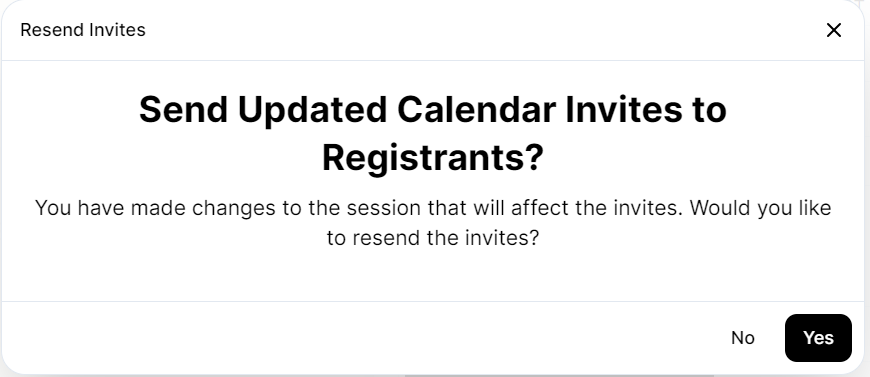
Click Yes to send updated calendar invites with the new timings to all registrants.
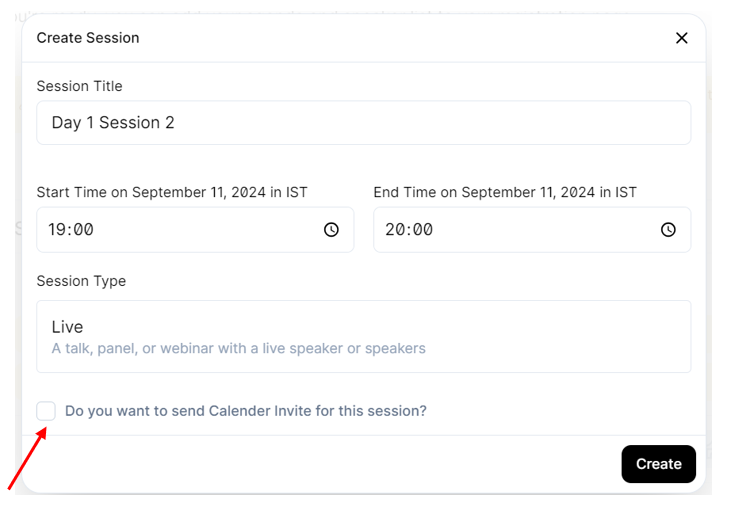
Additionally, whenever you add a new session, you can select the checkbox at the bottom to send an updated calendar invite.
FAQs
1. What merge tags can I use in calendar invites?
Currently, we support these merge tags in calendar invites.
| Merge Tag | Description |
| #### | Magic link |
| ##event_location | Event location |
| ##checkin_qrcode | Check-in QR code for an in-person event |
2. What happens to the calendar invite when I change the event type from virtual to hybrid or vice versa?
The calendar invite will retain the default location and description texts for your original event type, even when you change a virtual event to a hybrid one or vice versa. So, if you change the event type, you’ll need to customize the calendar invite to suit your specific requirements.
3. What happens to the calendar invite when I duplicate an event?
The calendar invite settings are copied over to the duplicate event as well.
4. Are calendar invite settings copied when creating a template?
Yes. When you save an event as a template and create new events using this template, the calendar invite settings are carried over to the new events.
5. What happens to calendar invites for existing events or templates?
All existing events will have the calendar invites populated with the default settings based on the event type. For templates, the location is set to #### (magic link), and the description is “Access the event here.”
If you have previously contacted support to set custom values for the location and description fields in the calendar settings, you’ll continue to see the custom settings in your event.