In order to use the Salesforce Integration, you'll need to install the integration into your Goldcast organization and also install the Goldcast Managed Package into your Salesforce account. This will enable the bidirectional sync of data between Goldcast and Salesforce.
Prerequisites
Before you begin the integration, make sure you have the following account features:
- Goldcast: Event organizer access to Goldcast.
-
Salesforce Sales Cloud:
- System Administrator access to Salesforce Account(Sandbox or Production account) with the permission to install managed package, assign permission sets and sync data to and from Salesforce to Goldcast.
- The user should also have the Marketing User permission checkbox enabled. This is for Goldcast to update campaign member statuses.
Steps to install the Salesforce Integration in Goldcast
Before You Begin: We recommend logging into your Goldcast Studio and Salesforce accounts to avoid doing so later in the setup process.
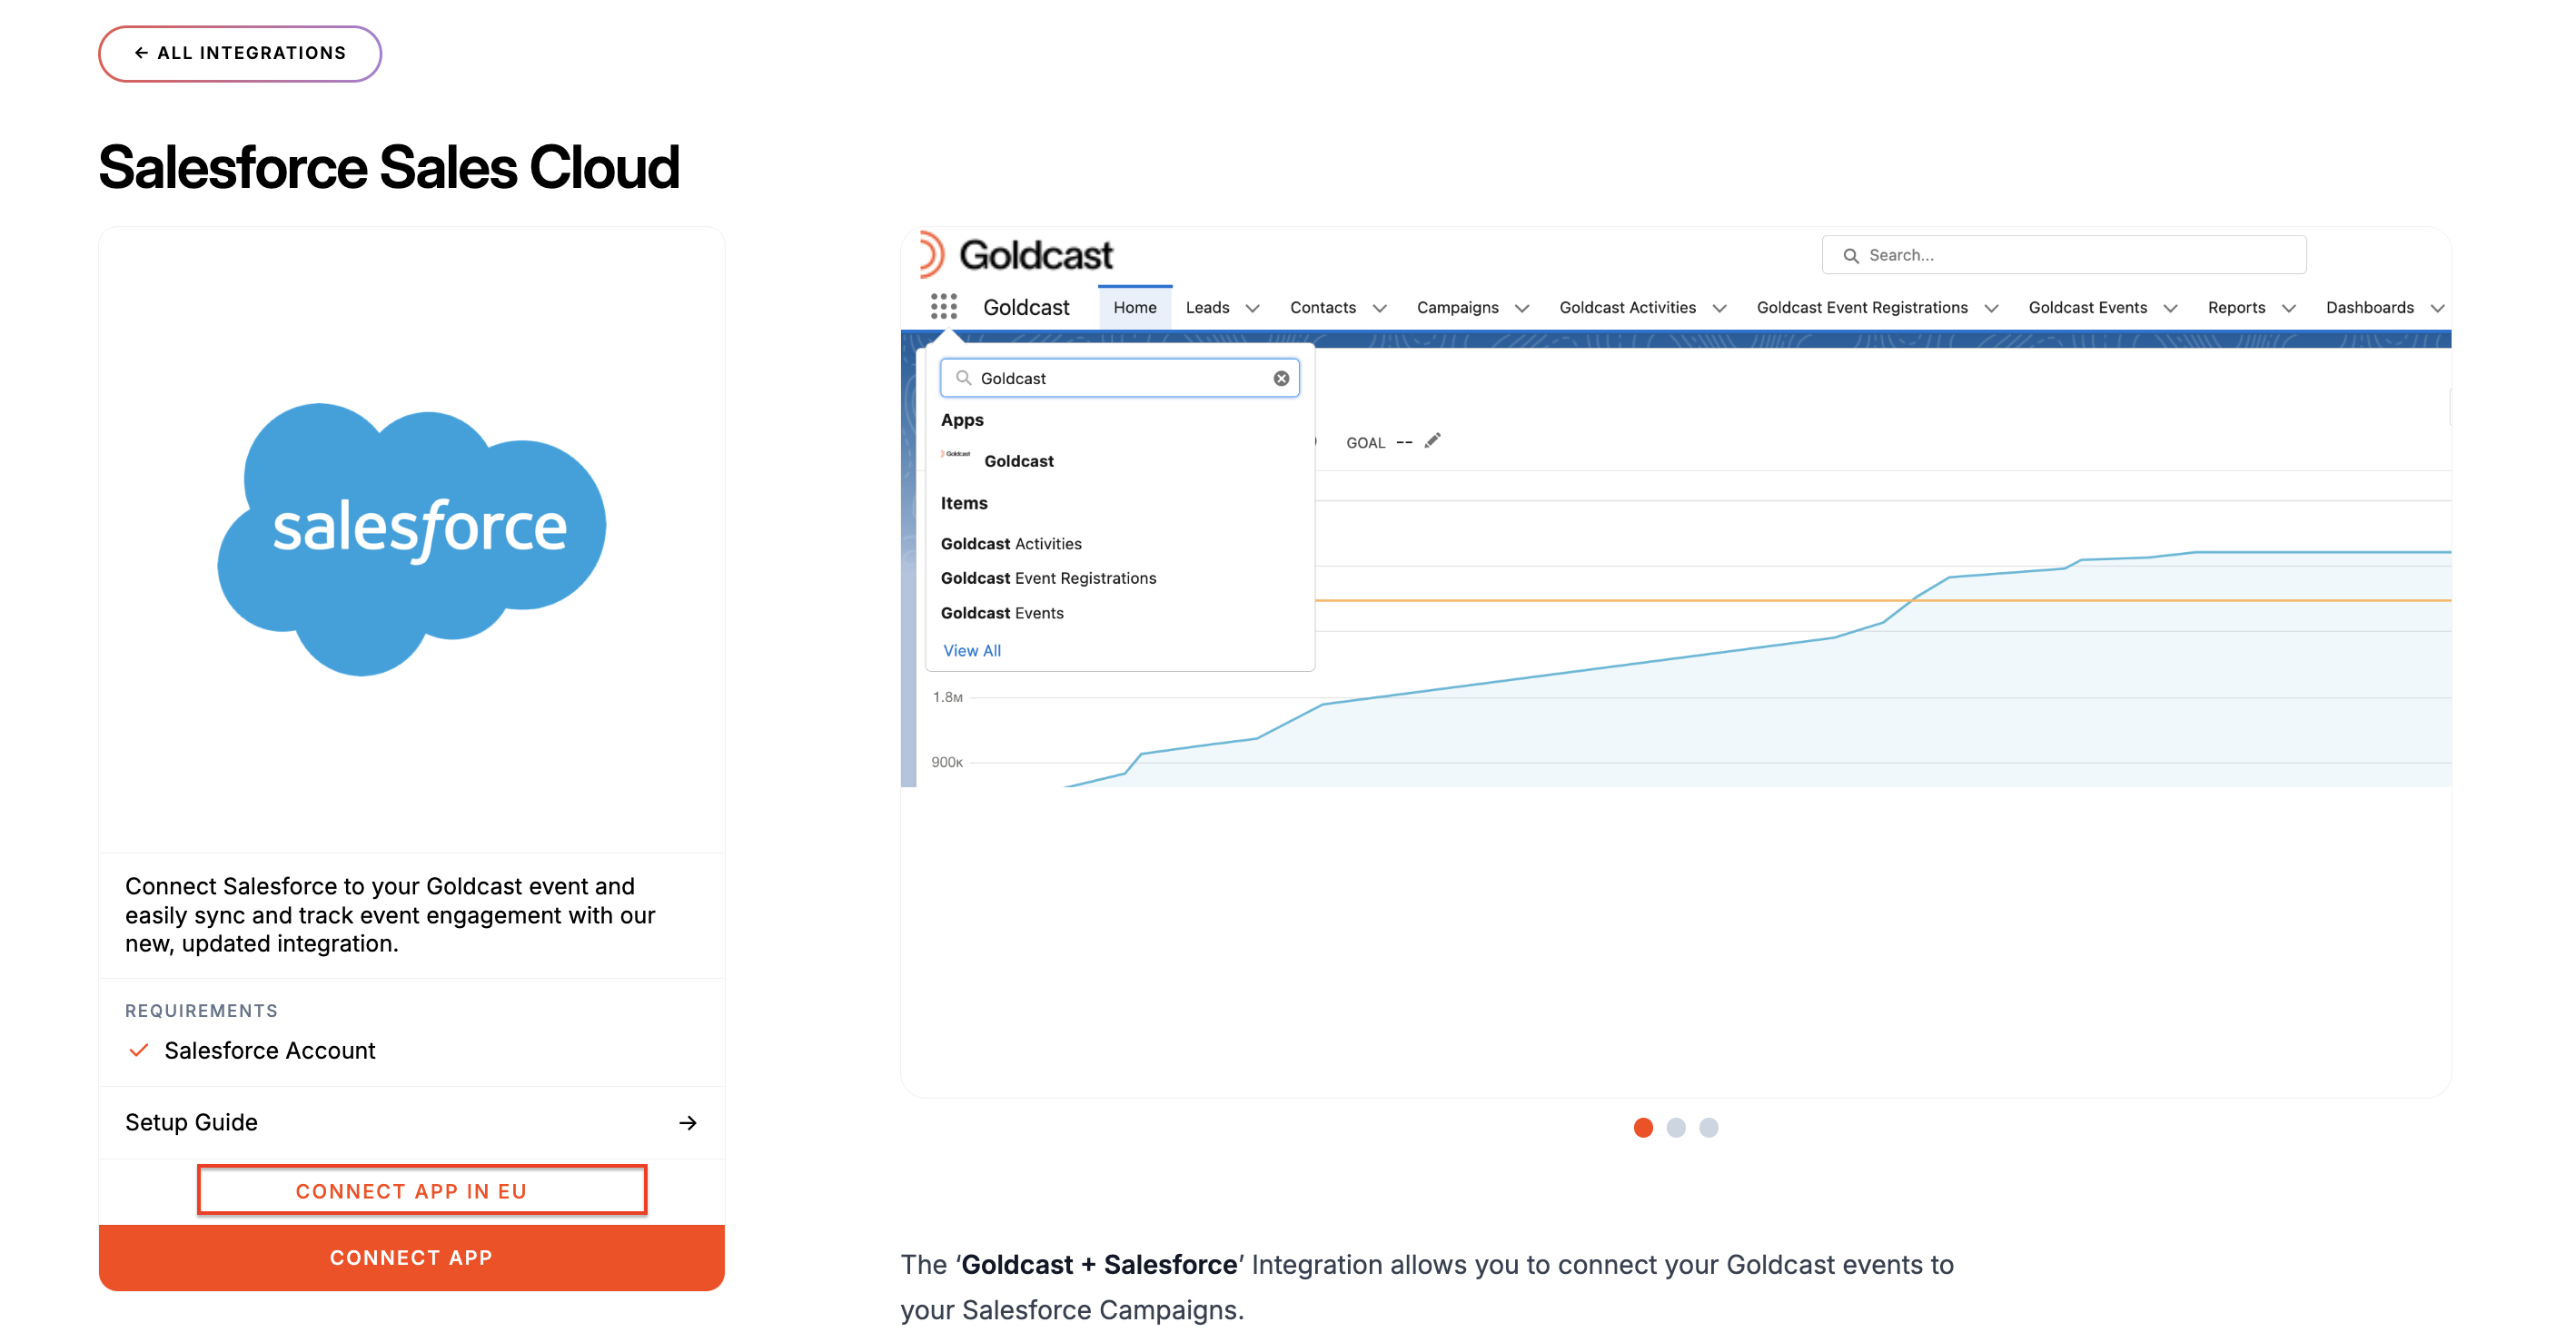
1. Open Goldcast Marketplace on your browser and click the Salesforce Sales Cloud tile.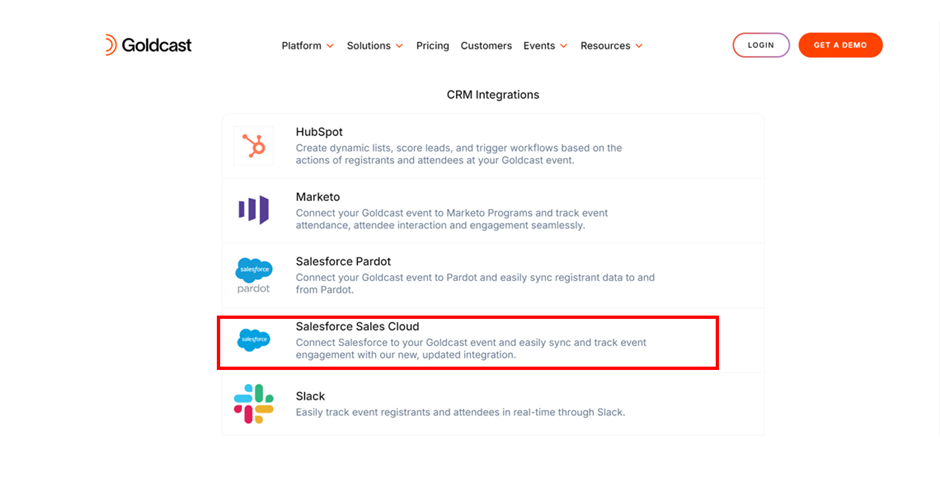
2. Click the Connect App button to begin the installation.
Heads Up: If you are based out of the EU Region, please use the CONNECT APP IN EU button to install the integration.
3. This redirects you to the Integrations page for your Goldcast Org, and a pop-up titled Install Salesforce will appear.
4. Click the Install button.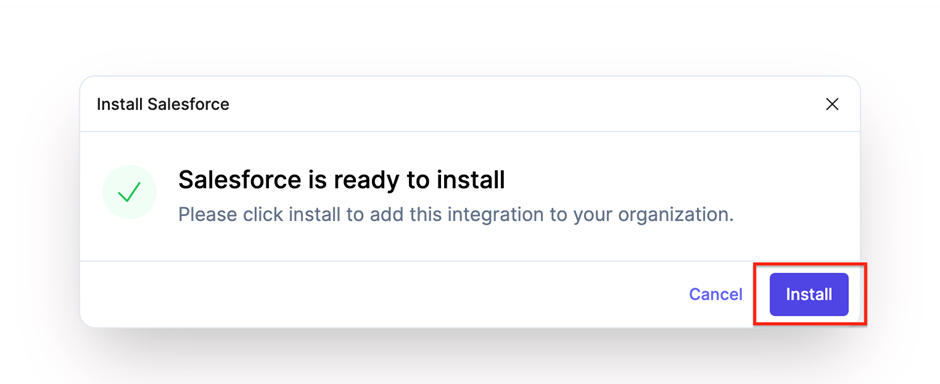
5. You’ll receive a confirmation pop-up for the installation, and then you will be redirected to a screen to proceed with your installation of Goldcast’s Managed Package.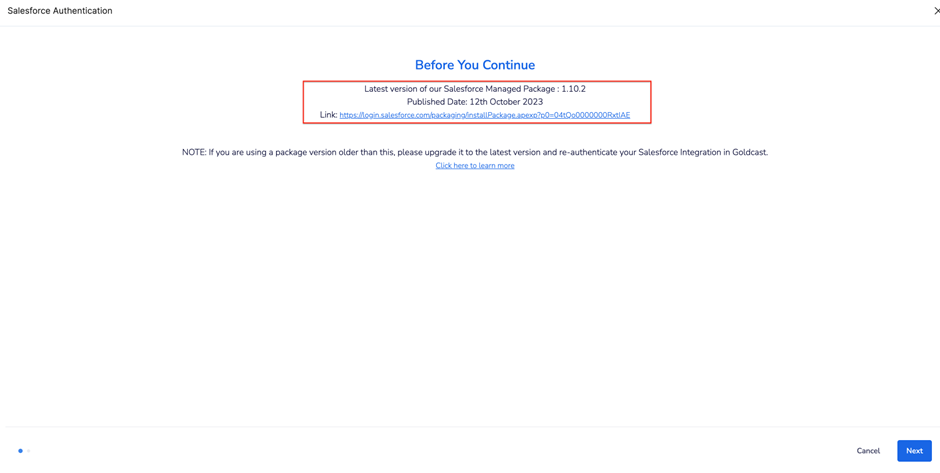
6. Click the link in the window to install the managed package into your Salesforce Account. This redirects you to the Salesforce AppExchange page.
Note: Do not close the Goldcast tab in your browser, as we will resume the installation setup later on in Goldcast.
Steps to install Goldcast's Managed Package in Salesforce
Note: The managed package costs $50 per company/customer for Goldcast customers. However, this fee is included in your Goldcast pricing so you won't need to pay extra during installation.
- Click Get It Now to install the Managed Package into your Salesforce Account. This will prompt you to log into the Salesforce Trailblazer account.
- Once you log in, you will get a pop-up to choose your environment (Production/Sandbox). Make the selection according to your requirements.
- To proceed with the installation, click the checkbox to Agree with Terms and Conditions and click Confirm and Install.
- This will redirect you to log in to your Salesforce Account. Upon successful login, you will get options to choose the installation scope in your Salesforce. Choose Install for All Users.
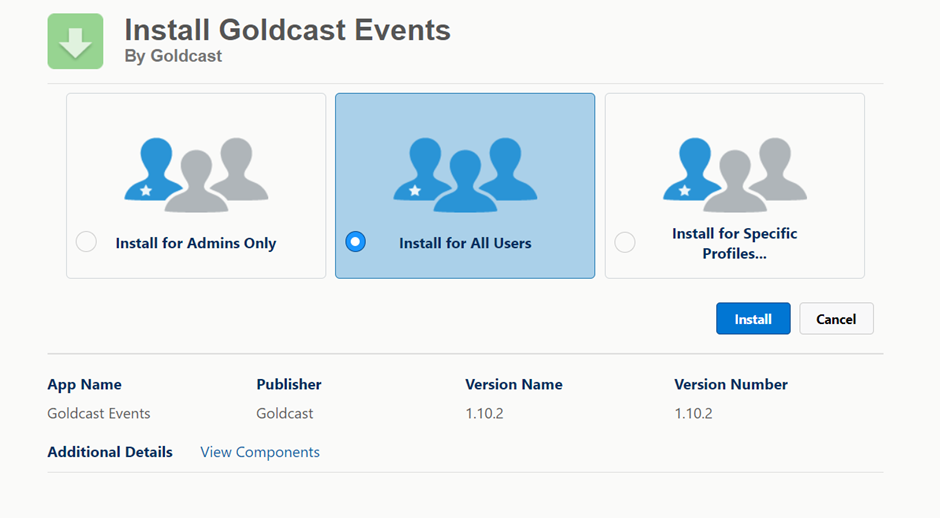
Note: We highly recommend selecting Install for All Users due to the permissions required for specific package components to function post installation, ex. Lead Conversion. In case of insufficient permissions, there might be some anomalies.
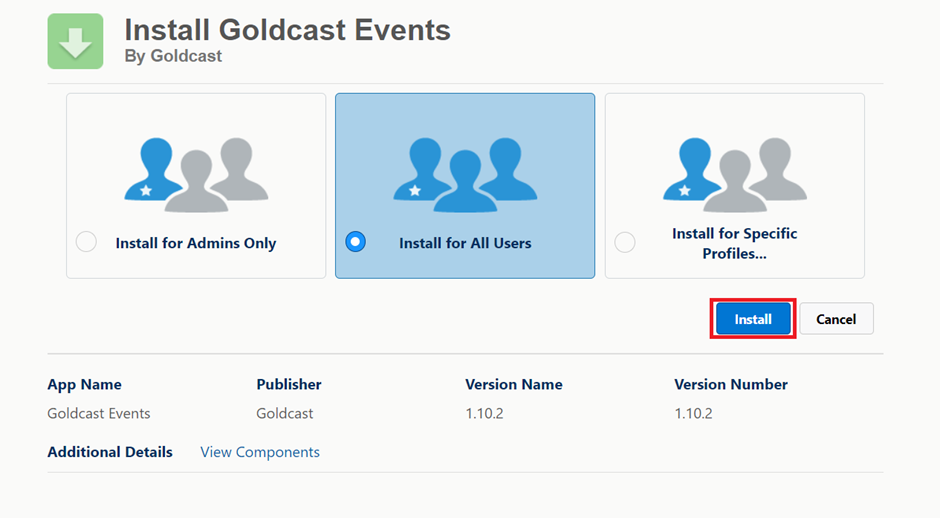
- After you've chosen the desired option to proceed with, click on Install to complete the process.
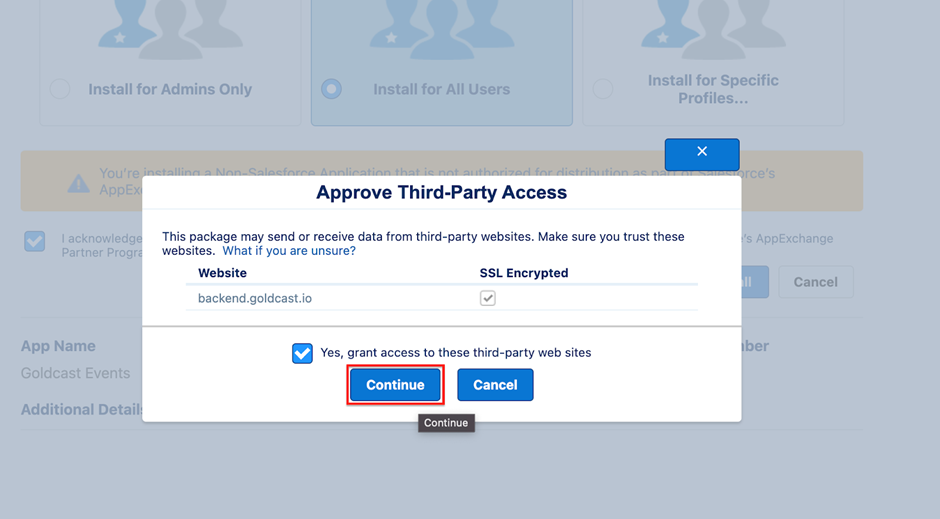
- You will get a pop-up to approve third-party access to send or receive data from Goldcast. Check the box and click Continue. This will begin the installation process.
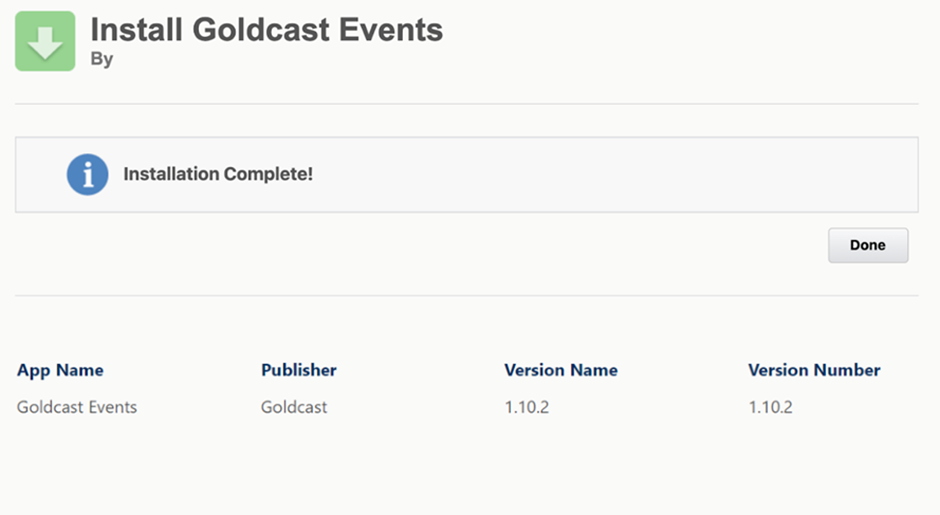
- Once the installation is complete, you'll get the following success message. Click Done.
Heads Up! The installation can take a while if the Salesforce servers are busy. If a delay occurs, Salesforce will send you an email notifying you when the installation is complete.