Overview
In Goldcast, event organizers, speakers, and attendees can choose to have:
- No virtual background
- Use a standard blur
- Or use an image(s) the organizer uploads as a virtual background
Heads up! Goldcast supports virtual backgrounds only on the Chrome browser.
For organizers: How to add a virtual background to your event
Follow these steps to add a virtual background for your Goldcast event:
- Login to Goldcast Studio and open your preferred event.
- Navigate to Look & Feel using the left sidebar.
- Scroll to the Engagement & Communication section and expand the Virtual Background sub-section.
- Click Upload Image, and select a file from your computer.
Note: Any image you use as a virtual background should have the following specifications: It must be JPEG, JPG, or PNG with an aspect ratio of 16:9 and a maximum resolution of 1600 x 900 px.
- Click Upload.
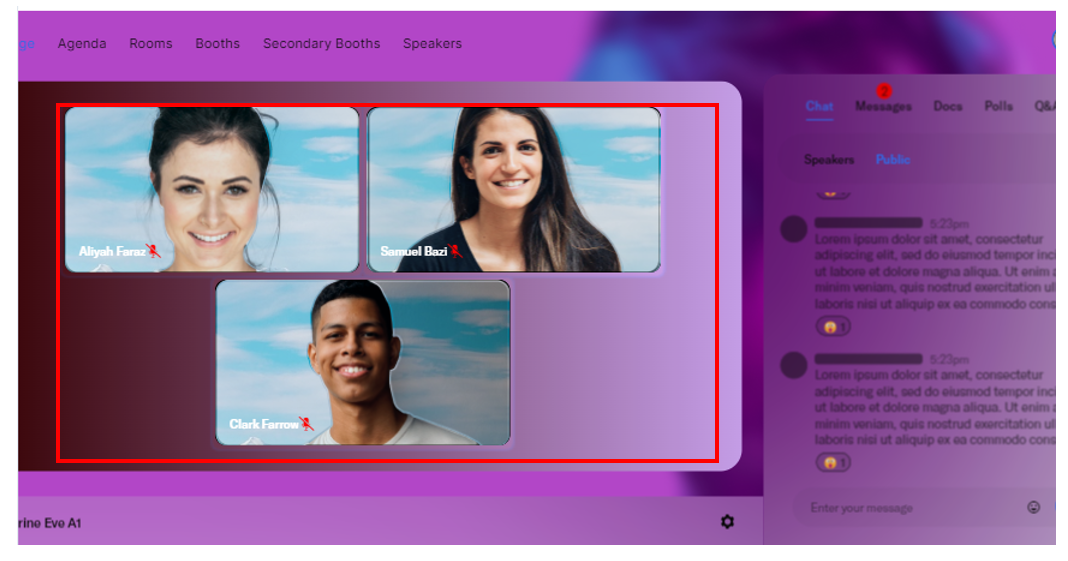
- Once the image is uploaded, you can see it populated in the Preview window on the left, behind the pictures of the sample speakers.
- If required, you can add multiple background images. To do so, repeat the steps above. If uploading multiple images, you must set one image as the default virtual background. The default background will automatically show behind your speaker(s) when they enter the event. They can then retain, change, or remove it.
- To select the default background, click Make Default next to the image thumbnail.
- Once you’ve uploaded the background images and set the default one, click the Save button on the top-right to save your changes.

How to set a virtual background during the event
During the event, the default image(s) you’ve uploaded to the event in Studio automatically populates as the speaker’s virtual background. Attendees can also use this virtual background when they join the stage by clicking Raise Hand or entering discussion rooms.
For speakers and organizers
Speakers and organizers can follow these steps to change the background image during the event:
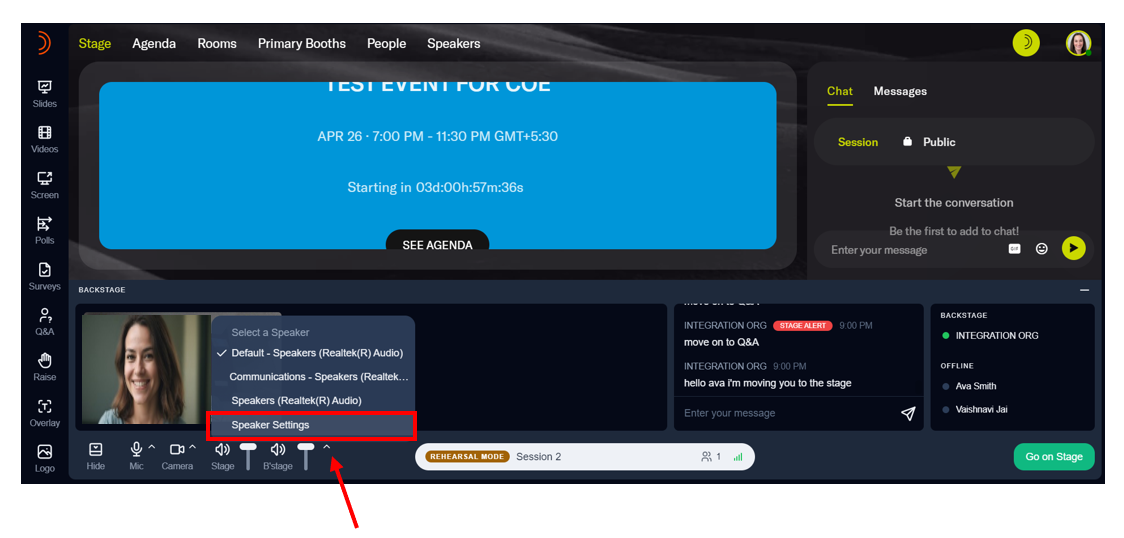
- Click the chevron next to the Backstage (B’Stage) volume control and select Speaker Settings.
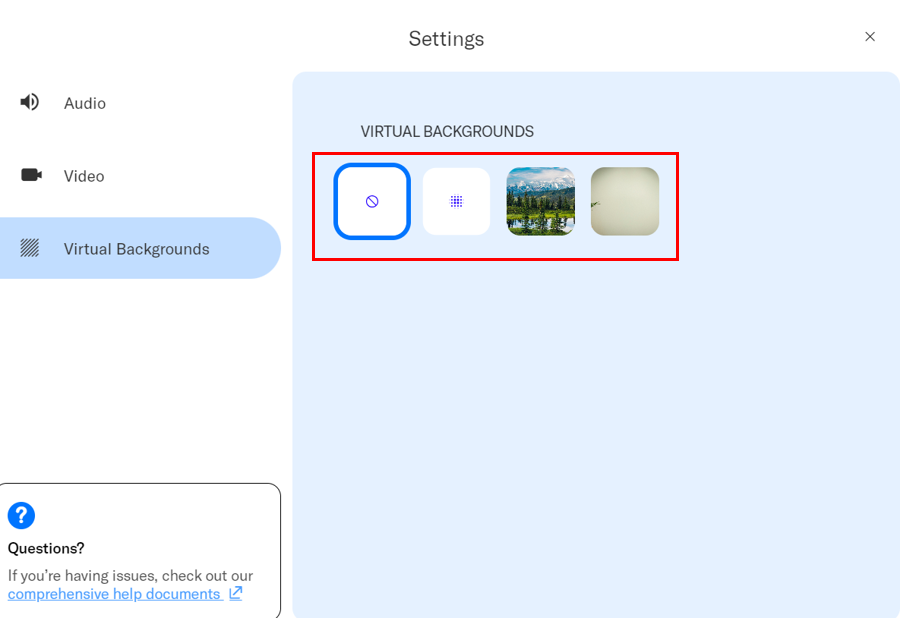
- This opens the settings window. Navigate to the Virtual Backgrounds menu and choose None, Blur, or one of the uploaded images.

Key points to know
- If the organizer has not uploaded any virtual background, speakers and attendees can choose from no background (None) or blurred background (Blur).
- If the organizer uploads a virtual background while the event is live, speakers must refresh the Goldcast event tab to view and apply it.
- If a speaker/attendee uses a virtual background, Goldcast limits the live stream video quality for the speaker/attendee to 480p. If you require higher video quality with a virtual background, contact our support team before the event to check feasibility.
For attendees
Attendees can follow these steps to change the background image during the event:
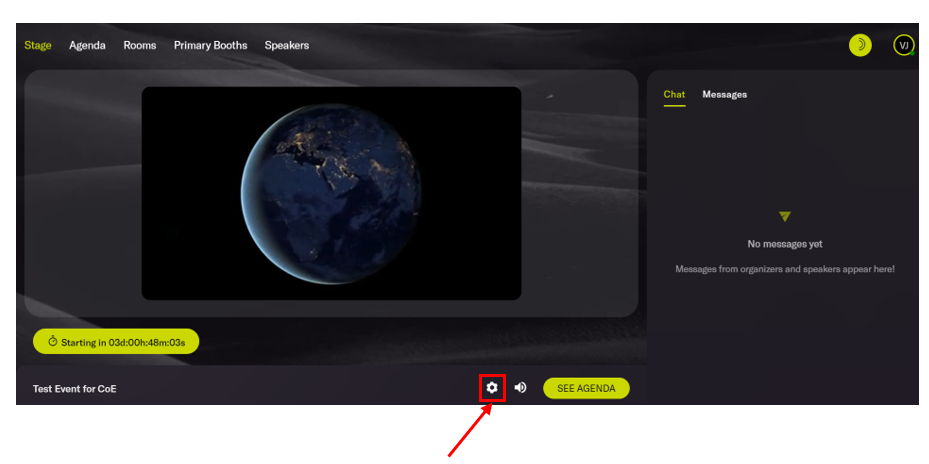
- Click the settings gear in the toolbar at the bottom of the screen.
- This opens the settings window. Navigate to the Virtual Backgrounds menu and choose None, Blur, or one of the uploaded images.