This article discusses different strategies for turning off or closing event registrations. These approaches are beneficial for hosting private events, as they give you more control over your guest list and ensure that only pre-approved guests can attend.
Method #1: Do not share the registration page URL externally
The easiest approach to turning off registrations for your event is to prevent access to the registration page entirely. Do not share the registration page URL externally.
In this case, you'll need to bulk upload the list of approved registrants via the Studio. This strategy ensures that only users on the upload list will receive their magic links and be able to access the event.

Method #2: Hide the registration form on the registration page
Keep the registration page accessible, but hide the registration form. Instead, configure the description block with a message saying, “Registrations Closed,” or “This is a private event,” etc. Like the previous method, you can upload the list of approved registrants via bulk upload in Studio.
A huge advantage of this method is that registration page visitors can use it to view event details. Additionally, you can customize the registration page to communicate the event's current registration status.
Follow these steps to hide the registration form:
For Events
- Login to Goldcast Studio, and use the Events tab to navigate to your preferred event.
- From the event dashboard, navigate to Registration → Page & Form, and click the Edit button in the Registration Page section.
- On the page builder, navigate to Blocks → Registration on the left tab, click the three dots icon
 and click Hide Block. This hides the registration form on your registration page.
 - Next, remember to hide the Registration button in the Navigation and Hero blocks.
- Modify the text of the description block to indicate that the event's registration has closed. You can also use any other custom block to display this information.
- Click Save and Close.

For Webinars
- Login to Goldcast Studio, and use the Events tab to navigate to your preferred webinar.
- From the webinar dashboard, click the Registration tab at the top.
- Click the
 Registration Page design button.
- On the page builder, navigate to Blocks → Registration on the left tab, click the three dots icon and click Hide Block. This hides the registration form on your registration page.
- Next, remember to hide the Registration button in the Navigation and Hero blocks.
- Modify the text of the description block to indicate that the event's registration has closed. You can also use any other custom block to display this information.
- Click Save and Close.

Method #3: Use waitlists
In Goldcast, you can use waitlists to gain more control over who attends your events. When you enable waitlists, registrants who submit the registration form will receive a notification saying something like, “You've been added to the waitlist.”
As attendees get waitlisted, you can select and approve the registrants you want to permit for the event via the Studio. To learn more about enabling waitlists, refer to our guide on How to set up a waitlist for an event.

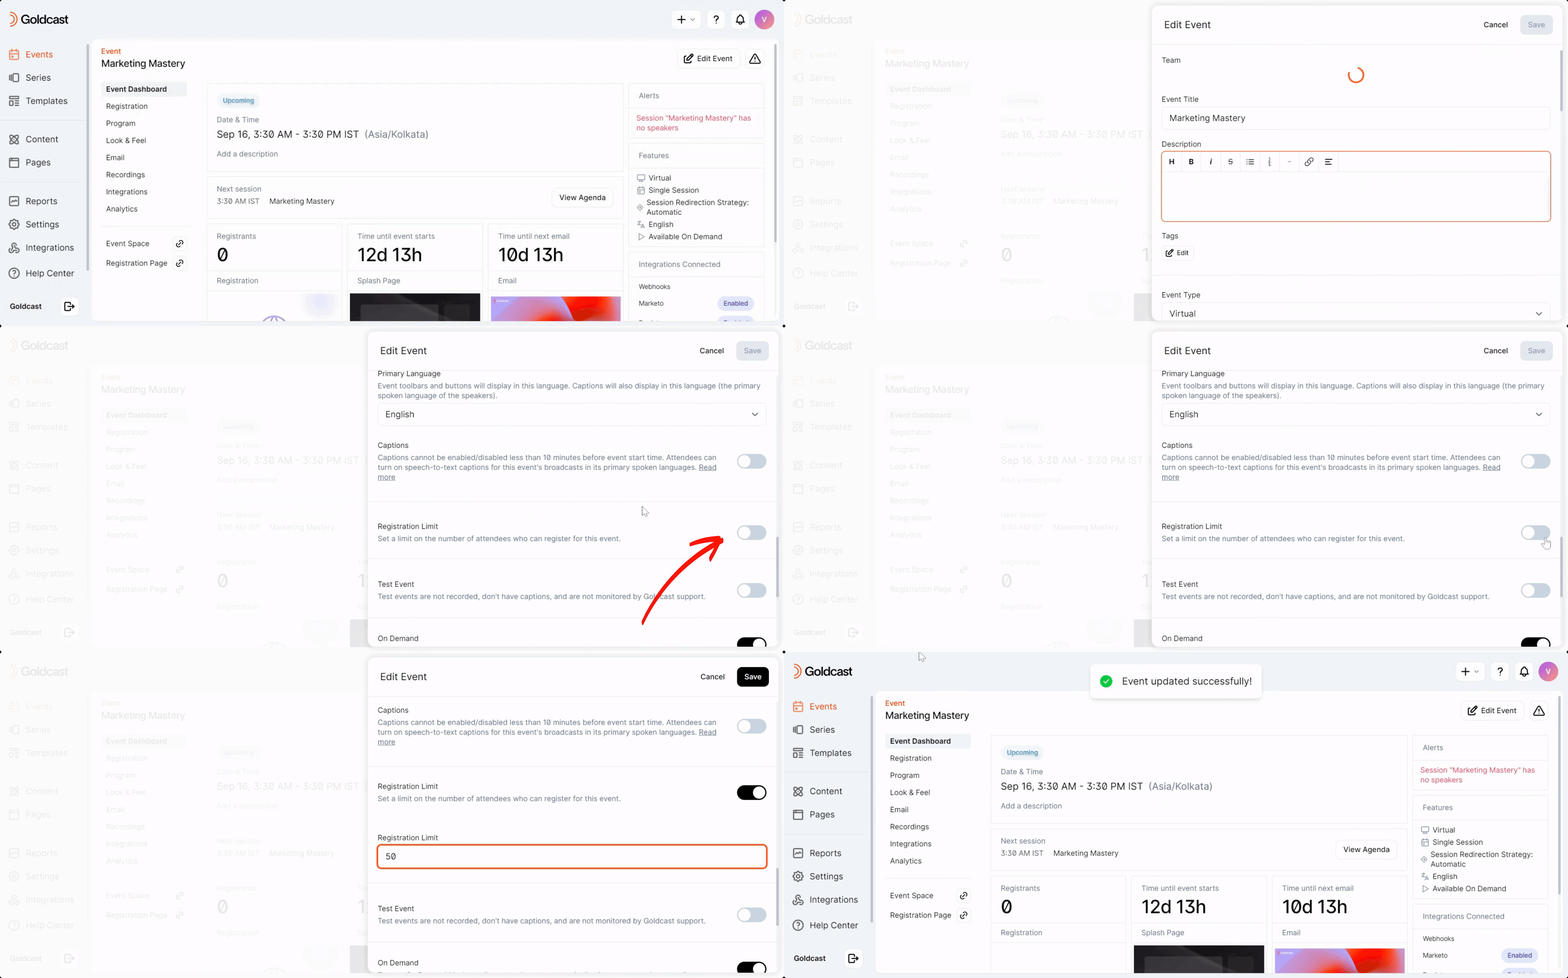
Method #4: Set registration limit
You can cap the registrations for your event by setting a registration limit. Once the registration cap is reached, new registrants will be prevented from submitting the registration form or added to a waitlist. To learn more about this feature, refer to our guide on How to Set Event Registration Limit.

For further questions, contact your CSM or Goldcast Support (support@goldcast.io).
Related: Limit Registrations to Certain Email Domains using Regex