Introduction
You can use location blocks to embed Google Maps with a location pin on your registration page. This is a great way to display your event’s location (in case of field and hybrid events) or include an after-party location (for virtual events).
Add a Location Map Block
To add a Google Map block:
- Log into Goldcast Studio, navigate to the Events tab, and open your preferred event.
- Click Registration → Page & Form using the left sidebar.
- Click the Edit button on the Registration Page section to open the Page Builder.
- Click +Add Block, scroll to the Custom Block section, and select Location.
- This adds a Location Map Block to the bottom of your registration page.
- Use the left sidebar to drag and place the location map block at your preferred position on the registration page.
Add a Map Pin to the Location Block
A pin is a marker that you can add to map your event’s location in the location block. The pinned address will open in Google Maps when users click on it. To map a location pin:
- Click the Location Block that you added in the previous section.
- Head to the Pins textbox and enter your desired address. When you start typing the address, you can notice a list of autocomplete suggestions from Google.
- Select your desired address from Google’s suggestions. This automatically drops a pin at the specified location.
Heads Up! The location block uses information from Google Maps. If your address isn’t added to Google Maps, the block won’t be able to locate it. Check out Google’s documentation on how to add a missing place or report an error.
Customize the Block
You can further customize the appearance of the location block to match your page style. Here’s how to do it:
- Click the Location Block on the left sidebar on the Registration Page Builder to begin editing it.
- Use the Map Zoom select box to zoom in or out. A higher value will zoom into the location.
- Use the Layout select box to choose the map’s layout. You can select from Full Width or Split. Selecting Split adds the Block Headline and Text to the side of the map.
- Go to the Style tab to change the header and description's alignment, position, text color, background color and image, padding, etc.
- Use the Preview icons at the top right to check and verify whether the block appears as expected in different screen sizes.
- Once done, click Save and exit the page builder.
FAQs & Troubleshooting
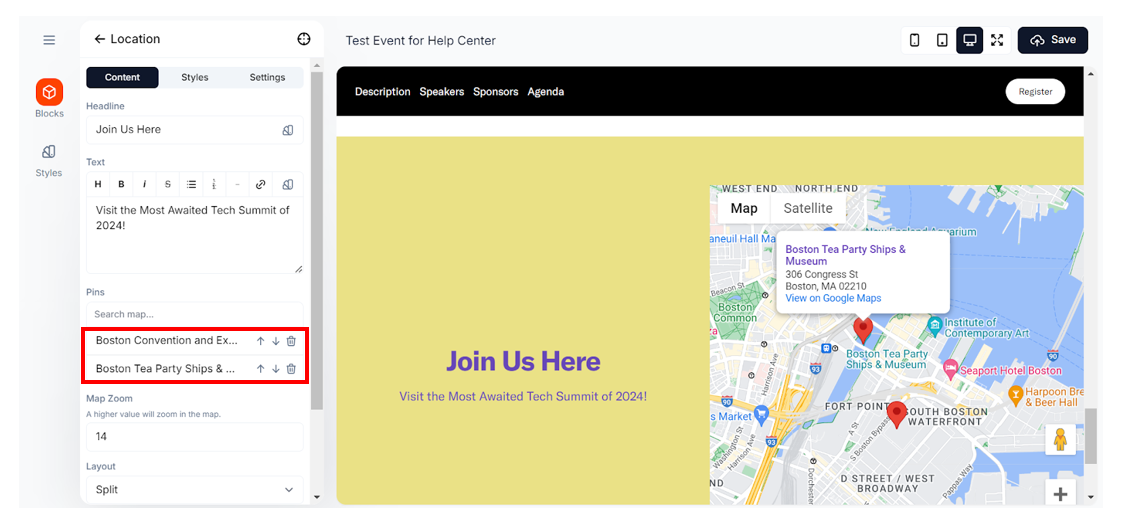
1. Can I add multiple pins to the location block?
Yes. Head to the Pins textbox and enter the following location. Use the up and down arrows to rearrange pins.
2. Can I change the pin title?
Yes, once you’ve added the pin, head to the Pins textbox and type the desired Pin title.
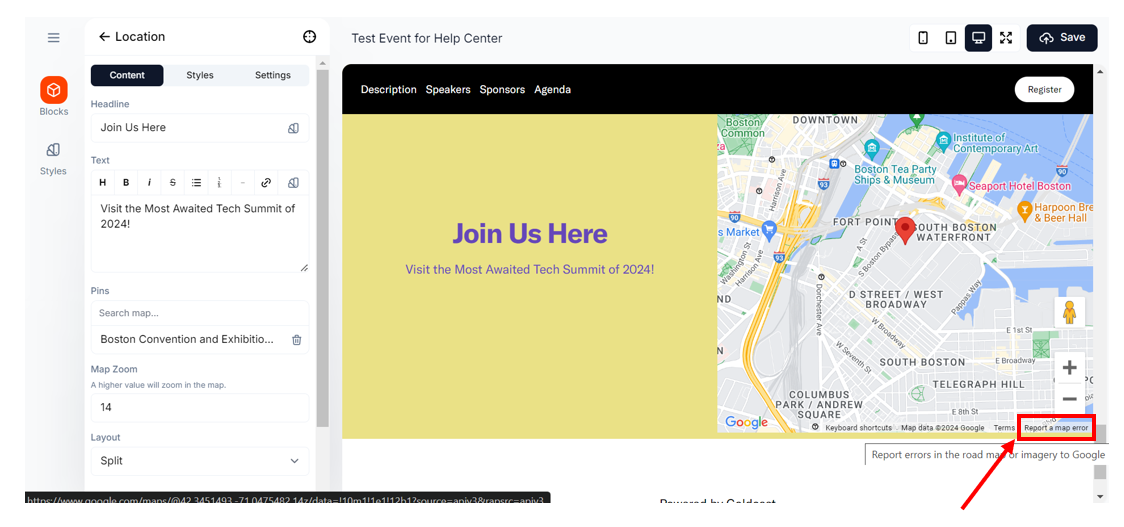
3. The pin is pointing to the wrong address. What do I do?
If you enter an address and the map block displays incorrect information, you can report the issue directly to Google. Click Report a Map Error at the bottom right and follow the instructions.
4. How do I delete a location map block?
To remove a previously added location block, click the three vertical dots icon next to it and select Delete Block.