Event organizers can create up to three tiers for sponsor booths in their event. This tier assignment will control the booth cover image and logo display sizes on the event and registration pages respectively.
- Tier 1 booths have large images
- Tier 2 booths have medium images
- Tier 3 booths have small images
Besides the differences in image sizes, there are no restrictions on what the Booth can include. For example, assets like videos, images and booth CTAs are available in all three tiers. Sponsors can still include all these assets when editing their booths.
Workaround: If you'd like more differentiation between the three tiers, you can manually restrict access to certain features, like Booth CTA or video play, by defining restrictions, collecting the assets from sponsors, and setting up the booths yourself.
Enabling tiers
Note: You can have only a maximum of 3 Primary/Secondary booth tiers in your event.
- Open Goldcast Studio and select the Events tab to get a list of all your events.
- From the Events List, select the event to which you’d like to add Booths
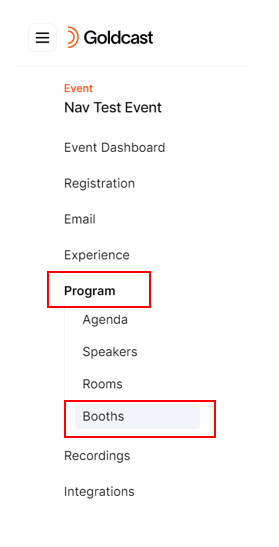
- Navigate to Program → Booths using the left panel
- Click Settings in the top right corner of the screen
- Turn on the booth tiers toggle
- Rename your tiers by clicking on the name
- Click Save in the upper right corner of the screen
Adding a booth to a tier
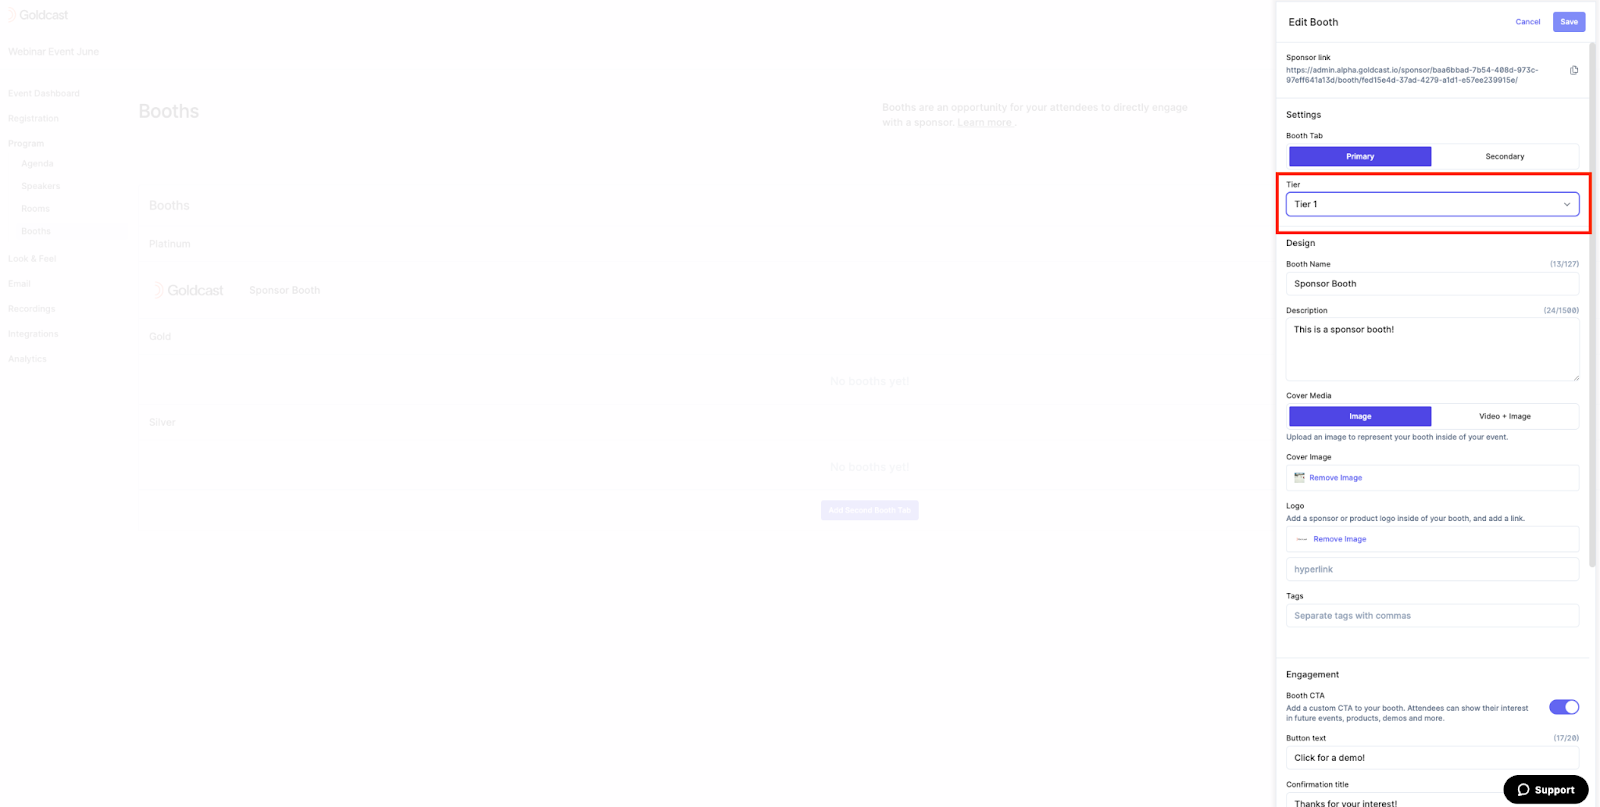
- Click on the booth name to open it
- Select the tier from the Tiers dropdown
- Click Save in the upper right corner of the screen
Heads up! If your sponsors are editing their own booths, they cannot update the assigned tier.
If no booths are added to a tier, that tier will not be displayed on the registration or event pages. If tiers are enabled for an event, we recommend adding booths to at least two tiers, so that tiers show up on the event and registration pages. You can assign tiers to both the primary booth and second booth tabs.
Reordering booths within a tier
- Click the two lines on the right side of the booth tile and drag and drop it
- Booths can only be reordered within their tier. To move a booth to a different tier:
- Click the booth to open it
- Scroll to the Tier field
- Select a different tier from the dropdown
- Click Save
Disabling Tiers
- Open Goldcast Studio and select the Events tab to get a list of all your events.
- From the Events List, select the event to which you’d like to add Booths
- Navigate to Program --> Booths using the left panel

- Click Settings in the top right corner of the screen
- Turn off the booth tiers toggle
- Click Save in the upper right corner of the screen
If you disable tiers after assigning them and then re-enable tiers later, your tier assignments will be maintained.
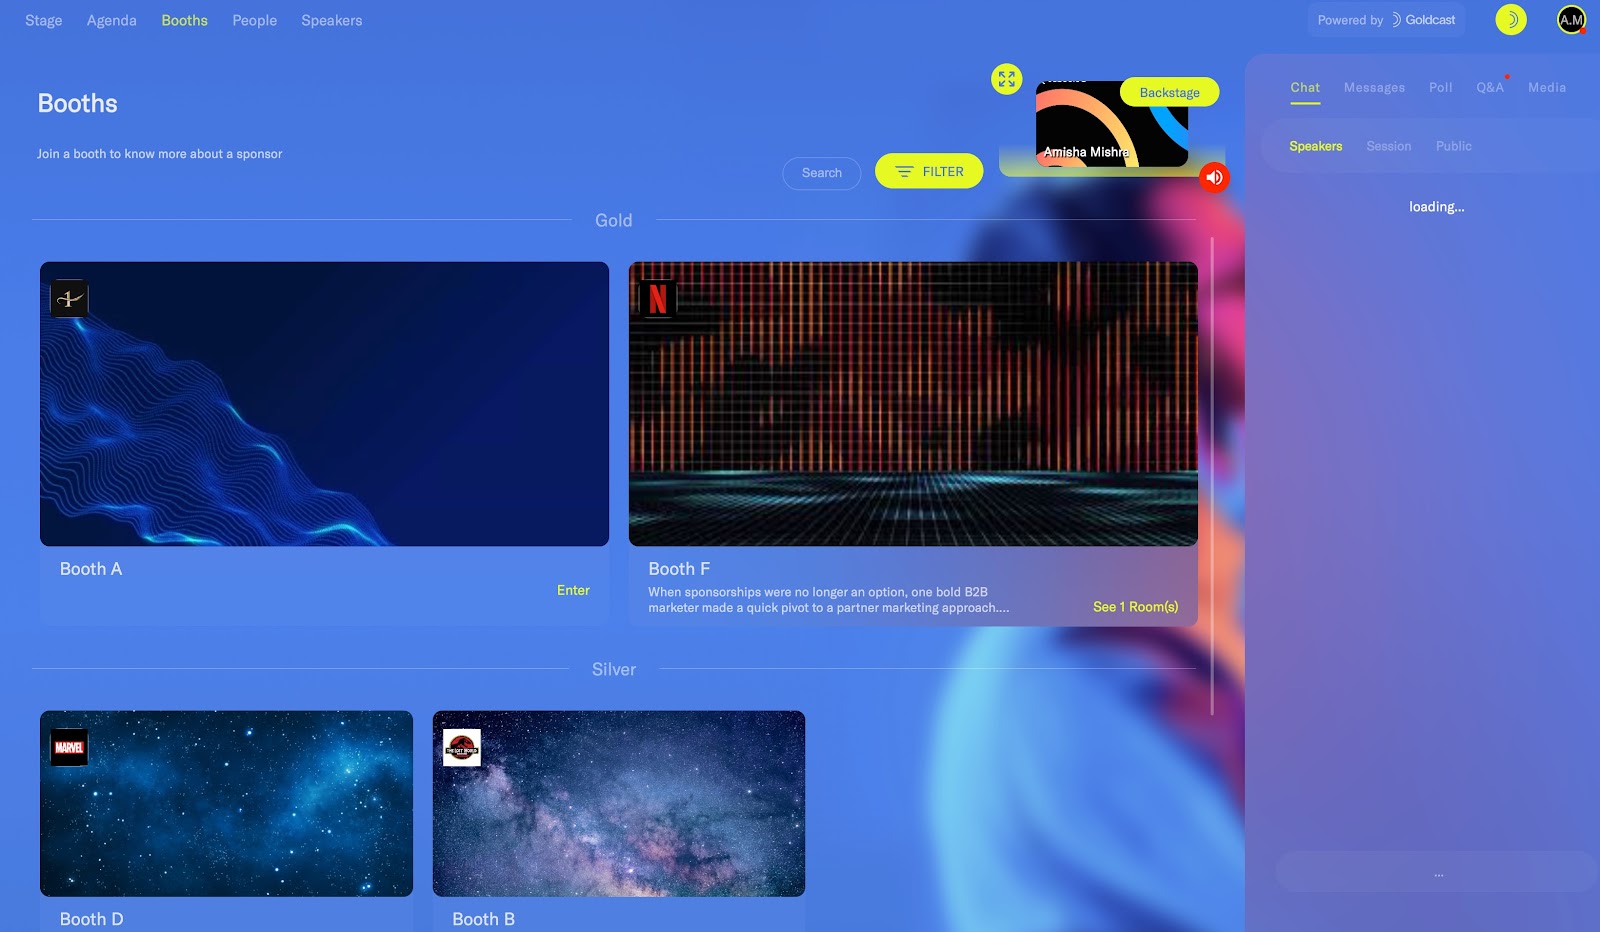
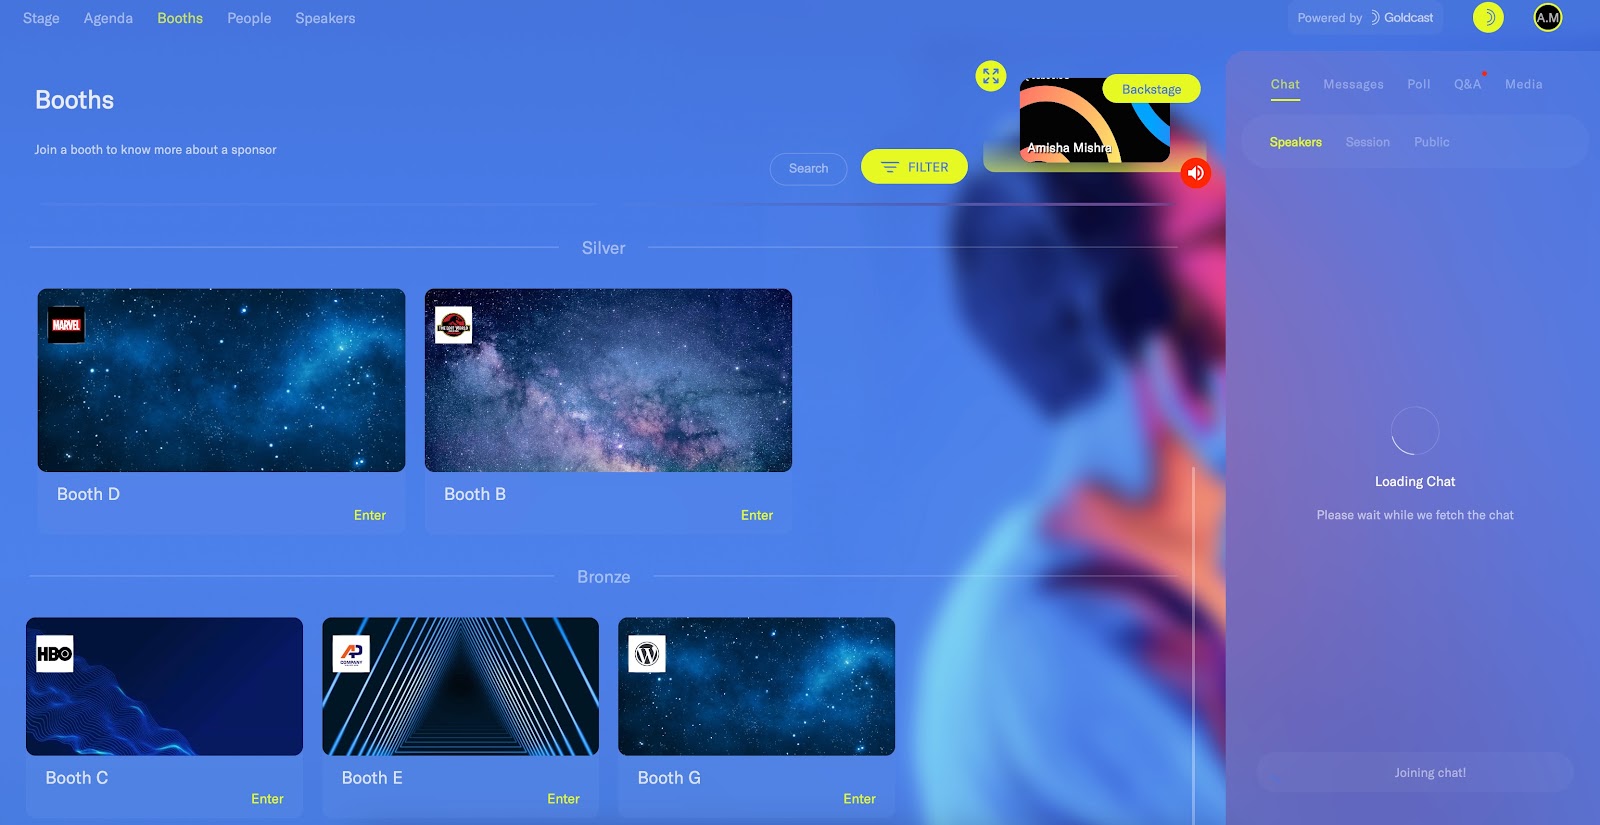
Booth Tiers View in the Event
The example below shows what booth tiers look like inside the Booths tab of your event. The tiers are “Gold,” “Silver,” and “Bronze.”
You can see that the Gold tier is on top, and those booths are the largest. Silver is in the middle. The Bronze tier is at the bottom, with those booths being the smallest.
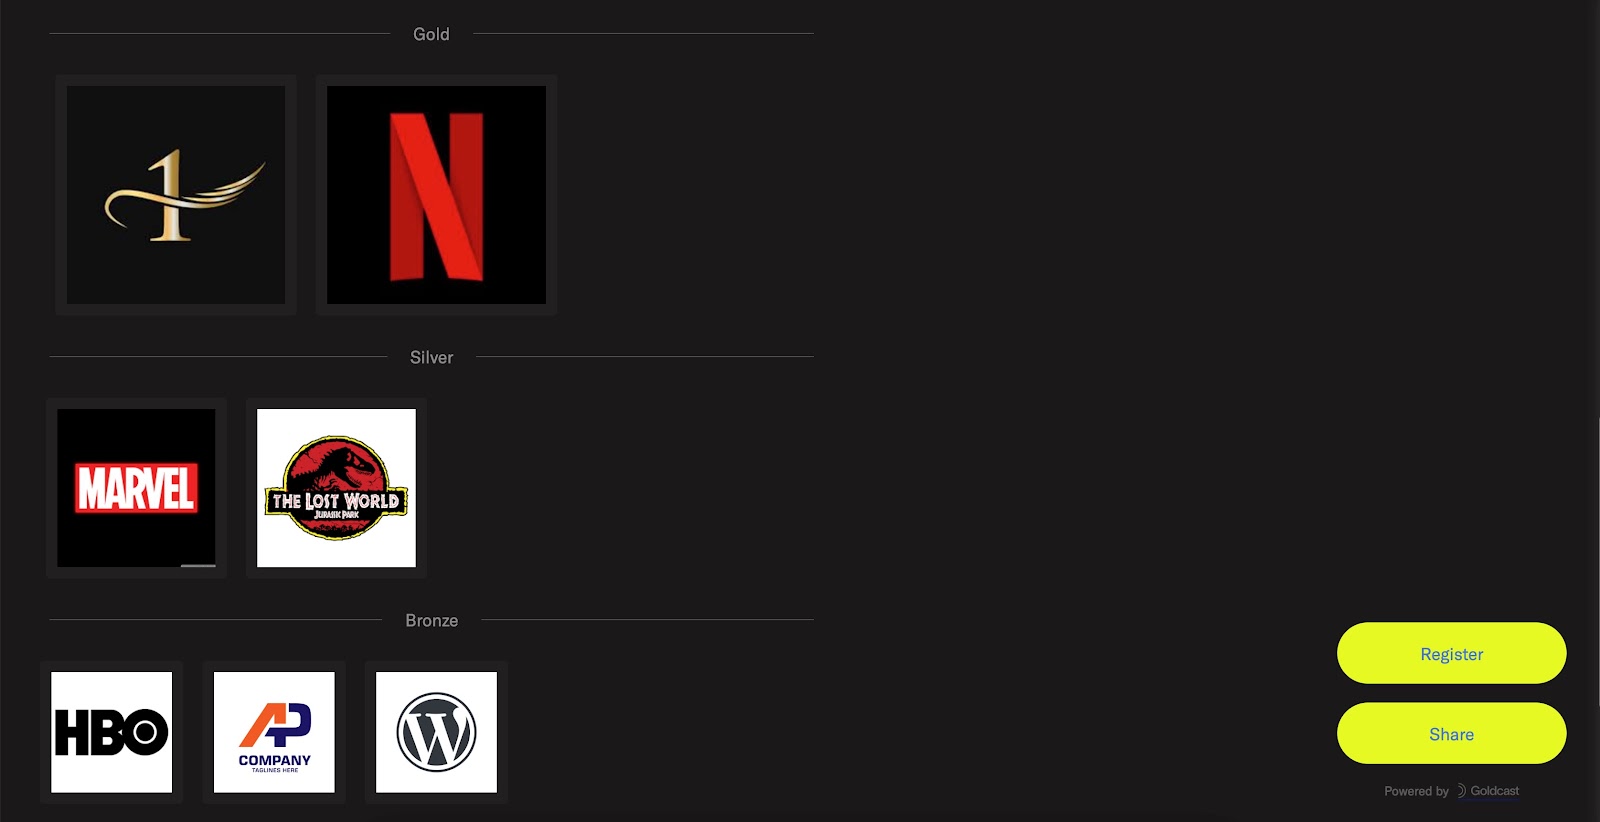
Booth Tiers View on the Registration Page
On Goldcast’s default registration pages for an event, you may choose to have sponsor logos appear. If you have tiers enabled, your logos will appear in their respective tier section, with the first tier the largest and the bottom tier the smallest.
For the best experience, it is recommended to use logos with a 1:1 aspect ratio.
Heads up! If you haven't uploaded a logo for a booth, Goldcast will NOT display it on the registration page.