Overview
Say you’re hosting a multi-track event for sales and marketers. You have a marketing track featuring different industry CMOs discussing how they use digital events to grow their pipelines and a sales track with eminent sales leaders discussing how they create impactful SKOs.
How do you ensure that sales and marketing registrants view their respective sessions on event day?
Goldcast allows you to add a field to your registration form that lets registrants self-select whether they’re interested in the sales or marketing track. So, when they log into the event, they'll automatically view the sessions of the track they selected!
In this guide, we walk you through how to add a field to your registration form that allows registrants to self-select their preferred event track. Before you begin, you can check our guide on how to create and edit registration forms.
Step 1: Create tracks for your event
Ensure your event has different tracks before enabling track selection on the registration form. Check this guide on creating event tracks if you need a refresher.
Step 2: Add a select/radio component to your registration form
- Log in to Goldcast Studio with your credentials, and select the Events tab to get a list of all your events.
- From the Events list, click the event you want to edit.
- Navigate to Registration → Page & Form using the left navigation panel.
- Click the Edit button to the right of the Registration Form to open the Registration Form Builder.
- Click Custom in the left panel of the form builder.
- Drag and drop the Select or the Radio component into your form.
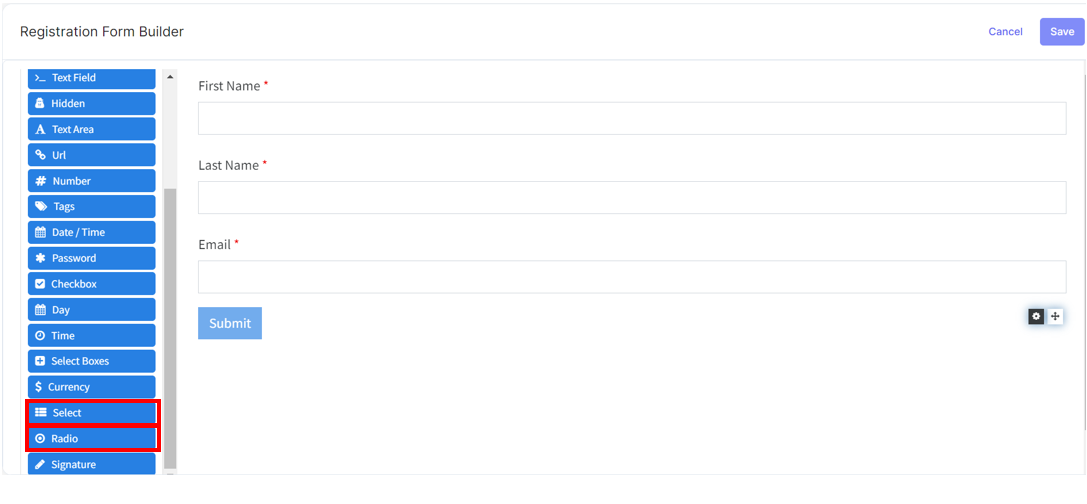
If you’ve added a select component, proceed to the next step. In contrast, if you prefer a radio button for track selection, skip step 3 and move to step 4.
Step 3: Configure the select component
The select component allows registrants to select their preferred track from a dropdown list. A popup opens when you drag and drop the select component onto the form. Use this popup to customize the field and add your preferred track choices.
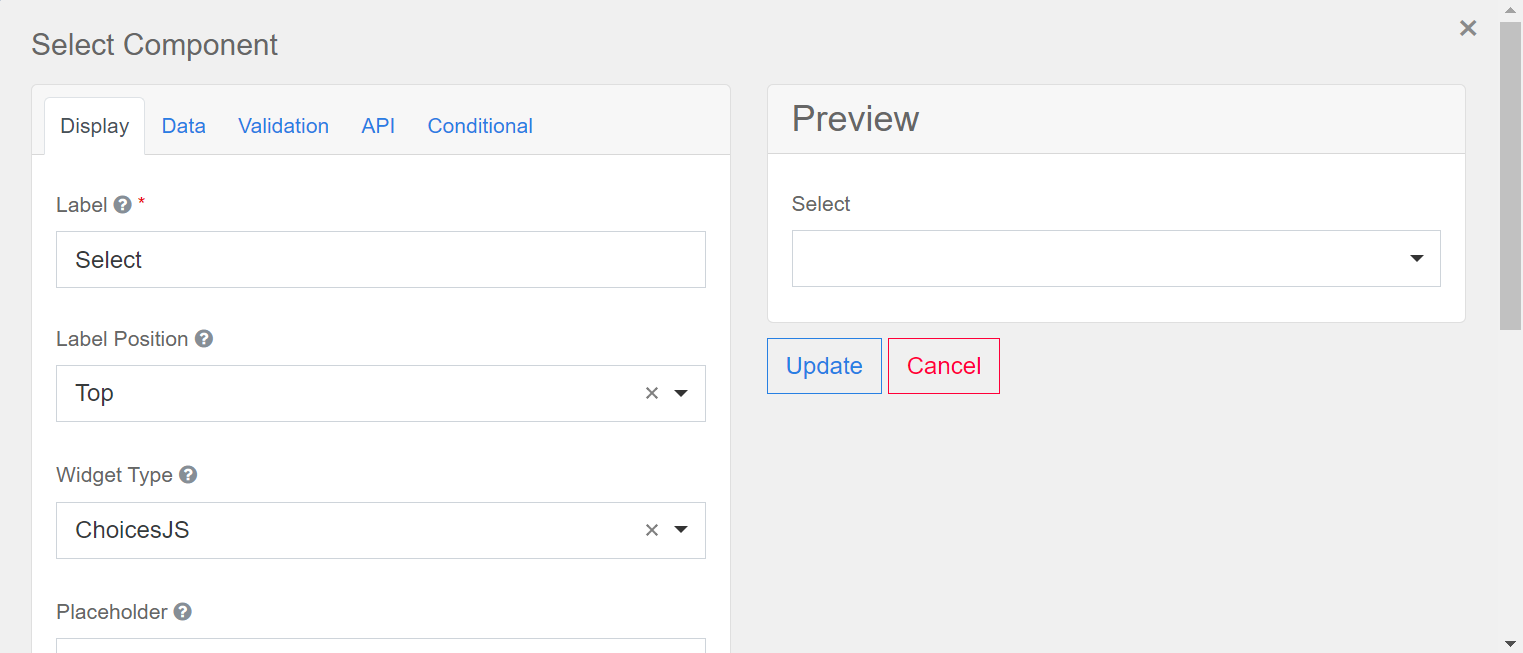
Here are the key fields to customize:
Label
Add a label for your select component. The label is displayed above the dropdown input on your form and can be anything you want. Write in something that fits your use case!

You can see a preview of the select component on the right of the popup. It gives you an idea of how this field would appear on the registration form.
Data
Next, navigate to the Data tab to configure the different track selection options in the dropdown. In the Data Source Values table, you'll need to make a row for each track option choice you want registrants to have.
You'll see that each row has a Label and a Value column.
- The Label is what registrants will see as options when they open the dropdown.
- The Value is submitted to Goldcast when a user picks a Label. The value field should match the track name you want registrants to be assigned to if they choose that option.
In most cases, the label and value fields will be the same, but they don't have to be.
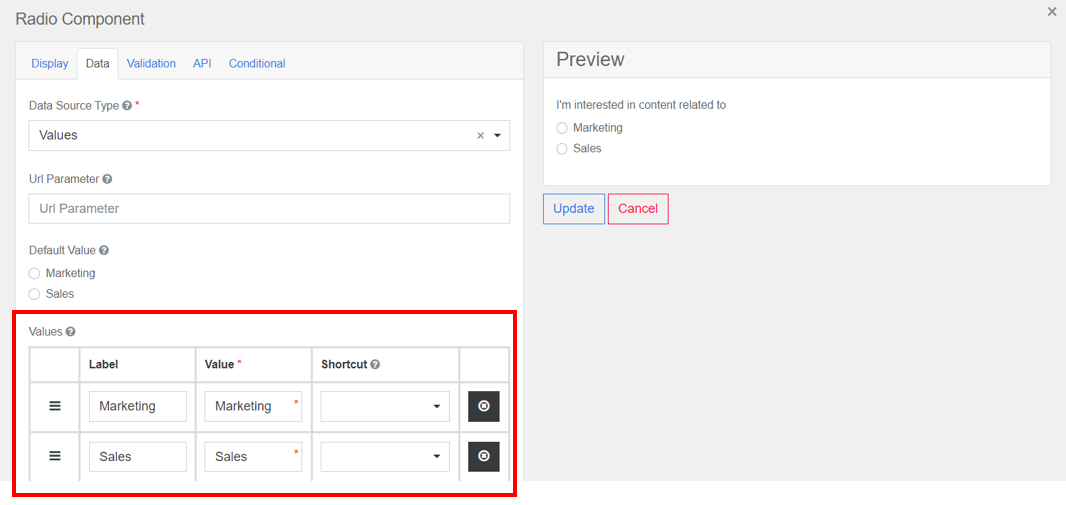
You can use the hamburger button on the left to rearrange tracks in your preferred order.
Note:
- The label field can have any text, but the Value field should exactly match the track names you created for your event.
- Copy-paste or manually type the track name as it's written in the Agenda tab of your event.
- Track names are case-sensitive.
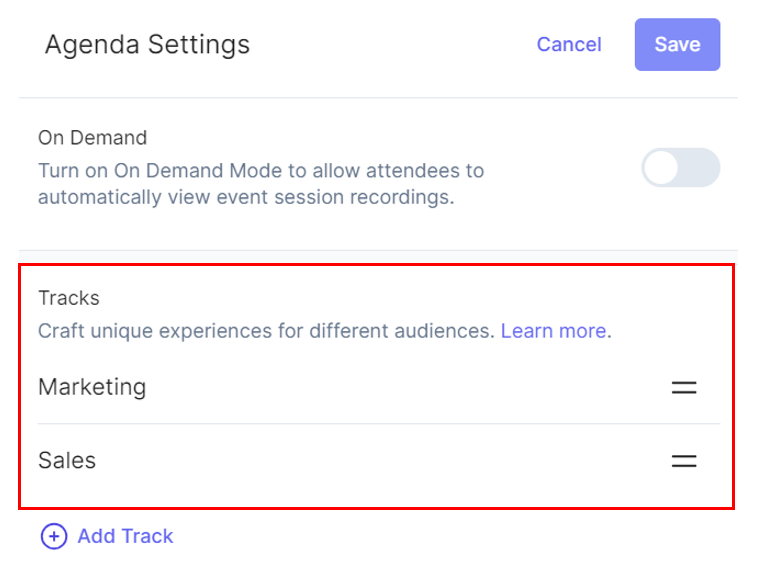
To find your event's track names:
- Navigate to the Program → Agenda tab using the left navigation panel
- Click Settings to open the Agenda Settings window.
In the event pictured below, the two tracks are Marketing and Sales.
Step 4: Configure the radio component
If you’ve included a radio button on your form for track registration, follow the instructions in this section. Else, skip to Step 5.
The radio component is a single-choice radio button that allows registrants to select their preferred track from several options.
A popup opens when you drag and drop the radio component onto the form. Use this popup to customize the field and add your preferred track choices.
Here are the key fields to customize:
Label
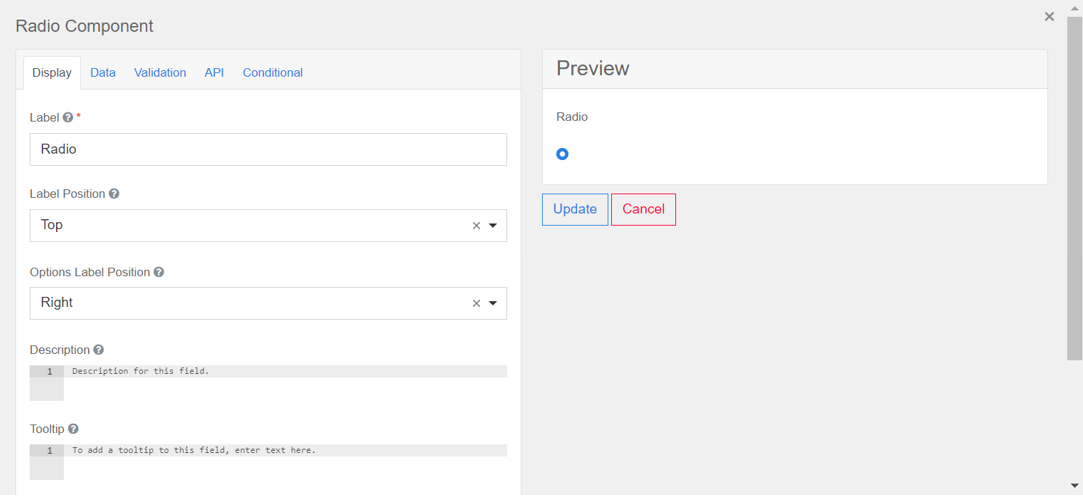
Add a label for your radio component. The label is displayed above the dropdown input on your form and can be anything you want. Write in something that fits your use case!
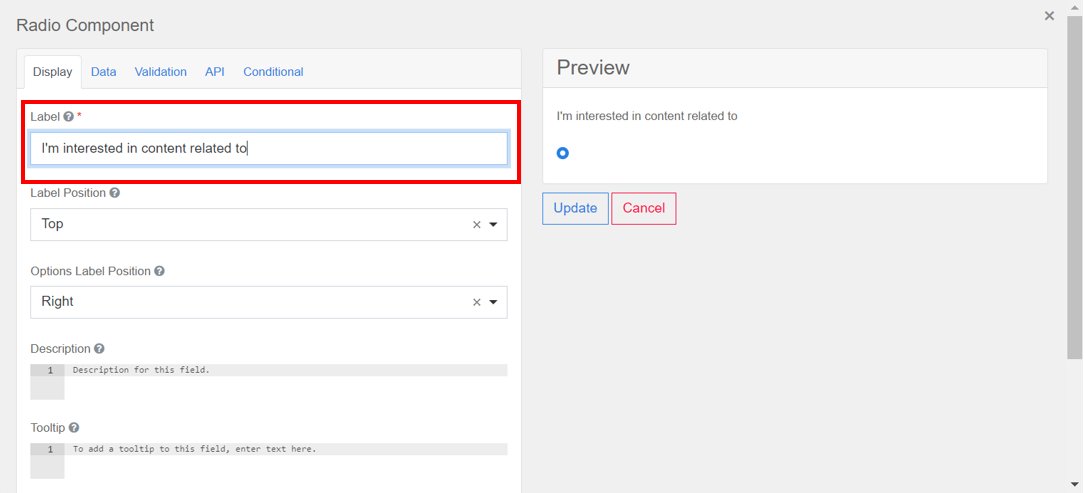
You can see the preview of the radio component on the right of the popup. It gives you an idea of how the component would appear on the registration form.
Data
Next, navigate to the Data tab to configure the different track selection options in the dropdown. In the Data Source Values table, you'll need to make a row for each track option choice you want registrants to have.
You'll see that each row has a Label and a Value column.
- The Label is what registrants will see as options when they open the dropdown.
- The Value is submitted to Goldcast when a user picks a Label. The value field should match the track name you want registrants to be assigned to if they choose that option.
In most cases, the label and value fields will be the same, but they don't have to be.

You can use the hamburger button on the left to rearrange tracks in your preferred order.
Note:
- The label field can have any text, but the Value field should exactly match the track names you created for your event.
- Copy-paste or manually type the track name as it's written in the Agenda tab of your event.
- Track names are case-sensitive.
To find your event's track names:
- Navigate to the Program → Agenda tab using the left navigation panel
- Click Settings to open the Agenda Settings window.
In the event pictured below, the two tracks are Marketing and Sales.

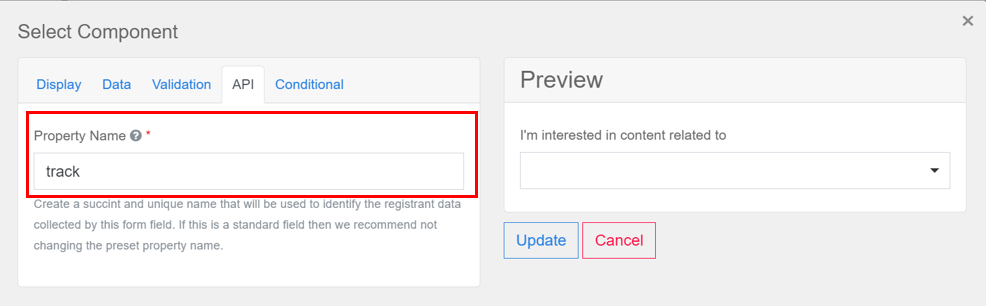
Step 5: Set the field API Property name
This last step ensures Goldcast processes registrants' selections as track assignments rather than general registrant data.
Navigate to the API tab in the Select Component popup and enter track in the Property Name field.
Step 6: Save your form
Click Update in the popup to confirm the configurations we just set, and if you're ready, save the whole form by clicking Save in the top-right corner.
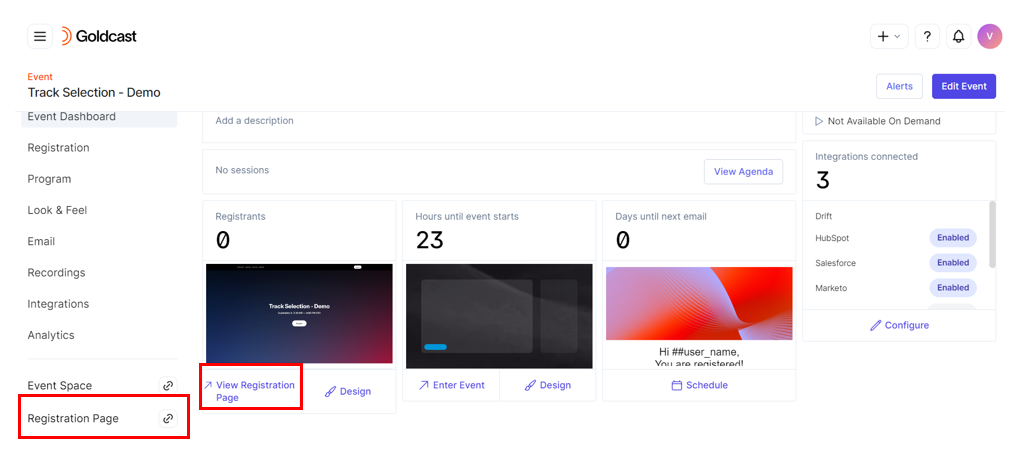
Your form is customized to include track selection. You can click the Registration Page link in the left navigation panel or the View Registration Page button in the event dashboard to test your new form with track selection.