Table of Contents
| Plan Availability | Starter | Pro | Premium | Enterprise |
| Add-on |  |
|
|
For customers with contracts starting March 2024 or later, feature availability is based on your pricing tier. If interested, contact your CSM or our Sales Team to discuss pricing options.
Overview
The Slack Integration enables you to send notifications regarding event registrations and attendance in Goldcast to a designated channel within your Slack Workspace. This integration facilitates seamless communication by keeping your Sales and Marketing teams informed about event participation and registrations.
Prerequisites
Goldcast
To set up the Slack integration, you must be an Organization admin or Integrations editor in Goldcast. For more information, see User Roles and Permissions in Goldcast Studio.
Slack
- A Slack Workspace with a channel that can be used to receive notifications from Goldcast.
- If you do not have the necessary permissions to install apps yourself, we recommend referring to this article for instructions on how to submit an app approval request to the Workspace Owner who has the required permissions.
- For seamless event usage, choose 'Install for Everyone' when requesting Goldcast app approval for your Slack Workspace. Once approved, you can use the app setup for your events.
Below are the permissions that are required from your Slack account as a part of your integration
- View information about a user’s identity: identify
- View basic information about public channels in a workspace. channels: read
- View basic information about a user’s private channels. groups: read
- View the email addresses of people in a workspace. users: read.email
- View people in a workspace. users: read
- Send messages as Goldcast Bot chat:write:bot
Connecting a Goldcast Org to a Slack Workspace
Heads Up! Before beginning the Slack integration process, we recommend logging into your Slack Workspace and Goldcast Studio to avoid doing so later in the setup process.
Step 1: Installing the Slack Integration
- Navigate to the Slack page on the Goldcast Marketplace and click the Connect App button. If you're based in the EU, click the Connect App in EU button.
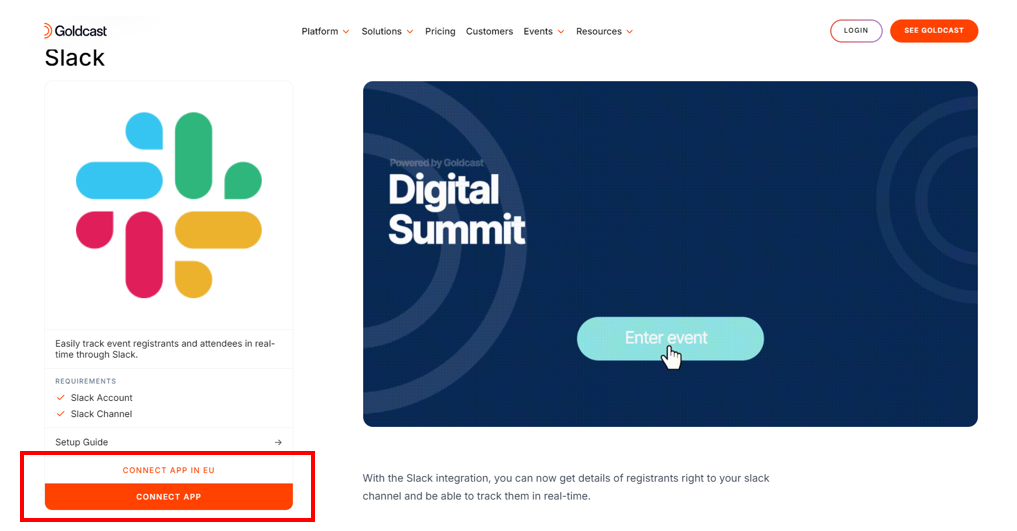
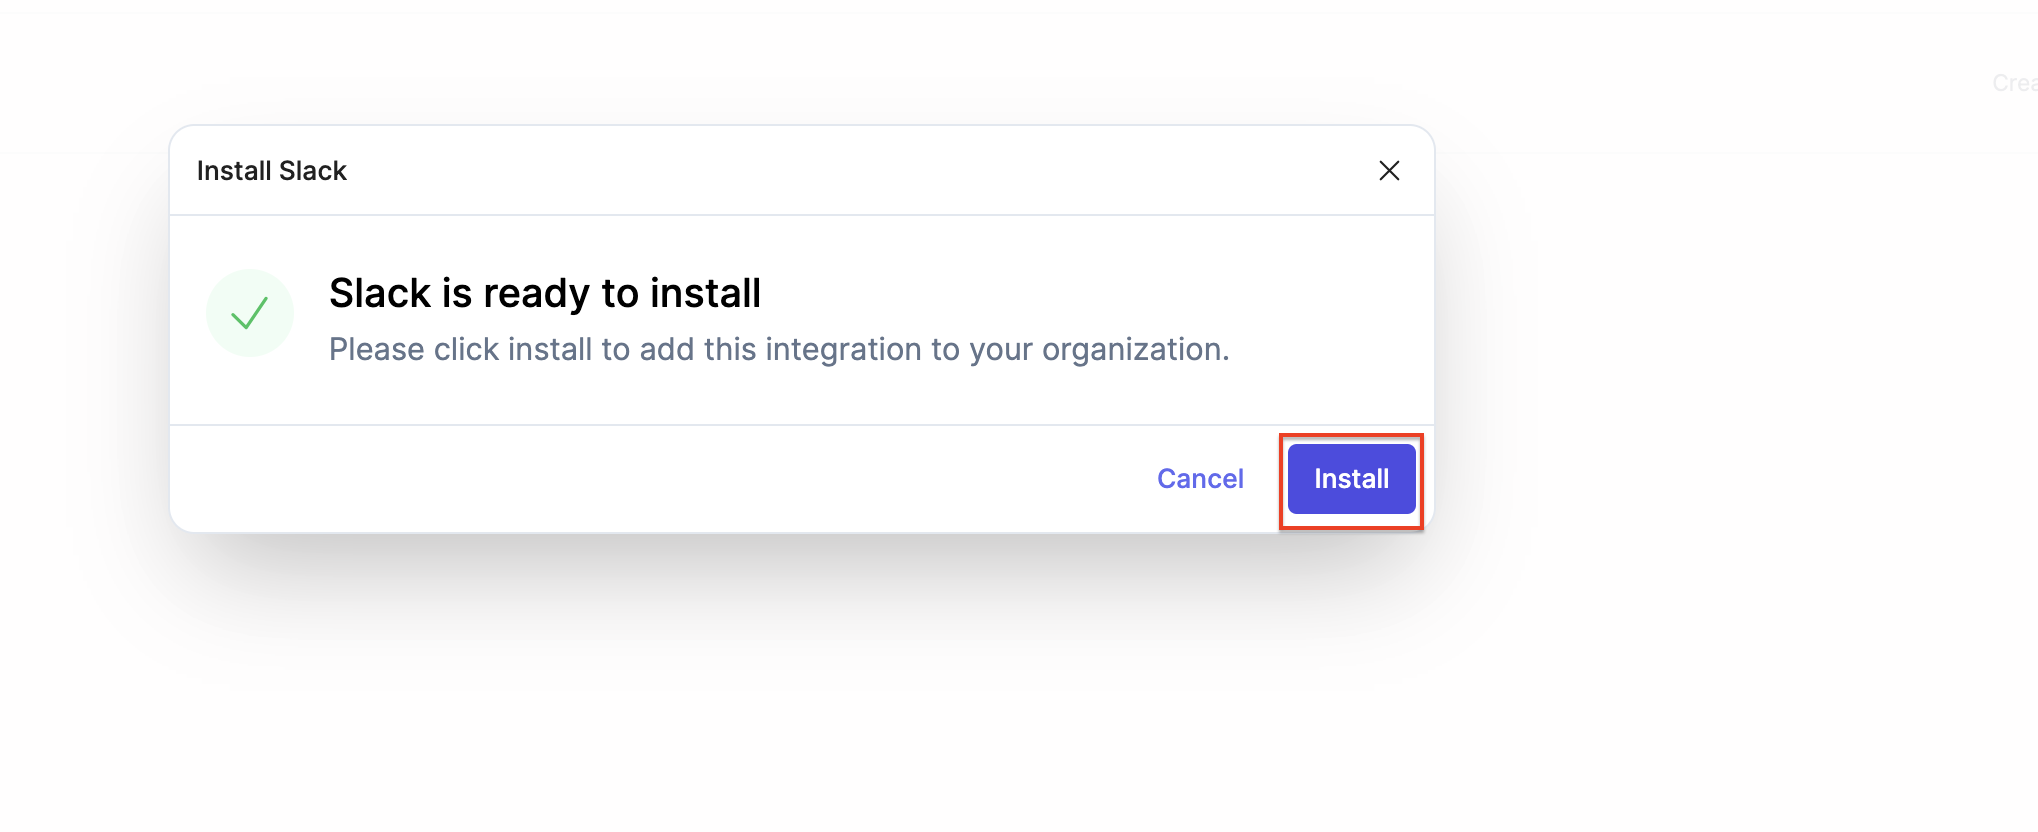
- Upon clicking, you will be redirected to the Integrations page for your Goldcast Org, and a pop-up titled Install Slack will appear.
- Click the Install button to complete the installation.
- You will receive a confirmation pop-up for the installation, and then you will be redirected to a screen to authenticate your Slack Workspace.
Step 2: Connecting Your Slack Workspace
- To begin, click on the New Authentication button on the screen.
- In the popup that appears, enter a name for your integration in the provided field and click Create to proceed. You can choose any name you prefer for your authentication.
- You will be redirected to an Authentication screen where you will be prompted to grant access to information in your Slack workspace. Click the Allow button to connect your workspace.
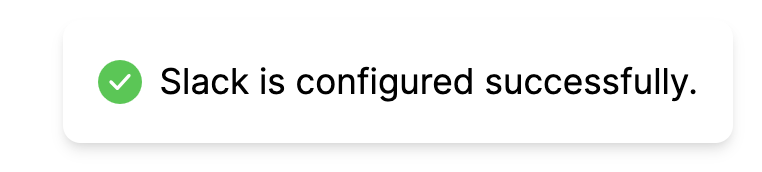
- If the account connection is successful, a confirmation message will pop up, indicating that Slack has been configured successfully.
- Click the Finish button to complete the Integration Setup for Slack in your Goldcast account.
By following the above steps, you can easily set up authentication for the Slack Integration.
Step 3: Connecting a Slack Channel to your event
To set up the Slack integration for a specific event, please follow these steps:
1. Select the Event
Log in to Goldcast Studio with your credentials, and select the Events tab to see a list of all your events. From the Events page, choose the event for which you want to set up the Slack integration. You will be redirected to the Event Dashboard page.
2. Access Integrations
Click on the Integrations option from the left-side panel. Alternatively, you can click the Configure option in the Integrations available section of the Event dashboard.

3. Navigate to Slack
You will be redirected to the Integrations page. Navigate to the Slack tab and click Settings.

4. Select Slack Channel
A drawer will appear from the right side of the screen, providing a Search bar to search your channels in your workspace. Search and Select the desired channel to send the notifications for event registrations and attendance.

If you encounter any issues, such as missing channels or error pages, it could indicate that the Goldcast app has not been approved by your Workspace owner. Please refer to the prerequisites section above and follow the instructions to re-authenticate your integration and complete the event-level setup.
Heads Up! If you're connecting the integration to a private channel, ensure that you've added the Goldcast app to the private channel, and only then will it be visible in the search drawer. For instructions on how to add the Goldcast app to a private channel, see here.
5. Save
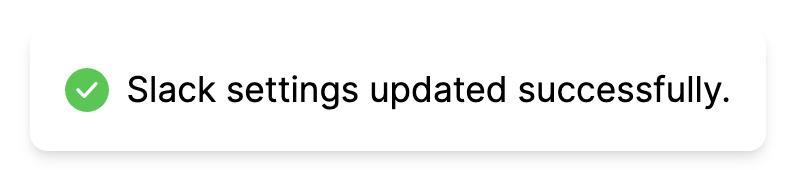
Once you have selected the desired channel, click the Save button to complete the setup.
Heads Up! Make sure you don’t delete or change the channel configuration in your Slack workspace post-integration setup. This will cause the integration to fail to send notifications; upon any change for the selected change, you need to reconfigure the setup for the event.
By following the above steps, you can successfully set up the Slack integration for your event.
Pro Tip: We recommend you set up the Slack Integration before you open registrations for the event. This allows all the information to be available right from when your registration goes live.
Viewing Goldcast Event Notifications in Slack
Note: If the Slack channel you have selected is not receiving notifications, a Workspace Owner may need to approve the app installation. Please refer to this article for instructions on how to submit an app approval request.
- After you have successfully installed the Slack Integration and connected it to a channel, you will receive notifications for every new user registration for your event.
- Also, the channel will be notified about event attendance, including information about each attendee.
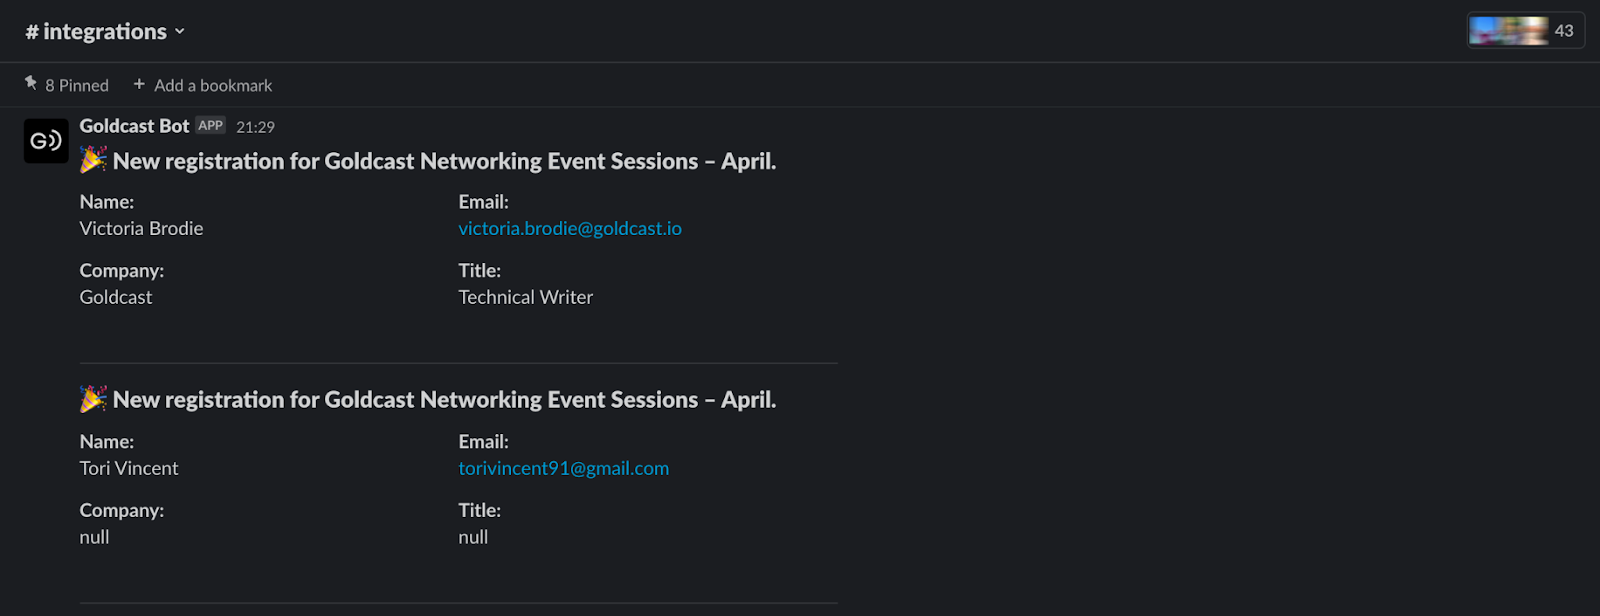
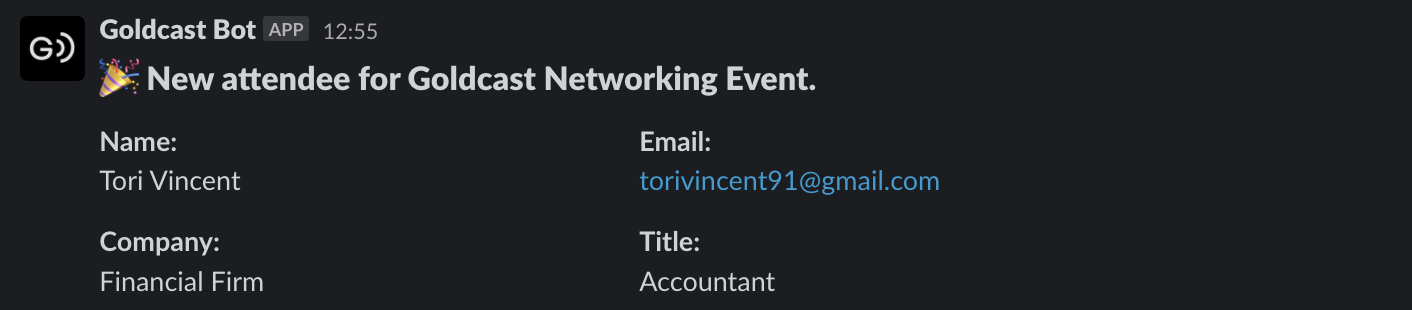
These notifications will keep you informed about user engagement and help you stay updated on event registrations and attendance.
How to add the Goldcast bot to a private Slack channel
If you're connecting to a private Slack channel, make sure to follow these instructions before completing the setup above:
- Click on the channel in Slack and head to the Integrations tab.
- Click Add Apps and search for Goldcast.
- Click Add.

The Goldcast bot will now be added to your private Slack channel.