Table of Contents
| Plan Availability | Starter | Pro | Premium | Enterprise |
 |
|
|
|
For customers with contracts starting March 2024 or later, feature availability is based on your pricing tier. If interested, contact your CSM or our Sales Team to discuss pricing options.
Pre-requisites & Permissions
Before you get started with the Slack + Salesforce Goldcast integration, make sure you have access to the following accounts with the required permissions:
Goldcast
To set up the Slack+Salesforce integration, you need to be an organization admin or integrations editor in Goldcast. For more information, see User Roles and Permissions in Goldcast Studio.
Slack
- A Slack workspace with a channel to receive notifications from Goldcast.
- Permission to install apps in Slack. If you don’t have this permission, refer to this Slack guide for instructions on submitting an app approval request to your Workspace owner.
We recommend choosing the “Install for Everyone” option (if prompted) when allowing the Goldcast app approval for your Slack workspace.
Below are the permissions that are required from your Slack account as a part of the integration:
- View information about a user’s identity
- View basic information about public channels in a workspace (channels: read)
- View basic information about a user’s private (channels groups: read)
- View email addresses of people in a workspace (users: read. email)
- View people in a workspace (users: read)
- Send messages as Goldcast Bot (chat: write: bot)
Salesforce
Access to a Salesforce account with permissions to read Leads, Contacts, and their associated Accounts and Opportunities.
Organization-level settings
The first step is connecting your Slack Workspace and Salesforce account to your Goldcast organization. This process involves two steps:
- Step 1: Install the Slack + Salesforce Integration
- Step 2: Connect your Slack Workspace & Salesforce Account
Before you begin the Slack + Salesforce integration process, we highly recommend logging into your Goldcast Studio, Slack Workspace, and Salesforce account to avoid doing so later in the setup process.
Step 1: Install the Slack + Salesforce Integration
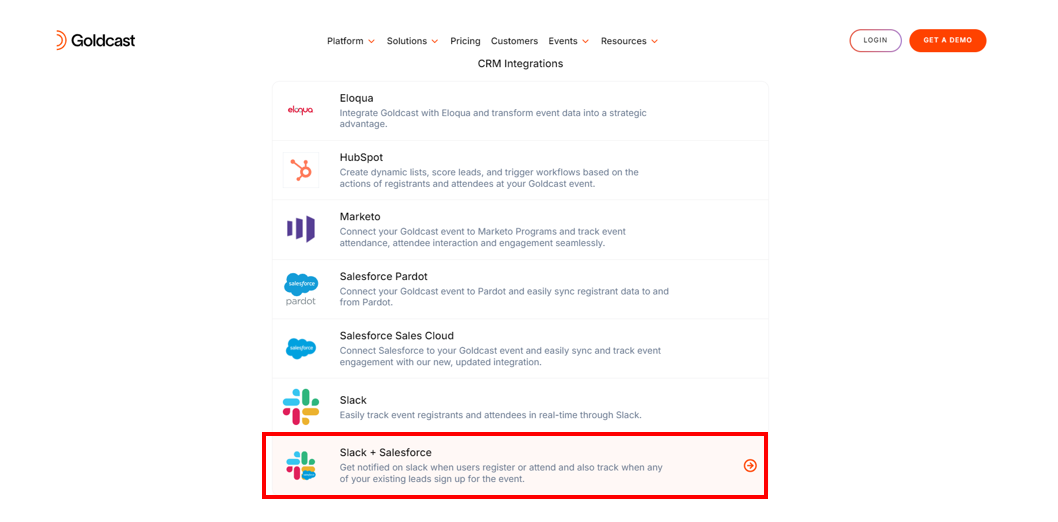
- Open Goldcast Marketplace on your browser, navigate to the CRM Integration section, and click the arrow next to the Slack + Salesforce tile.
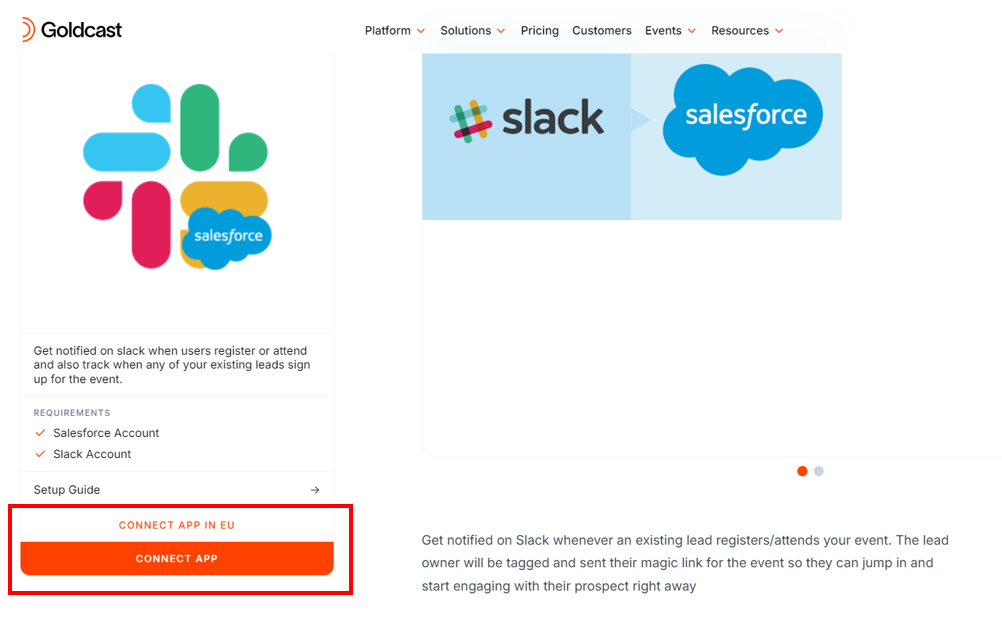
- Click the Connect App button to begin the installation. If you’re based in the European Union, click the Connect App in EU button.
- You’ll be redirected to the Integrations page in your Goldcast Studio, and a pop-up titled Slack + Salesforce will appear.
- Click Install to complete the installation.

Watch out for the success notification confirming the installation.

Step 2: Connect your Slack Workspace & Salesforce Account
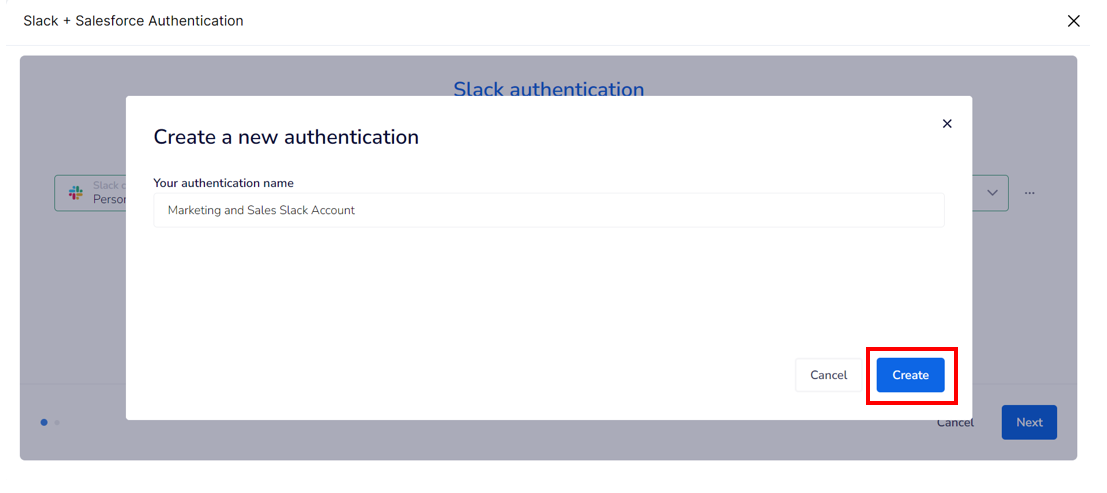
Upon completing the previous step, you’ll be redirected to a screen to authenticate your Slack workspace and Salesforce account. To begin, click the New Authentication button that appears on the screen.
- Enter a name for your authentication and click Create. You can choose any name you prefer.
- You’ll be redirected to an authentication screen that will prompt you to grant access to your Slack workspace. Click Allow to connect your workspace.
- Click Next to authenticate your Salesforce account.
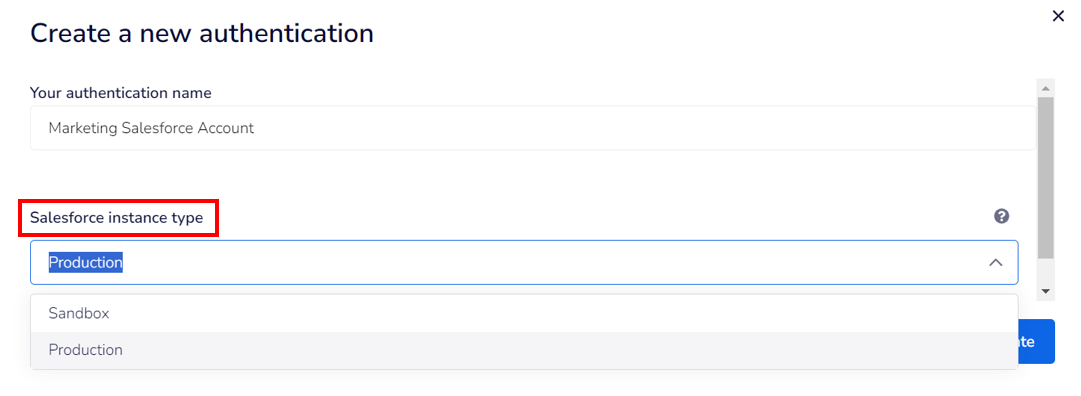
- Click New Authentication to add a Salesforce account, and enter the required details in the pop-up. Like Slack authentication, you can choose any name for the Salesforce authentication.
- Select the type of Salesforce account you’ll connect: Sandbox/Production.
- Click Create to authenticate your Salesforce account. You’ll be redirected to an authentication screen that will prompt you to grant access to your Salesforce account. Click Allow to proceed.
- Click Finish to complete the installation.

Watch out for the success notification confirming the installation. This completes the organizational-level settings.
Event-level settings
Once you’ve connected your Slack and Salesforce accounts to your Goldcast organization, you'll need to configure the settings for each event.
To do so:
- Login to Goldcast Studio, and select the event you want to edit.
- Once on the event dashboard, click Integrations on the left side menu. Alternatively, you can click the Configure button in the Integrations available section of the event dashboard.

- Once on the Integrations page, navigate to Slack + Salesforce and click + Create Notification.

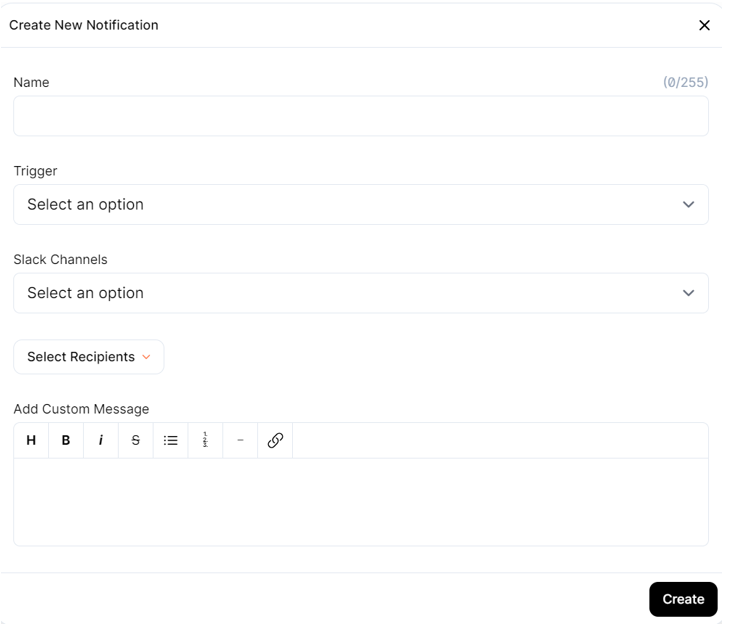
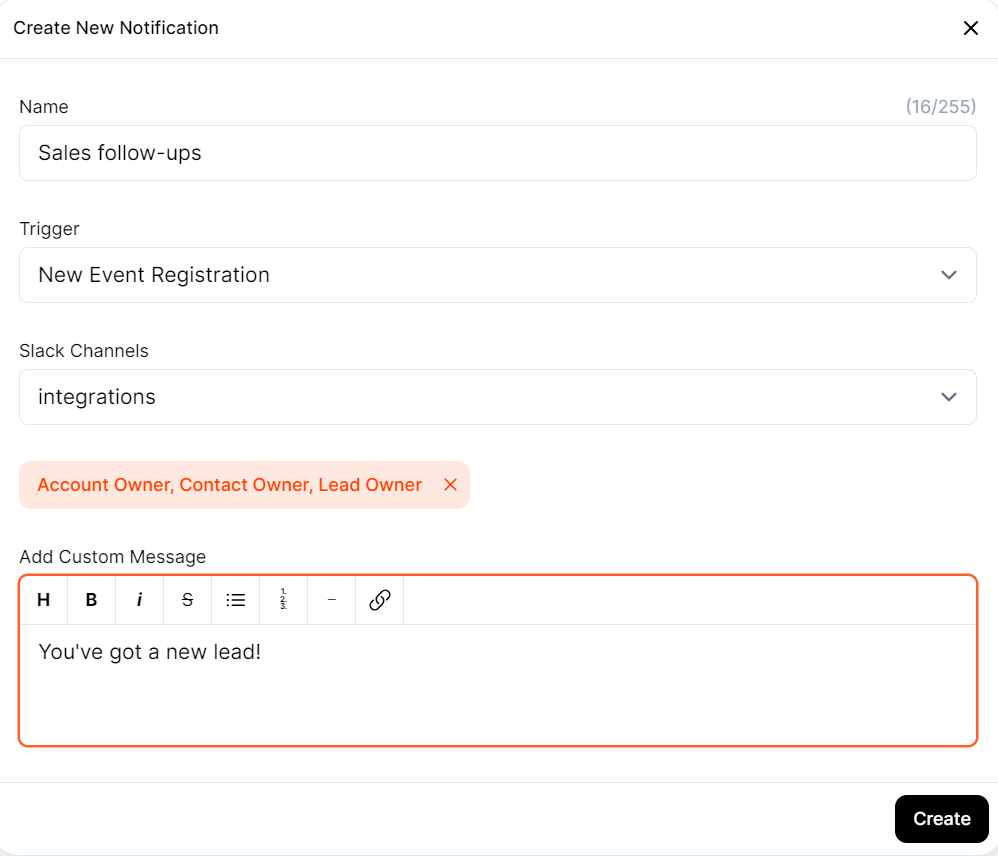
- This opens the Create New Notification popup.
- In this popup, Give a Name for the notification. This can be any name of your choice.
- Select the Trigger for which you want Goldcast to send notifications to your Slack channel.
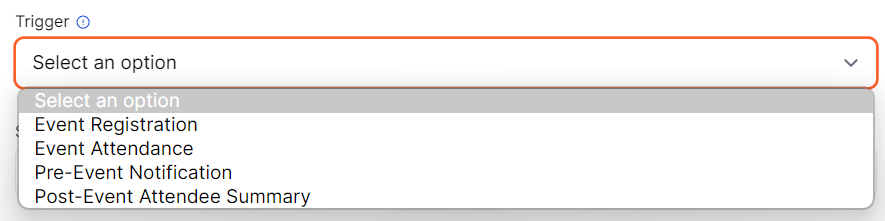
Heads Up! You can create up to four notifications for an event (one for each trigger). To create a new notification, repeat Steps 3 to 10.
- Select the Slack Channel where you want to receive Goldcast notifications.
Heads Up! If you're connecting the integration to a private channel, ensure that you've added the Goldcast app to the private channel, and only then will it be visible in the search drawer. For instructions on how to add the Goldcast app to a private channel, see here.
If you encounter any issues, such as missing channels or error pages, it could indicate that the Goldcast app has not been approved by your Workspace owner. Please refer to the prerequisites section above and follow the instructions to re-authenticate your integration and complete the event-level setup.
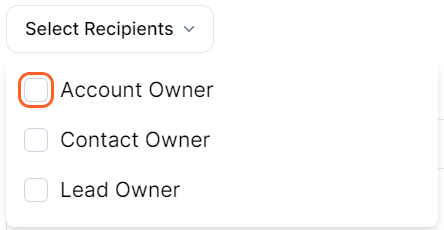
- In addition to channel notifications, you can also send direct Slack messages to selected recipients for the triggers you selected in the previous step. Depending on your requirements, you can choose one or multiple recipients.
- Account Owner
- Contact Owner
- Lead Owner
- Specify a custom message to send along with the notifications. For tips on formatting your Slack messages, refer to this guide.
- Click Create.
Pro Tip: We recommend you set up the Slack + Salesforce Integration before you open registrations for the event. This allows all the information to be available right from when your registration goes live.
Key Points to Know
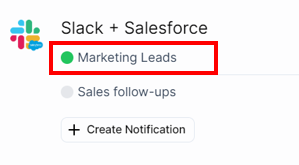
- Enabled notifications are indicated by a green dot, like in the below example.
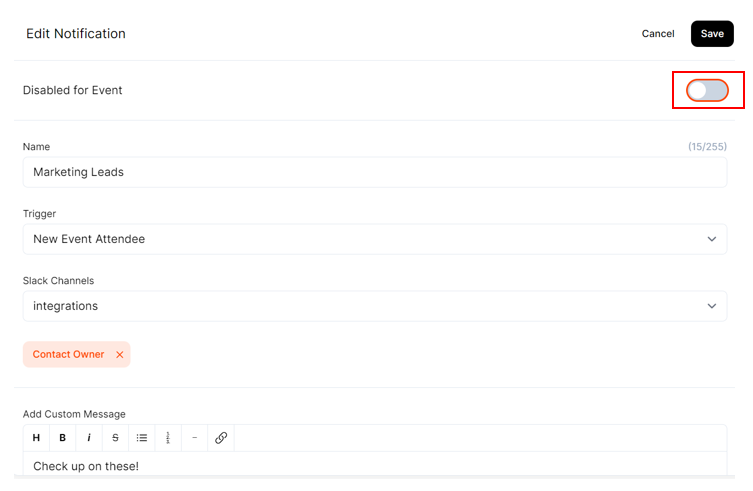
- To turn off an existing notification, click on it and turn off the Enabled for Event toggle.
- You can also edit/delete a notification by clicking on the Integrations page and making changes via the Edit Notifications drawer.
How to add the Goldcast bot to a private Slack channel
If you're connecting to a private Slack channel, make sure to follow these instructions before completing the setup above:
- Click on the channel in Slack and head to the Integrations tab.
- Click Add Apps and search for Goldcast.
- Click Add.

The Goldcast bot will now be added to your private Slack channel. Proceed with the steps mentioned above.