Table of Contents
The Goldcast Page Builder offers a hassle-free way to create stunning event hubs. With this intuitive no-code page builder, you can effortlessly showcase your upcoming and past events all in one place. You can personalize the look and feel of the hubs to match your branding and theming requirements.
This step-by-step guide walks you through the entire process of setting up and designing your event hub.
What is the page builder?
Goldcast's Page Builder is a powerful and user-friendly interface that enables you to create a public hub page to list all, upcoming, on-demand, and custom events. You can use the hub page to showcase all three event types: virtual, in-person, and hybrid.
Key features of the page builder:
- Content blocks: Customize the page's appearance using predefined blocks to make it consistent with your branding. Reorder and modify the layout and styles to suit your needs.
- Register buttons: Provide a register button for each event listed on the hub so interested customers can click and sign up for the respective event.
- Preview: Use the full-screen preview button to see how the page would look across devices of different sizes.
- Save and publish: Save and share your hub page with prospective attendees and existing customers.
How to access my hub pages
Follow these steps to navigate to your list of event hubs:
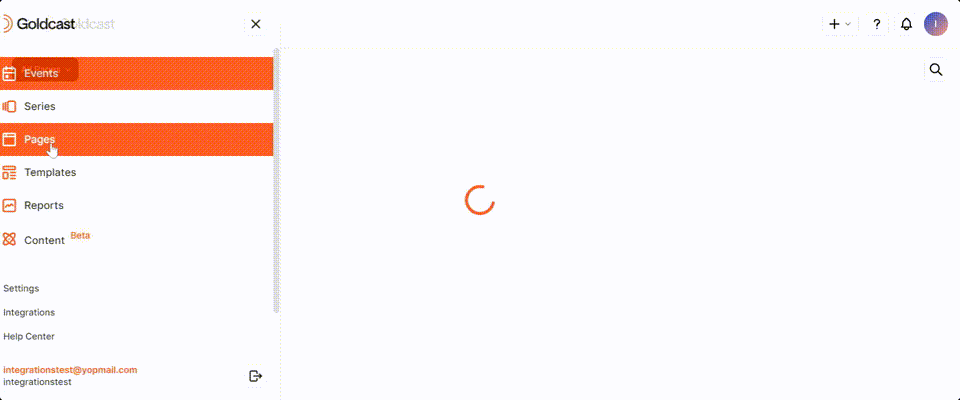
- Log into Goldcast Studio with your credentials.
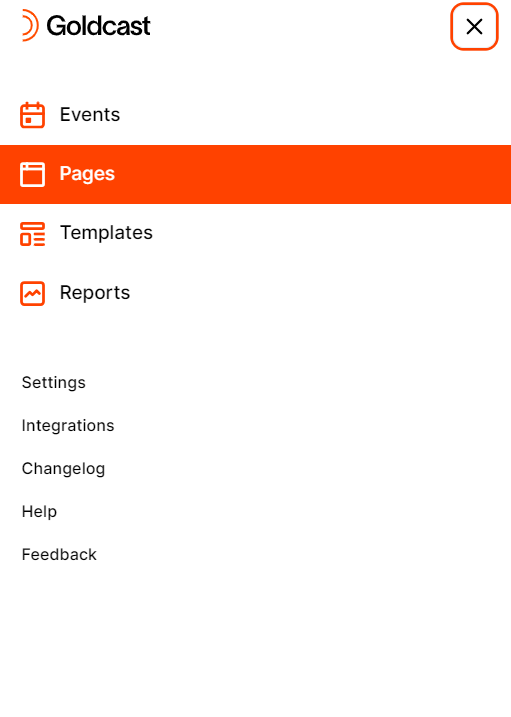
- Click the hamburger icon
on the top left and select the Pages tab.
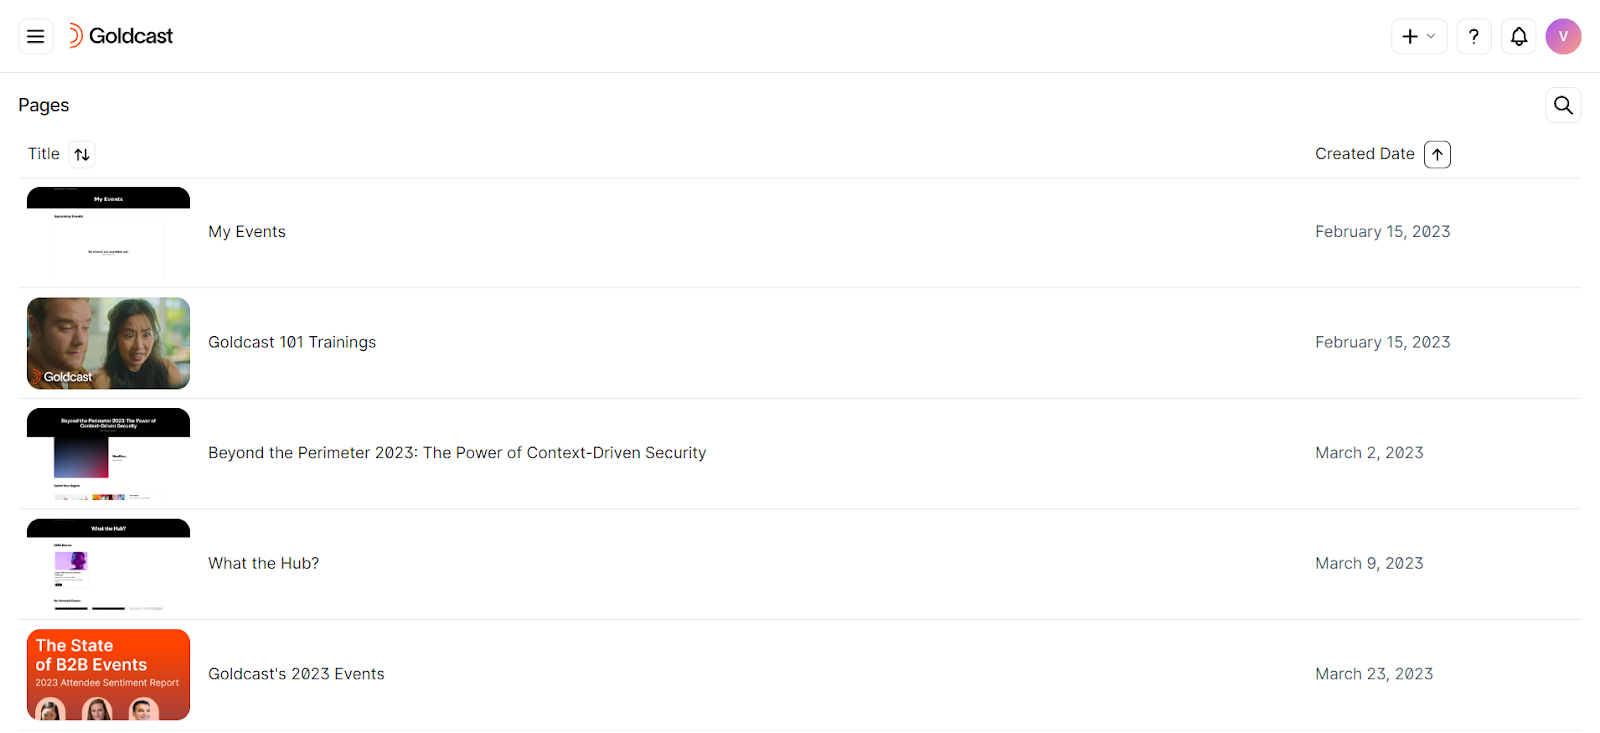
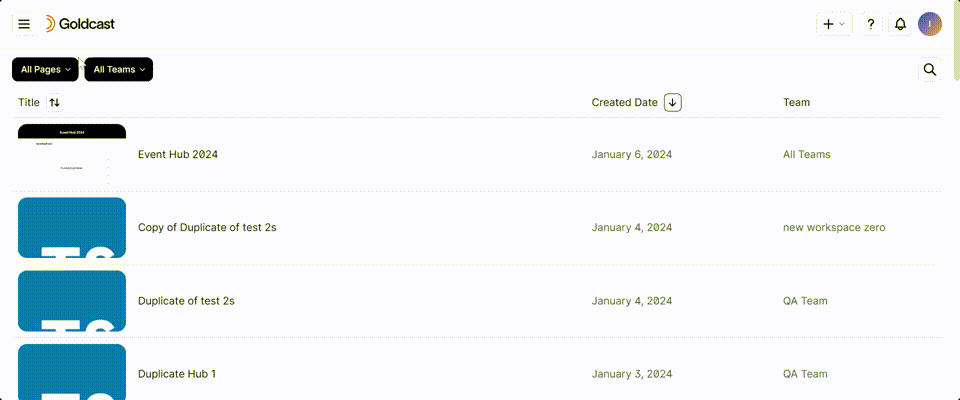
You can now see all the event hub pages within your Goldcast organization.
Create a page
To create a new page:
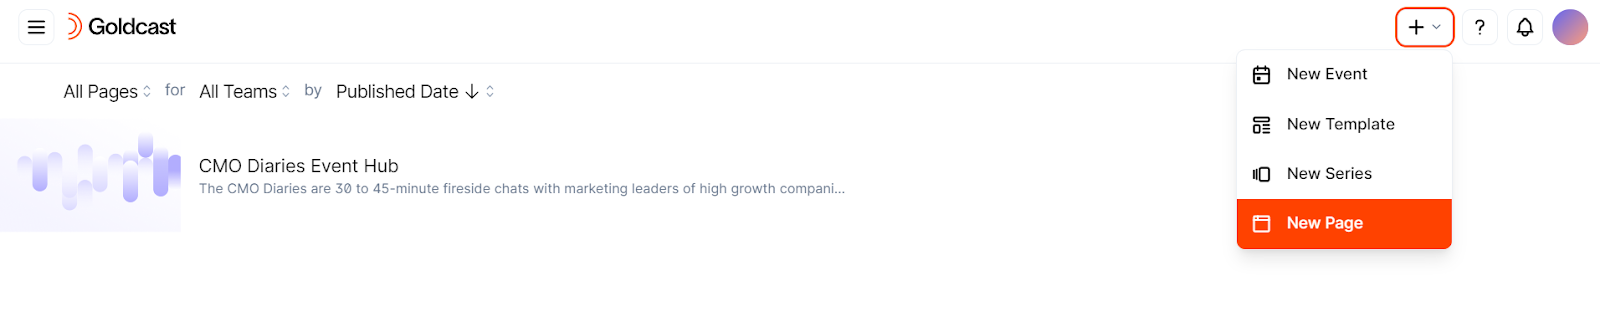
- Click the
icon at the top right and select New Page.
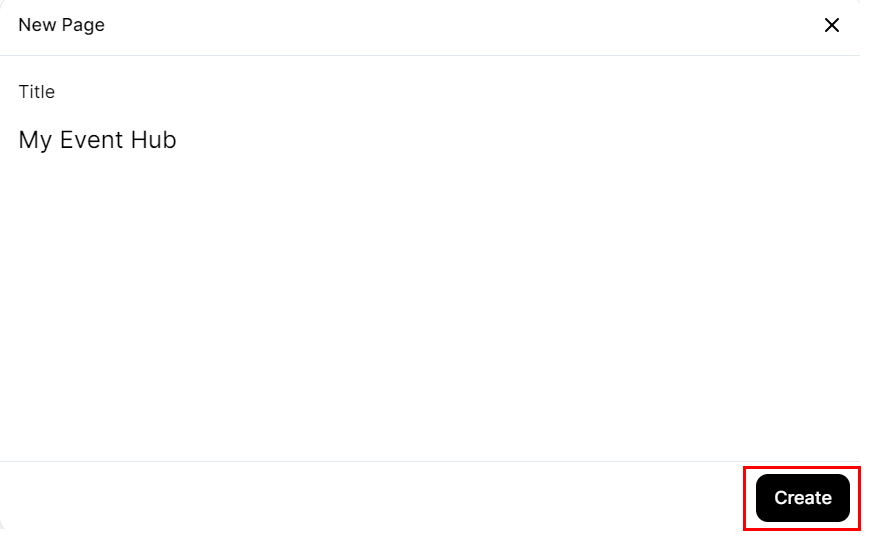
- This opens a pop-up requiring you to enter a name for the page you want to create. In the Title text box, provide a name of your choice.
- Click the Create button.
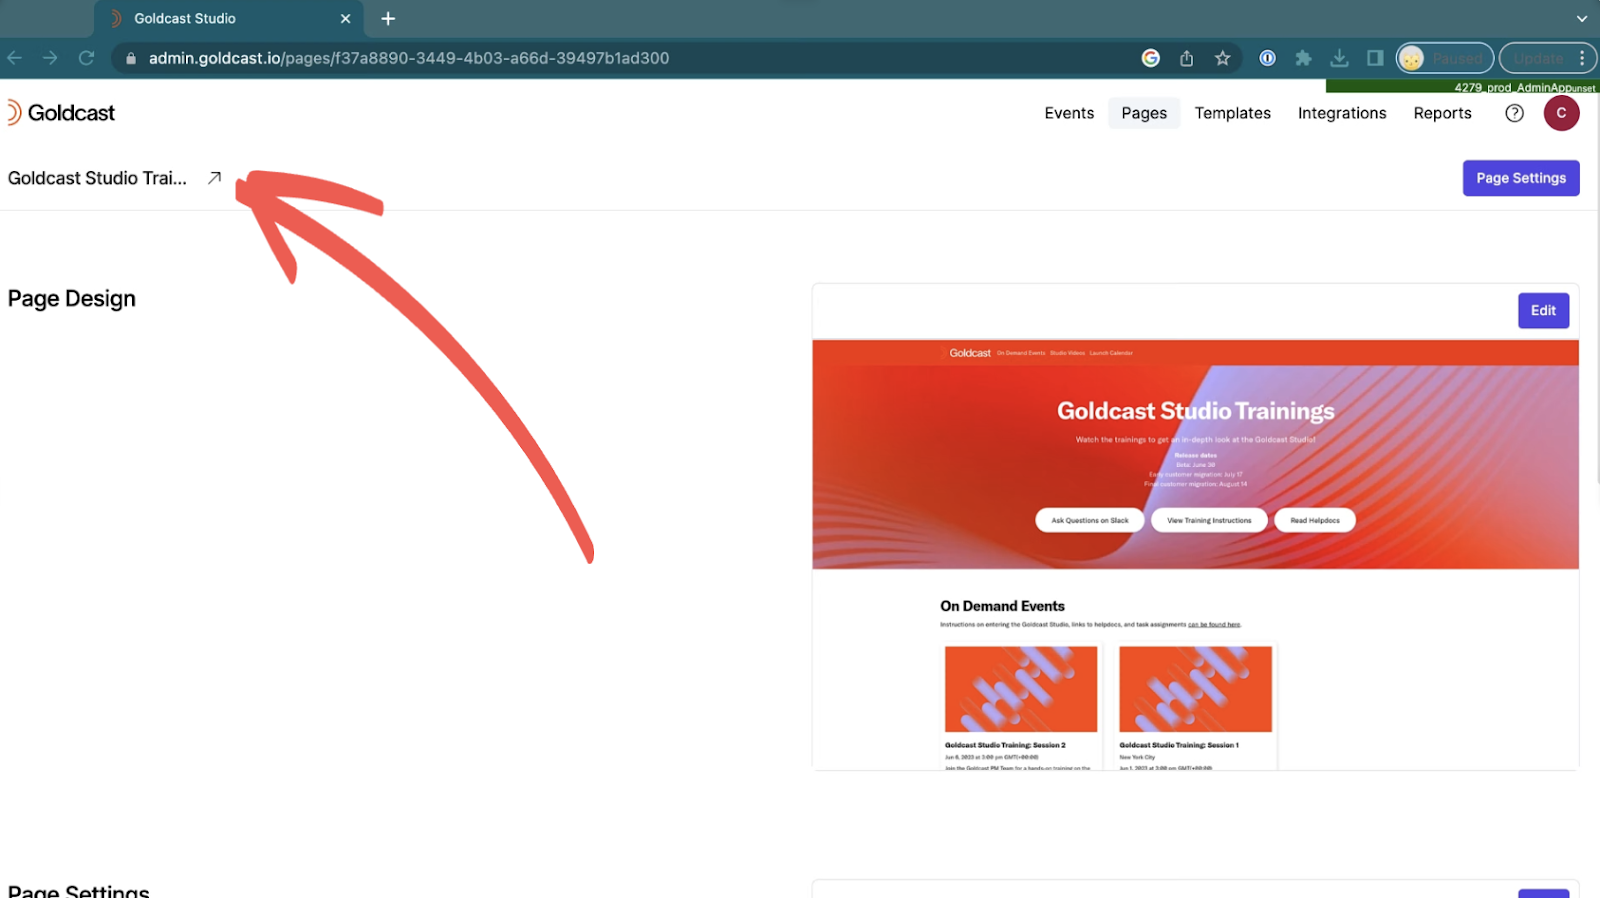
This brings you to the Page dashboard. On this page, you can access the following settings:
Page design
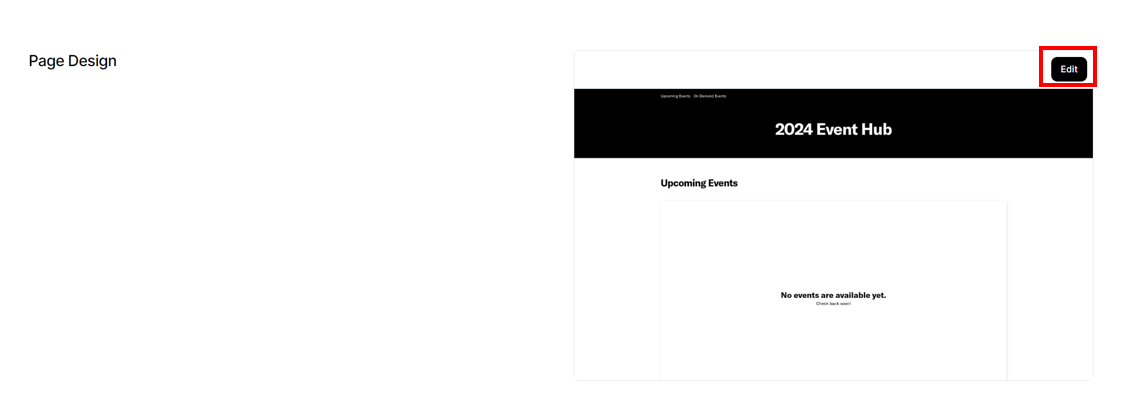
The right side of this section shows the default page with the default blocks. Click the Edit button in this section to start customizing the look and feel of the page.
How to use the page builder
If you’ve previously created a registration page in Goldcast, the steps for using the hub page builder would feel similar.
Open the hub page you wish to edit, and click the Edit button in the Page Design section to navigate to the Editor.

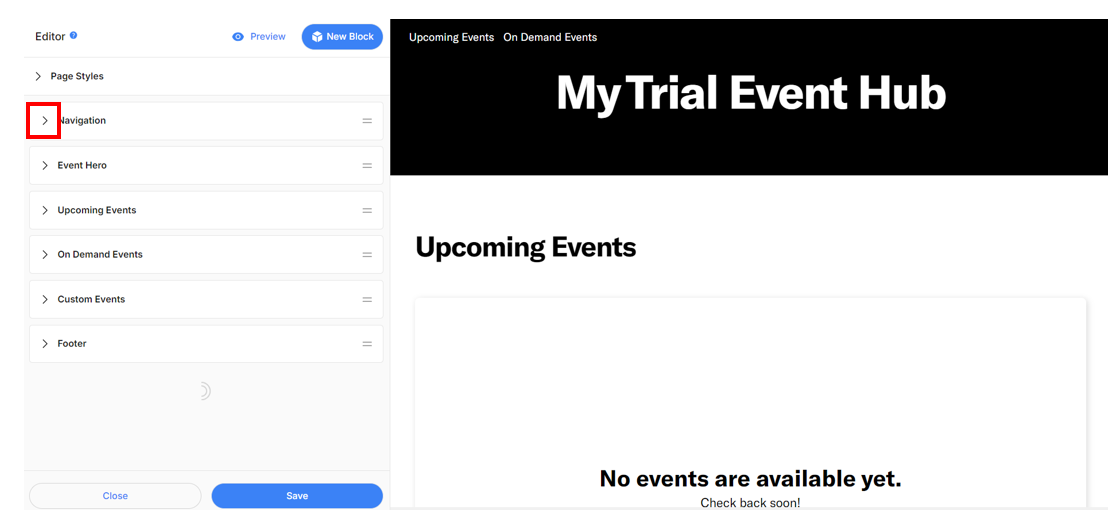
On the Editor page, you can see the blocks of your page. You can add new blocks, edit, hide, remove, or reorder blocks, and change global page settings.
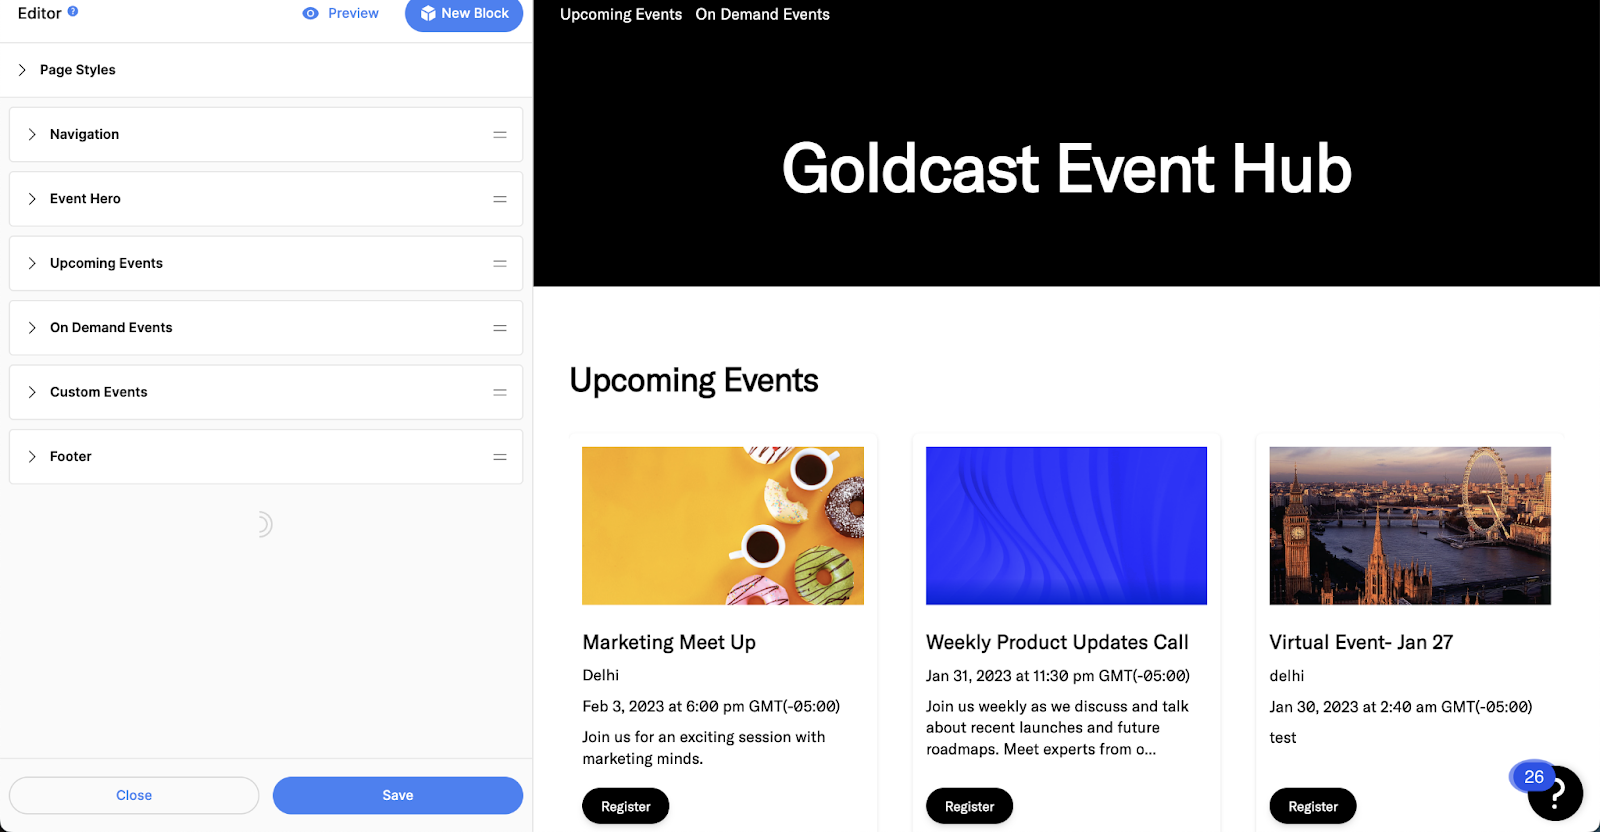
As you make changes on the editor, the right side of the page will reflect the change in real time. You cannot make any edits on the right side.
You can perform the following functions:
Add a new block
To add a block:
- Log into Goldcast Studio and navigate to the Pages list.
- Select your preferred page and click the Edit button in the Page Design section to navigate to the Editor.
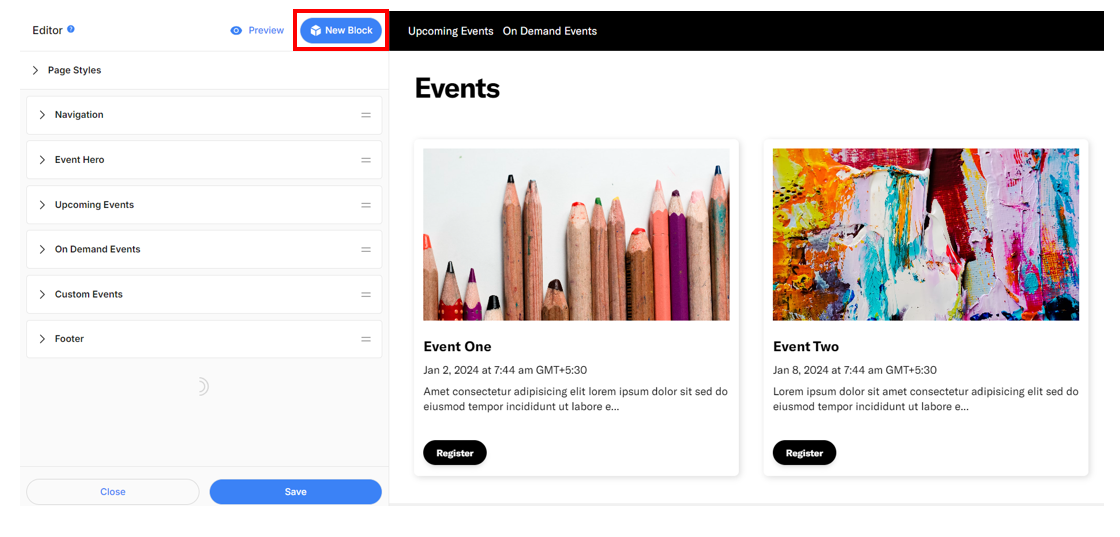
- Click the New Block button at the top right and select a block to add.
- Your page will automatically scroll to your new block at the very bottom of the page. Drag and drop the new block in the left menu to reorder your blocks.
- Click the Save button at the bottom.
You can add any block multiple times to create different page sections and customize each block as needed.
Default page blocks
The default hub page contains the following blocks:
- Navigation - This block controls what sits at the top of your event hub page. It can include your logo and links to other sections on the page.
- Hero - This controls the branding for the Header part of your page.
- All Events - This block lists all non-test events that are upcoming or in on-demand mode.
-
Upcoming Events - This block displays all upcoming events (not marked as Test) in your organization whose start date exceeds the current date.
Heads up! If you have added an upcoming events block to your Hub, any new, non-test events will automatically show up in this block.
- On-Demand Events - This block displays all past, non-test on-demand events in your organization with a Register CTA that links to that event’s registration page.
- Custom Events - This block allows you to add any external events you want to display on the page manually.
- Footer - This block controls the bottom part of the page with social links. The default page has the link to Goldcast’s site.
Note:
By default, the four Events blocks - All, Upcoming, Past, and Custom - include a Register CTA button that links to the registration page of each event showcased in these blocks.
To learn more about using each of these blocks, refer to our Guide To Using Page Builder Blocks.
Edit a block
To edit a block:
- Select your preferred page and click the Edit button in the Page Design section to navigate to the Editor.
- Scroll to the block’s name in the left menu and click the arrow to its left. This opens the block settings. You can change block elements from this list, including the headline, text, images, background color, text color, and more. Refer to Guide To Using Page Builder Blocks for more details on what is editable inside each block.
- Reorder the blocks on your page by dragging and dropping each block in the left-side menu.
- Delete a block by clicking the arrow next to the block name, then scrolling down and clicking the red Delete Block button.
-
Hide/Unhide a block by clicking the arrow next to the block name, then scrolling down and clicking the eye
icon.
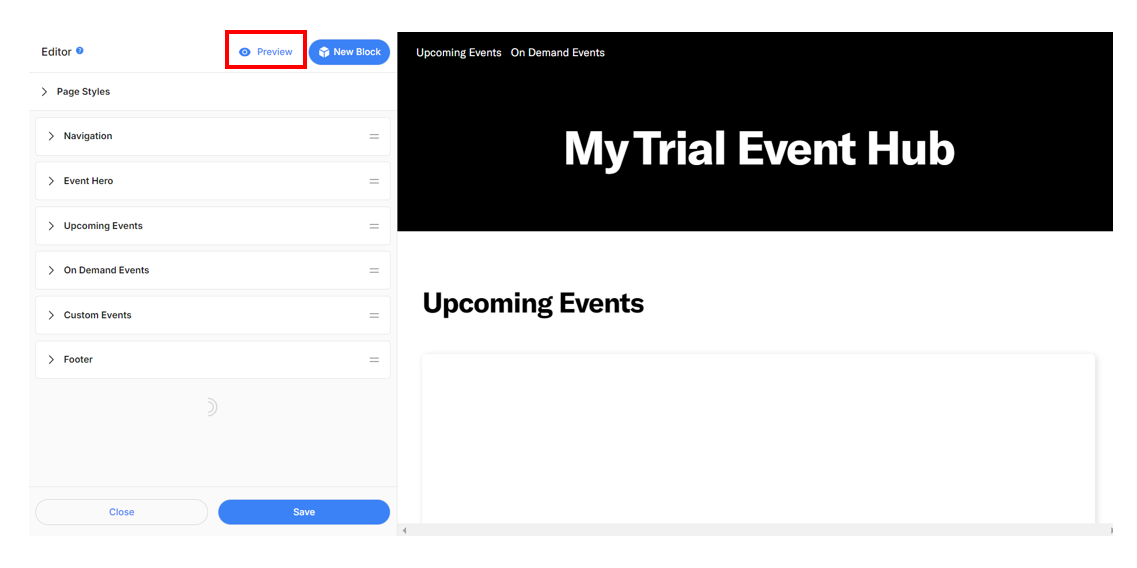
Preview the page
To preview the page, click the Preview icon
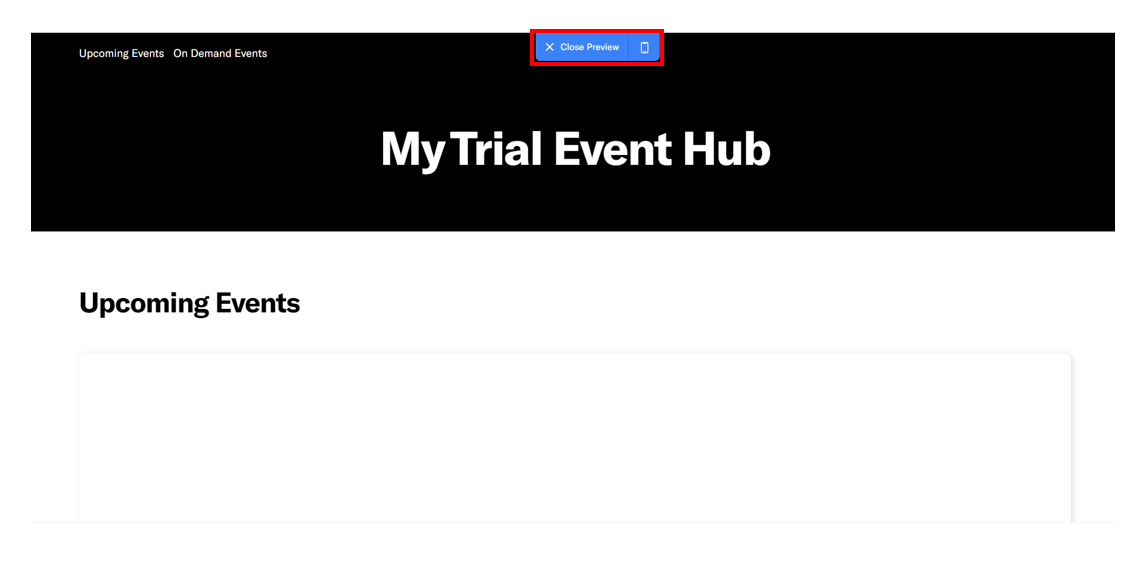
To exit the preview, click the Close Preview 
Save the page
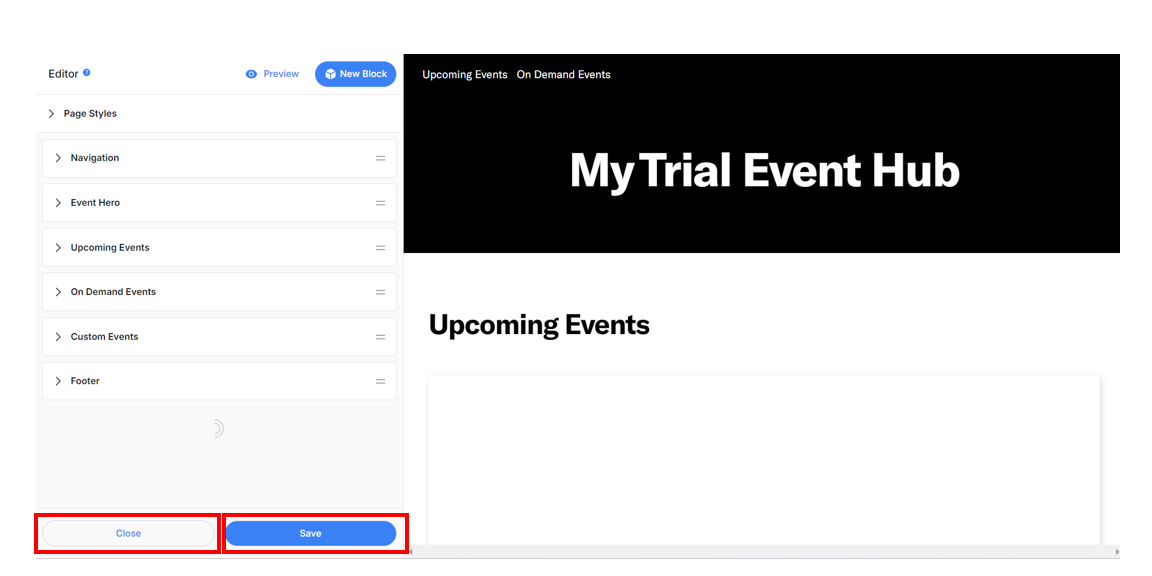
To save changes to your page:
- Click the Save button at the bottom of the menu. This will save changes and publish your page.
Note: Currently, Goldcast doesn’t allow saving drafts. So, we recommend hitting the Save button at the bottom to apply the changes to your page and avoid losing your work. - Once saved, click the Close button.
On the event page builder, next to the page title, you can see the Hyperlink arrow. Clicking here will open your Page in a new tab.
Page settings
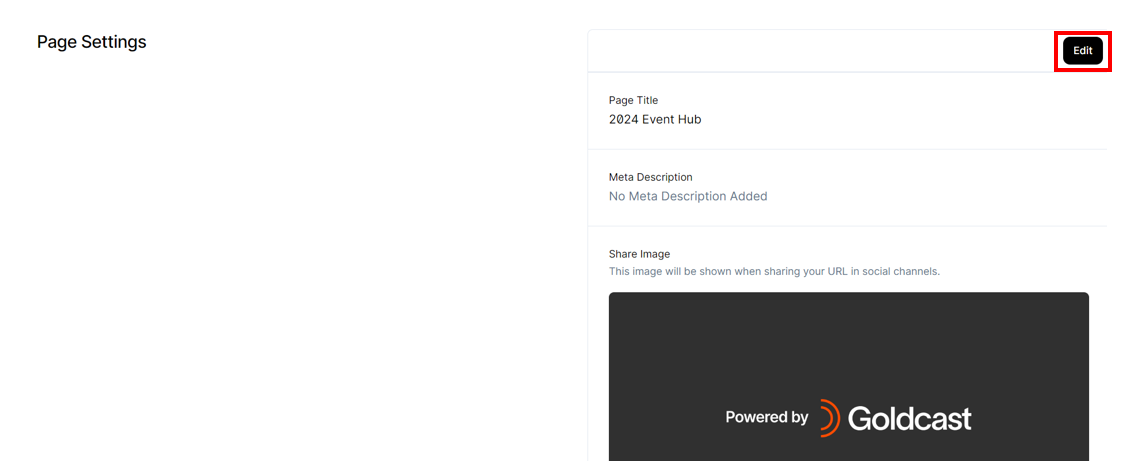
The next section of the page dashboard is Page Settings. Click the Edit button in this section to add/modify the following:
- Page title
- Meta description
- Social media image
- Favicon
Refer to Goldcast Design Specifications for the recommended format and size for the social media image and favicon.
Delete a page
The Page Settings drawer also has the delete page option. Deleting the page permanently erases, and visitors with links to the page can no longer access it. So, make sure to proceed with caution.
To delete the page:
- Log into Goldcast Studio and open the page you want to delete.
- On the page dashboard, navigate to the Page Settings section and click the Edit button. Alternatively, you can also click the Page Settings button on the top right of the Page dashboard.
- Click the Delete Page button in the Page Settings drawer.
- Confirm the action by clicking the Delete Page button.

Duplicate a page
When you duplicate a page, you create a copy of the design, content, page settings, and tracking pixels set up in the original page. However, the duplicated page is separate from the original, so any changes you make to the duplicated hub will not affect the original. Once copied, you can edit the new hub to suit your requirements.
To duplicate the page:
- Log into Goldcast Studio and open the page you want to delete.
- On the page dashboard, navigate to the Page Settings section and click the Edit button. Alternatively, you can also click the Page Settings button on the top right of the Page dashboard.
- Click the Duplicate Page button in the Page Settings drawer.
Custom domain
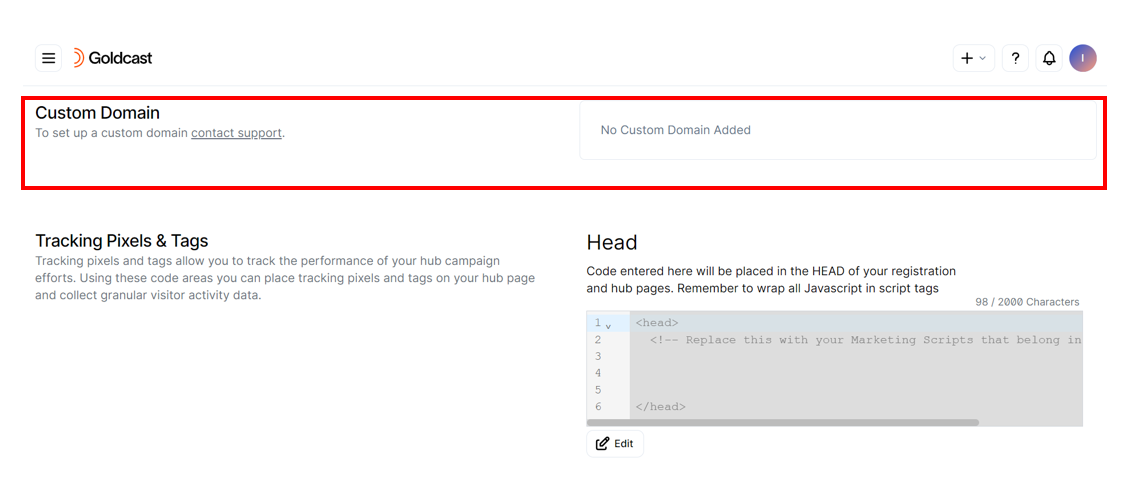
You can host your event page on a custom domain of your choice. For step-by-step instructions, refer to our guide on Setting Customized Vanity URLs for your Hub Pages.
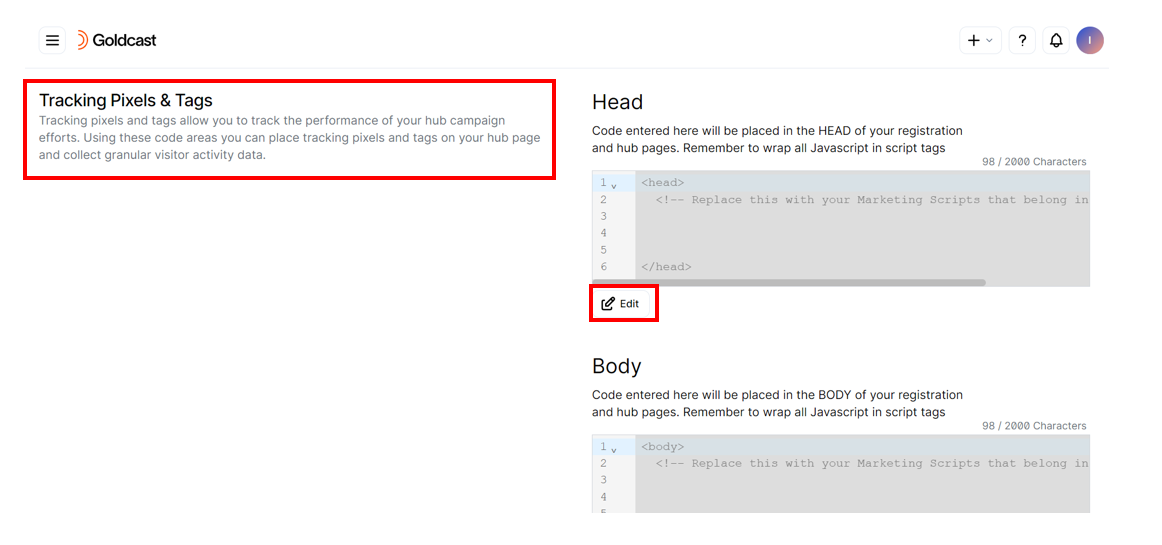
Tracking pixels and tags
Tracking pixels allows you to capture visitor analytics and track the performance of your hub pages. To add tracking pixels to your hub page:
- Navigate to your Pages list and select your preferred hub page.
- Scroll down to the Tracking Pixels & Tags section.
- Decide the location/activity to add the marketing tag and click the Edit button below the relevant section.
- Copy-paste the marketing tag from your provider.
- Click Save.
To learn more about tracking pixels in Goldcast, refer to Add & Manage Tracking Pixels and Tags.
UTM tracking
UTM Parameters attached to your Event Hub URL will be carried over to your registration pages when a visitor clicks on a Register CTA. When the visitor registers through your event registration form, those UTMs will be captured and visible in the event registrant table.
Here is a sample Hub Page URL with UTM parameters attached to it:
Notice that the UTMs are appended with an & after the eventHubId parameter. This is because our hub pages already use a URL Parameter to load the correct hub page. There should only be one ? in your URL, which marks the beginning of your URL parameters. All URL parameters can be added after the ? and separated by an &. The order of URL Parameters after the ? doesn't matter.
In addition to UTMs being carried over from your event hubs to your registration pages, an additional URL parameter called referrer_page will be passed. This parameter will have as its value the ID of the event hub that drove the visitor to your registration page. If you have multiple hubs advertising the same event, this can help discern which hub page pushed a registrant to your event.
 Note:
Note:
You must set up your event’s registration form to collect UTMs. To learn more about configuring your forms to capture UTMs and managing custom URL Parameters such as referrer_page using hidden fields, refer to UTM Tracking in Goldcast.