Congrats! You’ve been invited as a sponsor at a Goldcast event. Now, it’s time to create an amazing booth to attract leads and generate engagement data like you would do at trade fairs and other in-person events. Follow the steps in this guide to create your booth.
What is a booth?
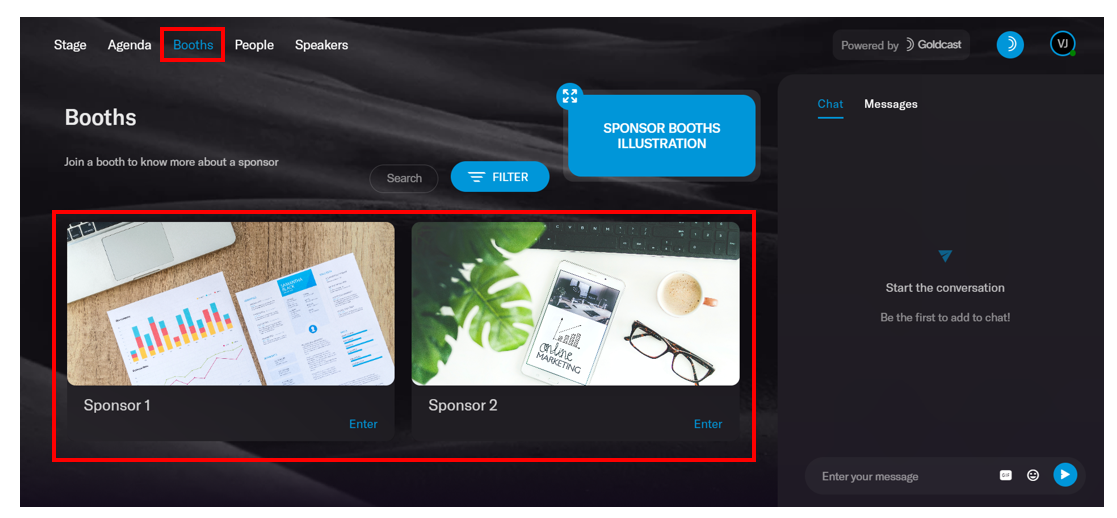
Booths are spaces in a Goldcast event where sponsors or other representatives can connect with attendees and share information, materials, and resources. To learn about the advantages of sponsoring a booth in a Goldcast event, you can refer to Benefits of Sponsor Booths.
This is how a booth would appear in the Event Space,
And here’s how the inside of the booth appears to attendees during an event:
How do I set up my booth?
The event organizer would have shared a sponsor invite link, inviting you to set up and customize your booth.

 Note: Make sure to save this link, as you’ll need it later to customize and edit the booth to align with your branding requirements.
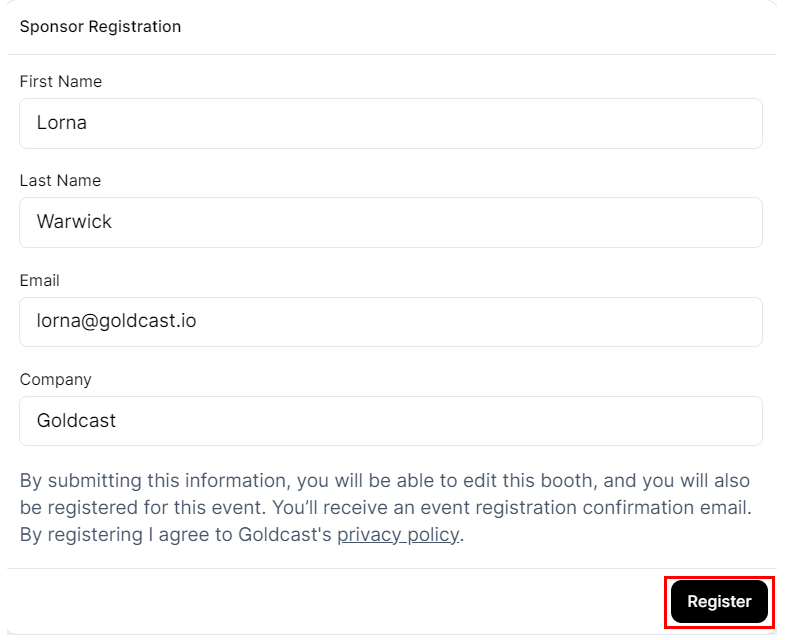
Clicking on this link takes you to the Sponsor Registration form. Enter your first and last name, email, and company name. This information is collected so that the event organizer knows the identity of the person from your company who is updating the booth, and they can reach out to you with any questions.
You can edit your booth once you enter this information and click Register. You’ll also be automatically registered for this event. You can use the registration magic link that you received in your email to access the booth inside the event on the event day.
Customize your booth
Once you click Register in the previous step, it opens the Edit Sponsor Booth popup. You can edit the booth details and customize its appearance. Remember to frequently click the Save button at the top right to save your work so you don’t lose any progress.
You can edit the following via this page:
Booth Name
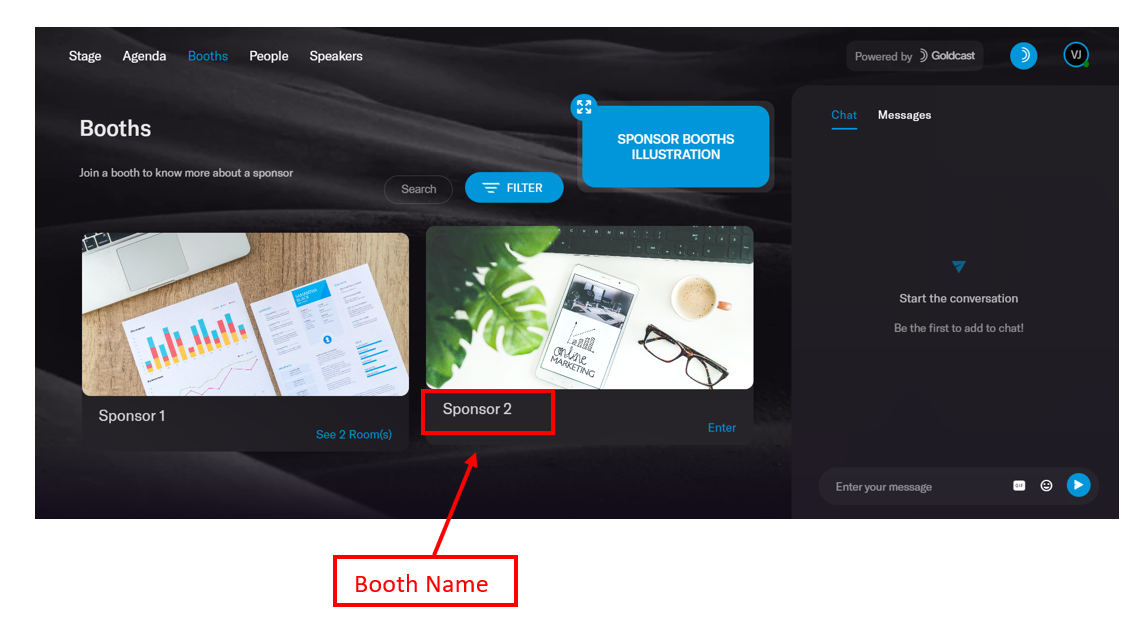
This is the title of the booth in the Event Space. You can use your company name or any other text you require.
Cover Media
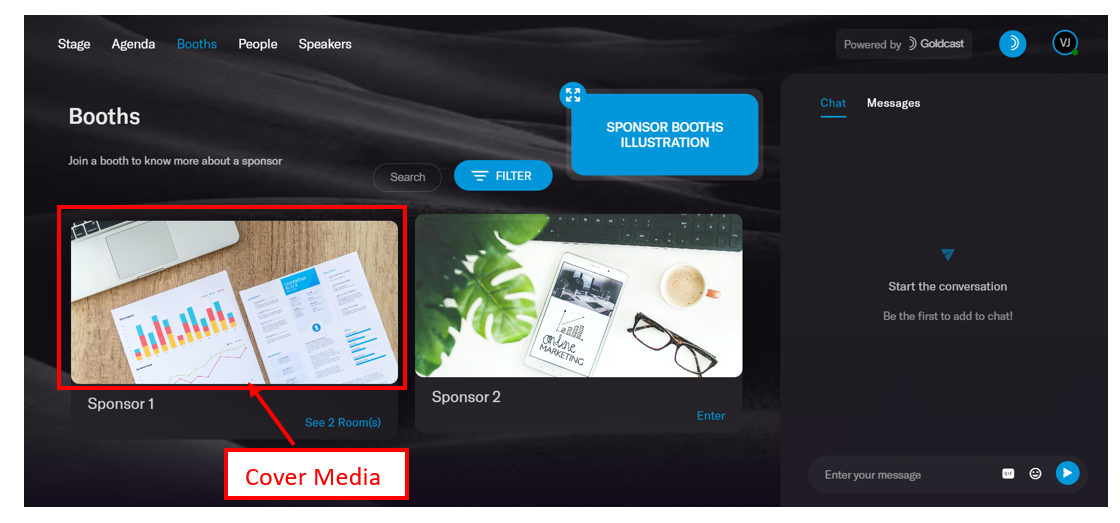
You can include either an image or an image + video as the cover for the booth. The cover image must have an aspect ratio 2:1. Supported file formats: JPEG or PNG. If you upload a cover video in the booth, please ensure it meets the video specifications mentioned here.
Logo

You can also include your company’s logo in the top-left of the booth cover image. The logo must be a square and in the file format .PNG.
You can also enter your company’s URL (or any other link) below the logo image field. If you’ve included a hyperlink, clicking the logo will direct attendees to the corresponding website.
 Note: Make sure to include the complete URL starting with "https://www."
Tags
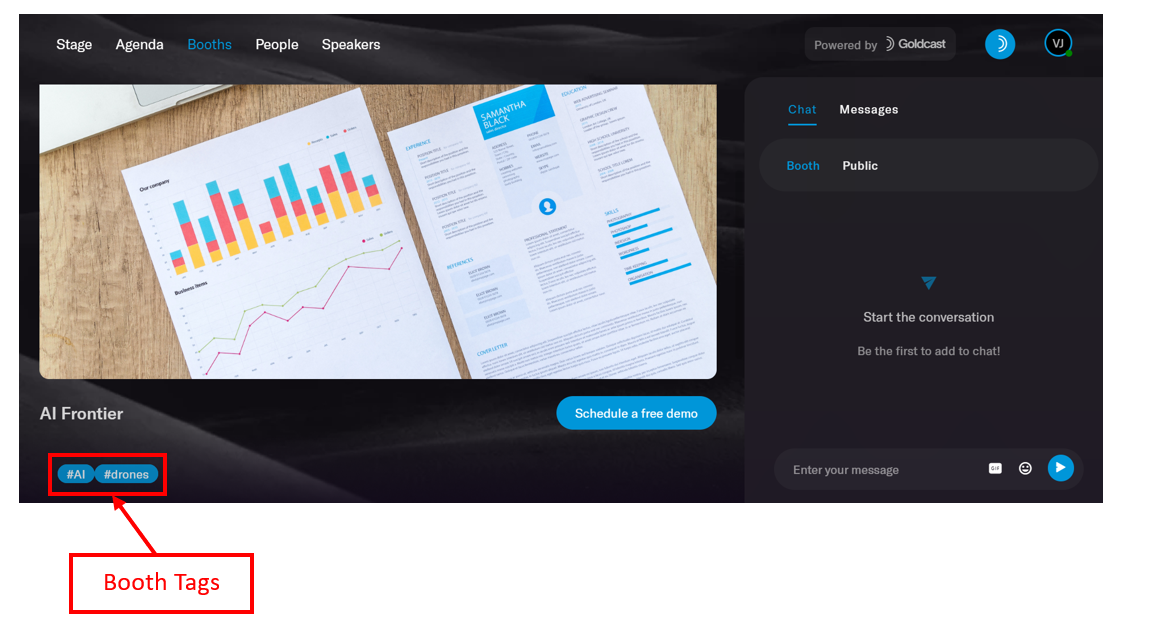
You can also include marketing hashtags to display below the booth cover image. It’s not necessary to prefix the # symbol before the tag, as it’s automatically added. If you’re including more than one tag, separate each with commas (,).
Custom CTA
Adding a custom CTA allows event attendees to request additional information, schedule a meeting with your team, request a product demo, etc. After the event, your event organizer can provide a list of the attendees who clicked your CTA.
You can customize the CTA and the confirmation message that appears after the CTA is clicked.
- Turn on the Custom CTA toggle.
- Add the CTA button text.
- Include a confirmation title and the confirmation message
Booth Rooms

You can add rooms inside booths, which allow a booth representative to connect on video with event attendees.
To add rooms:
- Enter a room name
- Select the room capacity
- [Optional] Include a cover image and tags
Resources
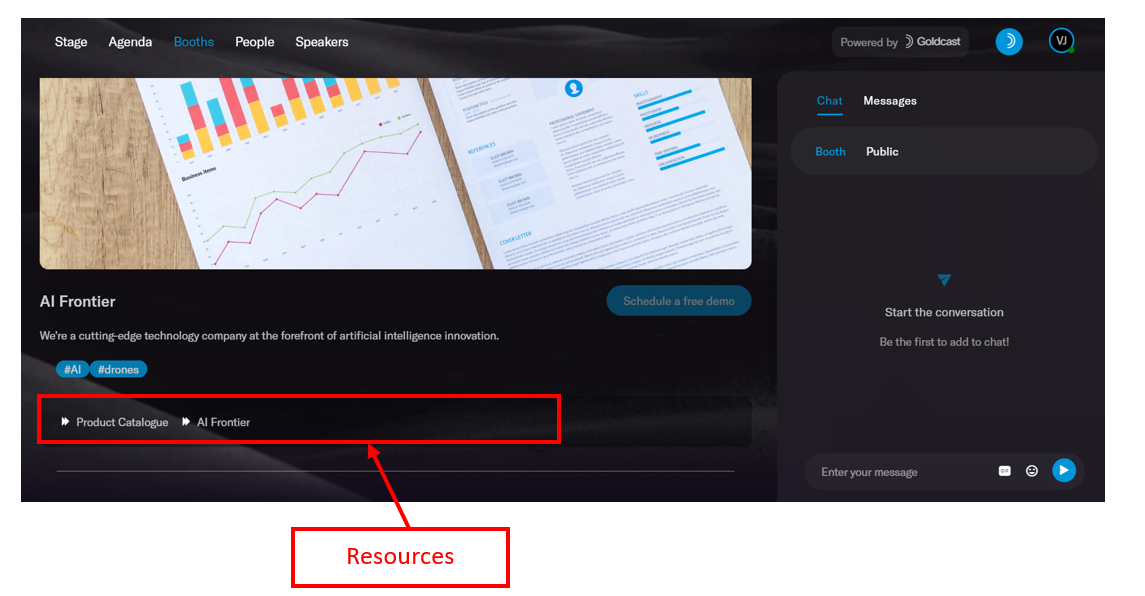
You can also upload supplemental materials for booth visitors to download or save. These can be URLs or files.
To add a booth resource
- To upload a document, select +Add File, select your file, and give the document a name.
- To add a URL, select +Add URL, copy-paste it, and give the resource a name.
- To remove a resource, click on the resource in the list and click Remove.
Wrapping up
Once you've updated all booth details, click Save. You can now close the browser window. If you want to make any further edits to the booth, you can always use the sponsor invite link the event organizer shared initially.
That’s it. Your booth is now ready to welcome and engage with attendees on event day. Make sure to use the magic link (that you received during registration) to access the booth on event day.