Table of Contents
Goldcast has released a new self-service vanity URL feature that allows you to connect personalized domains to your organization and build vanity URLs for your event pages.
However, this release doesn’t automatically migrate existing custom domains to the new self-serve feature. This means you won’t see your currently active custom domains in your new Page Domains list, and you can't use them to build a vanity URL with our self-service UI.
Heads Up! This doesn’t mean that your existing vanity URLs won’t continue to work. They will continue to work as expected, and you can use them for new events by contacting Goldcast Support.
This drawback is because we rely on a new infrastructure for handling custom domain connections and routing, which requires new records to be set on your DNS server. We understand this might be a challenge, and we want as many customers as possible to benefit from our new Vanity URLs feature. So, in this article, we walk you through how you can migrate your existing custom domains onto our new solution.
Migrating an existing custom domain
Risks - Temporary downtime
The first step of the migration process is to update the CNAME record on your DNS system with a value that points to our new infrastructure (detailed steps below). The CNAME record is a value on your DNS system that says that your subdomain is an alias for goldcast.io and forwards people to our server to load the pages they are looking for.
Updating this CNAME record temporarily breaks the connection between your domain and our servers. Simply put, all vanity URLs that use the domain you are migrating will experience temporary downtime. The downtime starts when you first update your domain’s CNAME record on your DNS system. Each vanity URL will be up again once you’ve re-created it using our self-service vanity URL builder in the Goldcast Studio.
Migration steps
Below are the steps needed to migrate an existing custom domain onto our new solution:
- Make a note of all your Goldcast events & pages that have a Vanity URL containing the domain you want to migrate. In Step 9, you’ll have to rebuild all these pages’ vanity URLs using our new UI. To make that step easy, you will want to have a clear list of all pages relying on the domain being migrated and the URL of each of those pages.
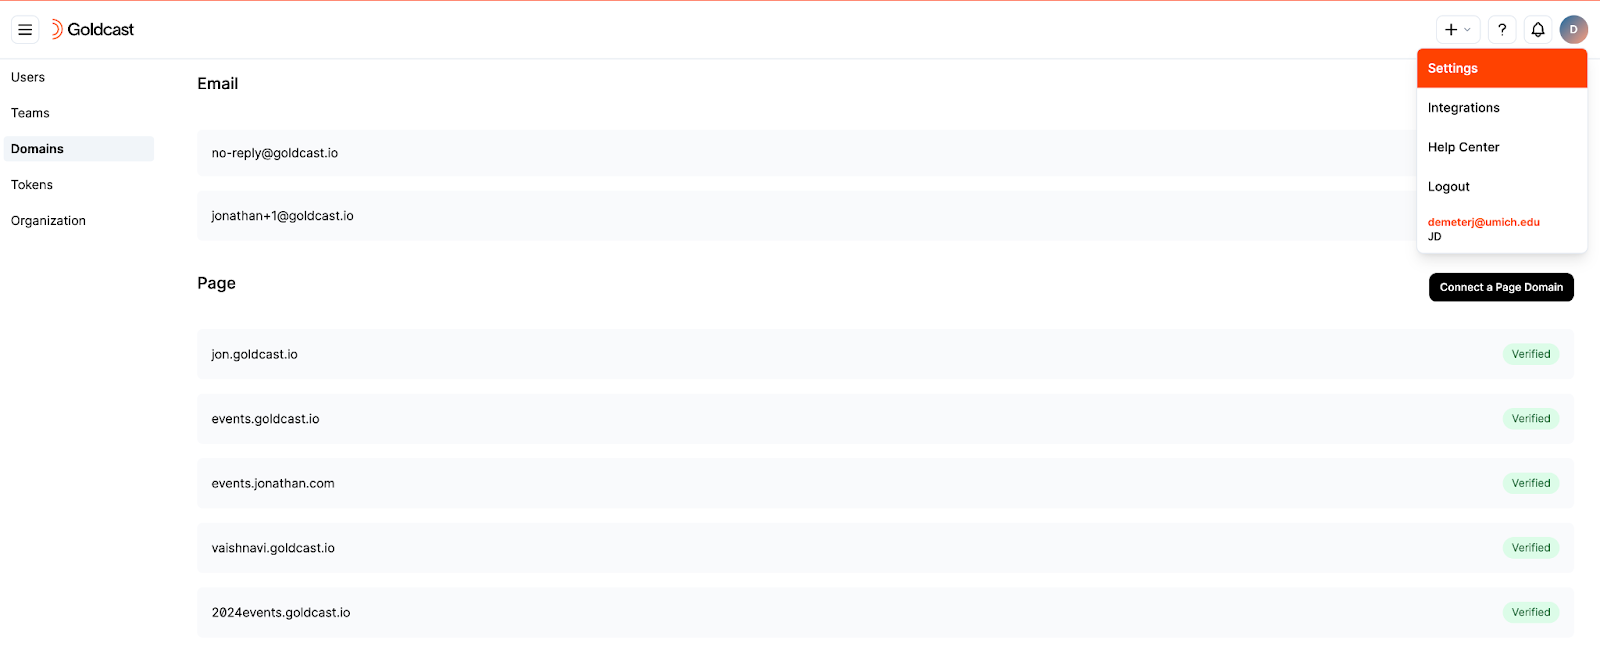
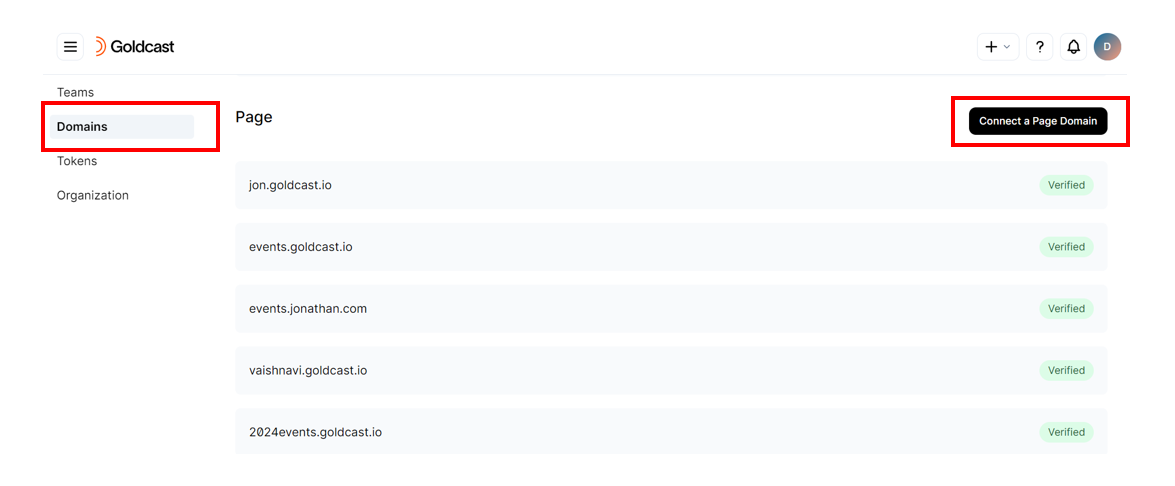
- Log in to Goldcast Studio, navigate to your organization’s Settings, and then to the Domains tab. You will need to reconnect your domain using our new workflow.
- Click Connect a Page Domain and enter the domain you want to migrate.
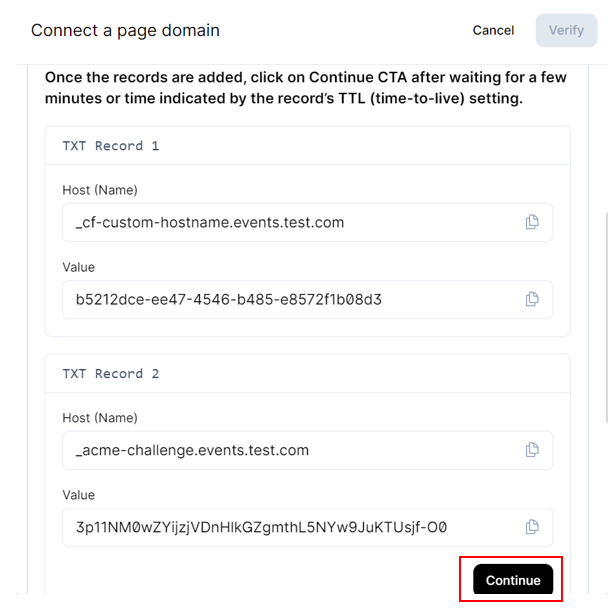
- New TXT records will be generated for our new solution’s infrastructure. Add the new TXT records to your DNS system. Your DNS system can have multiple DNS records, so don’t worry about removing the records from the previous connection. It’ll be good to keep as a fallback.
- Go back to Goldcast Studio and click Continue. If the TXT records were added correctly and given time to propagate (which, in some cases, can take 24-48 hours, often much less), clicking Continue will move you to Step 2: Update your CNAME records.
- Update your DNS system’s CNAME record with the new value provided. You should keep track of the old CNAME value before replacing it with the new one. This is helpful if you run into trouble and want to revert to the old solution.
- After the CNAME record is updated on your DNS system, the downtime for all vanity URLs using that domain will begin.
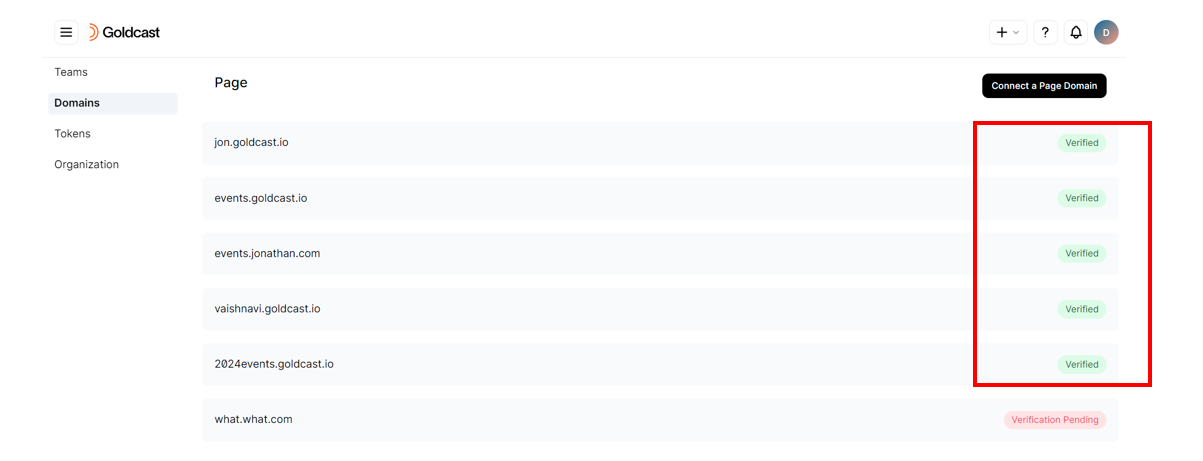
- 1-2 minutes after you update your CNAME record on your DNS system, you should be able to Verify your domain in Goldcast successfully.
- Once verified, you can use that domain to recreate the vanity URLs for your pages.
- Consult your list from step 1, go to each page in your Goldcast Studio, and recreate its Vanity URL using our new self-serve UI. Once re-created, that page’s Vanity URL will be working again.
For event pages, you will only need to select the domain. For registration & hub pages, you’ll need to choose the domain and write in a slug to match your previous vanity URL. For help using our new solution, refer to Setting Customized Vanity URLs.
If you have questions or concerns about this process, please don’t hesitate to contact Goldcast Support at support@goldcast.io.