Table of Contents
Tip #1: Customize the calendar hold
Calendar invitations for events spanning multiple days or sessions block off the entire event duration from start to finish. However, you can contact our Support Team (gc.support@cvent.com) to modify the calendar holds according to your session’s scheduled start and end times.
Please remember that our team requires a minimum of 48 to 72 working hours to process your request. Therefore, we recommend you submit your requests well in advance of your event.
Tip #2: Use Content Lab to share session recordings
Multi-day events go into on-demand mode only after the entire event is over. As a result, your audience can view past session recordings only after all sessions are over on the last day.
However, if you want to share session recordings before that, you can use Content Lab, our AI-powered video repurposing tool. Upload the session recording in Content Lab and share video clips, multi-modal social posts, blog posts, emails, takeaways and more on your social channels or elsewhere.
Alternatively, you can create a booth to share past session recordings. This way, attendees do not have to wait till the event is over to view on-demand recordings of past sessions.
Tip #3: Create an information booth to share resources across sessions
The Docs tab in the engagement panel allows you to share resources and URLs with attendees. However, this tab is specific to each session.
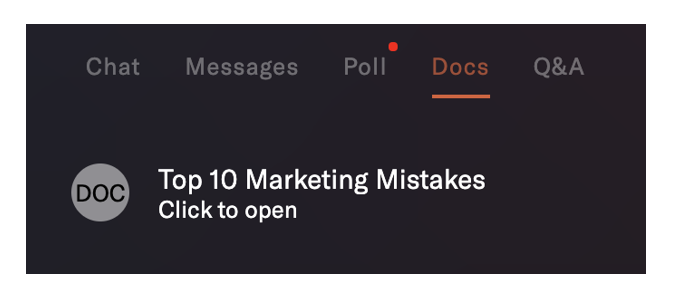
Consider creating an information booth for seamless and uninterrupted access to resources throughout the event. Title it “Information Booth/Resources Booth,” and upload the required resources. This ensures that the booth is visible on the top navigation tab throughout the event, and attendees can view and download the shared resources anytime during the event, irrespective of the session they’re attending.
Tip #4: Add track selection to the registration form
Include a track selection field in the registration form if your event has multiple tracks. This makes it convenient for attendees to choose their preferred tracks while registering for the event. Check out this step-by-step guide on how to add track selection to your registration form.
Tip #5: Pre-assign attendees to tracks
For events with multiple tracks, you can send a support ticket to pre-assign attendees to specific tracks. This can be particularly useful for events where tracks are not restricted. By doing this, you can ensure that a balanced number of attendees are assigned to each track before the event begins. Once the event starts, attendees will have the flexibility to switch tracks based on their preferences.
Tip #6: Add speakers directly to their session(s)
Here’s a quick time-saver for events with multiple speakers. Instead of adding speakers to the speaker tab and then assigning them to specific sessions, you can add speakers directly to their sessions by following these steps:
Once you’ve created the event and set the agenda:
- Navigate to Program → Agenda, and click your preferred session.
- In the Edit Session Details drawer, scroll to the Speaker section and select + New Speaker.
- Enter the speaker details, and click Save.
This method adds speakers directly to the session, which is a huge time-saver, especially when you have multiple speakers and sessions.