Table of Contents
This guide explains how to create and set up a multi-day/multi-session event with tracks, rooms and booths.
Overview
In Goldcast, any event that has more than one session is categorized as a multi-session event. These sessions can be on the same day or several consecutive days. In Goldcast, multi-session events take place on a single event URL, making it easy for attendees to access all the sessions with a single magic link. Multi-session events are best suited for web conferences, workshops, summits, product training, product launches, and so on.
How to create a multi-session event
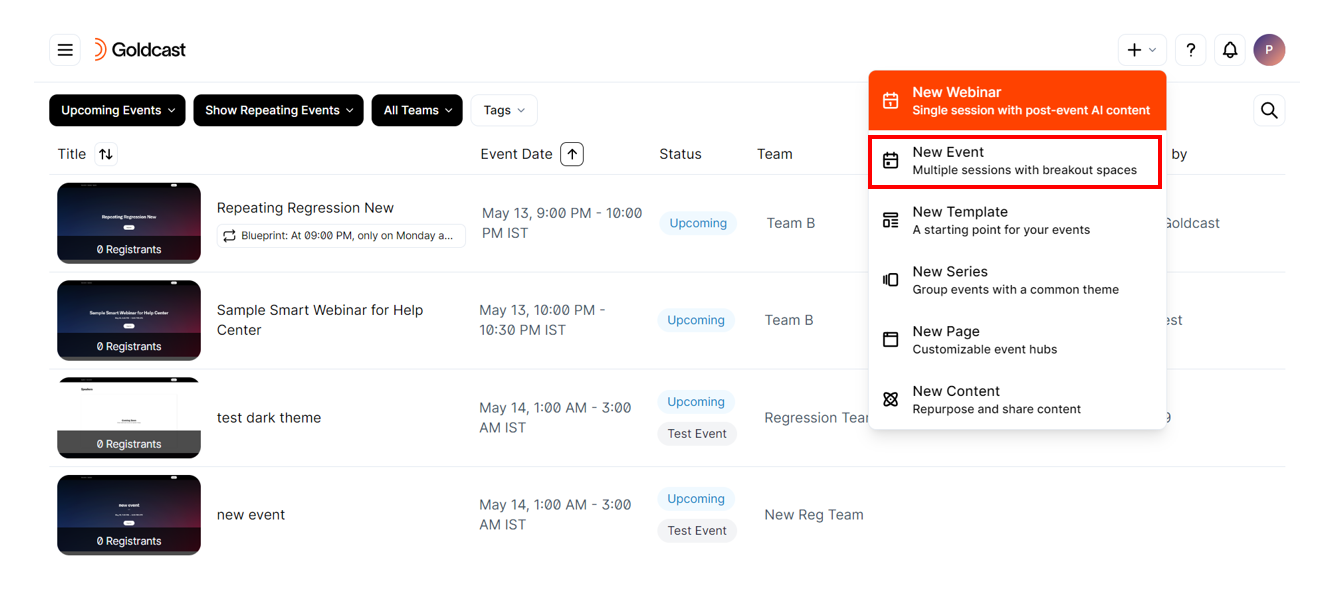
Creating a multi-session event is similar to creating a single-session event. Log in to your Goldcast account, click the + icon at the top right, and select New Event. Alternatively, you can also click the New Event button on the homepage.
Enter the basic event details:
- Team: If your Goldcast account has teams enabled, you must choose the team you want to assign to this event.
- Title: The event’s name. You can edit it later via the event dashboard.
- Date and time: Select multi-session and specify the event duration. Select the date, start and end time, and time zone, and click OK.
- Template: Choose an event template that matches your branding requirements.
- Event Type: For digital events, select Virtual. If required, you can enable a waitlist for registration.
Turn off the Test Event toggle, and click Create Event.
Building your event’s agenda
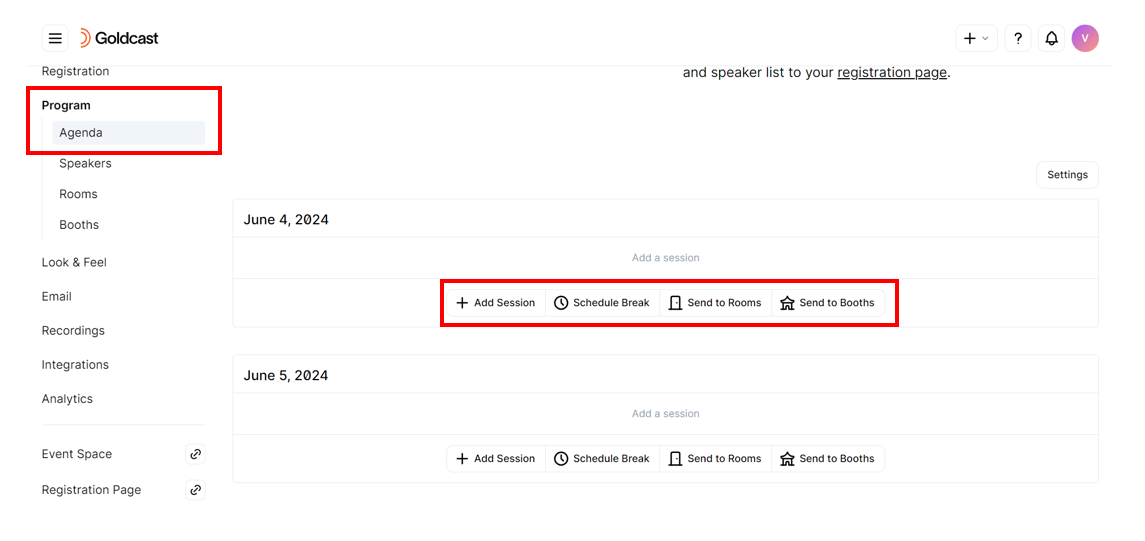
Once Goldcast creates the event, you’ll land inside the Event Dashboard. From there, navigate to Program → Agenda using the left side menu to add sessions, rooms, and booths to the schedule.
For detailed step-by-step instructions, refer to our Guide on Setting Up Your Event Agenda.
Add sessions
You can add multiple sessions to your Goldcast event. Attendees are automatically registered for all sessions when they submit the registration form. They can attend one, many or all sessions per their preference, using their unique magic links.
Sessions can be scheduled at different times, back-to-back, simultaneously, or even on various dates - there are no restrictions.
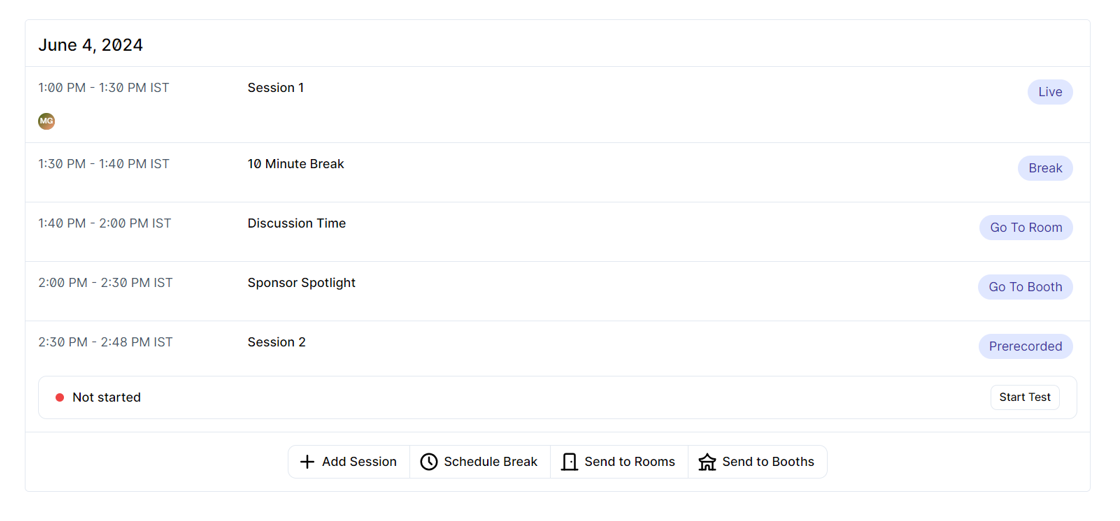
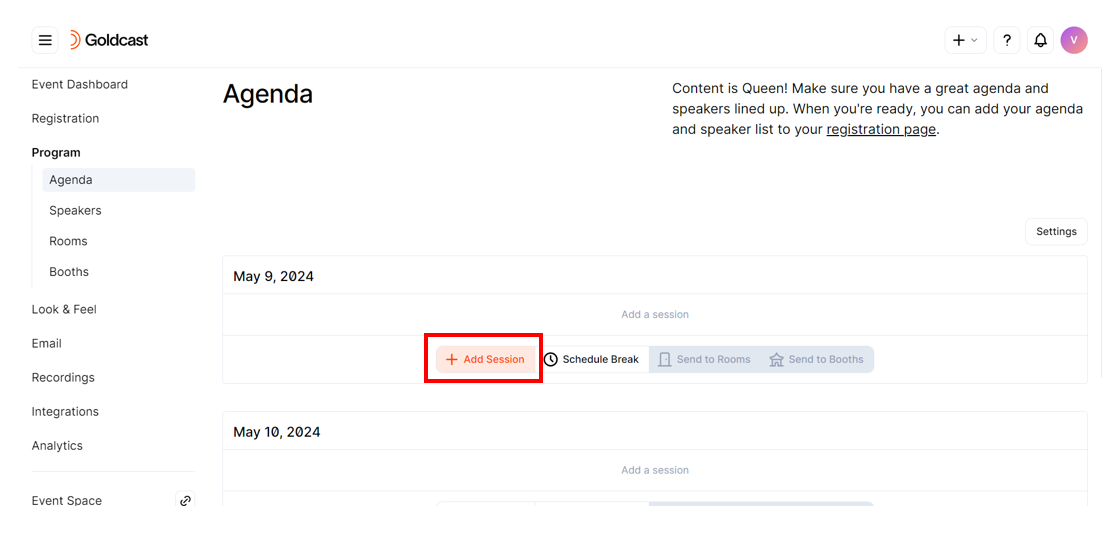
Sample event agenda with sessions, breaks, rooms, and booths
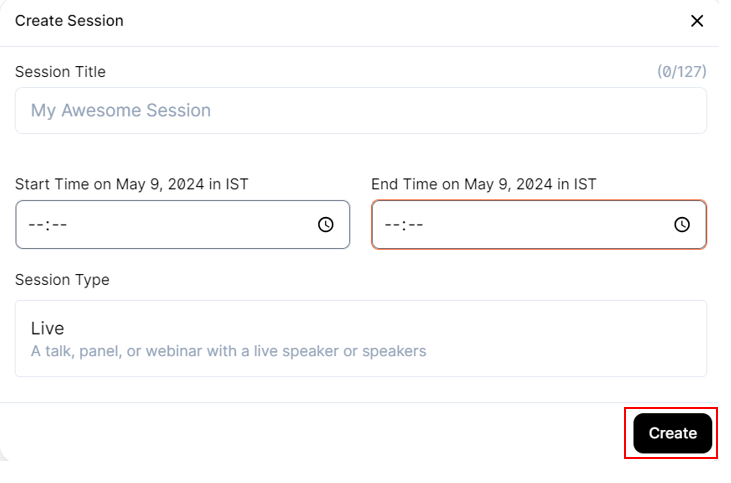
To create a session, navigate to Program → Agenda and click + Add Session.
Enter the Session: Title, Start and End Time, Type: Live, Pre-recorded, or RTMP, and click Create.
Click on each session to add assets like:
You can also modify session settings like Q&A, Audience Count, and RTMP Out via this drawer.
Add rooms (optional)
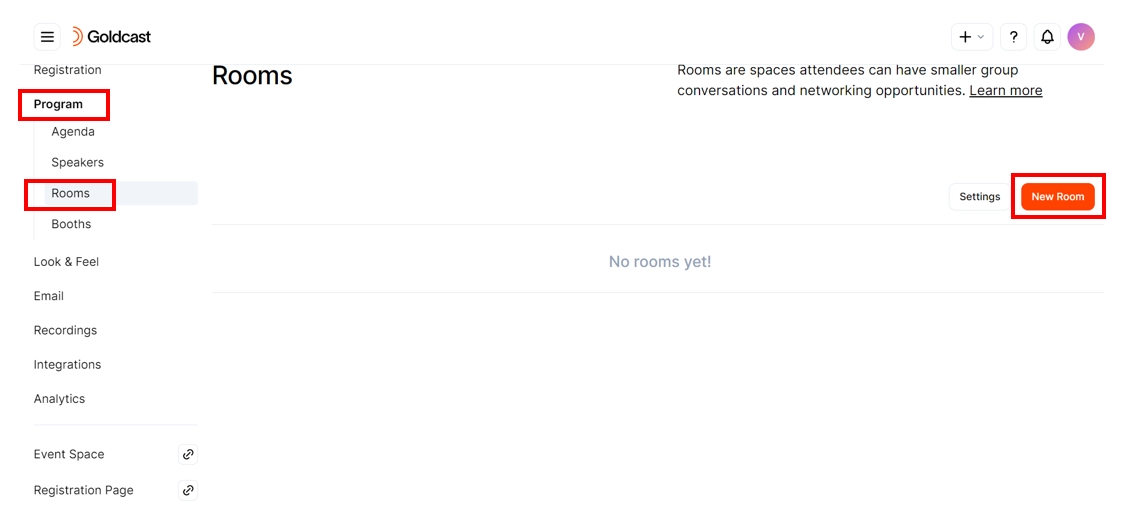
Rooms are virtual spaces in the Event where attendees can have smaller group conversations and build their networks. To add a room, navigate to Program → Rooms and click the New Room button.
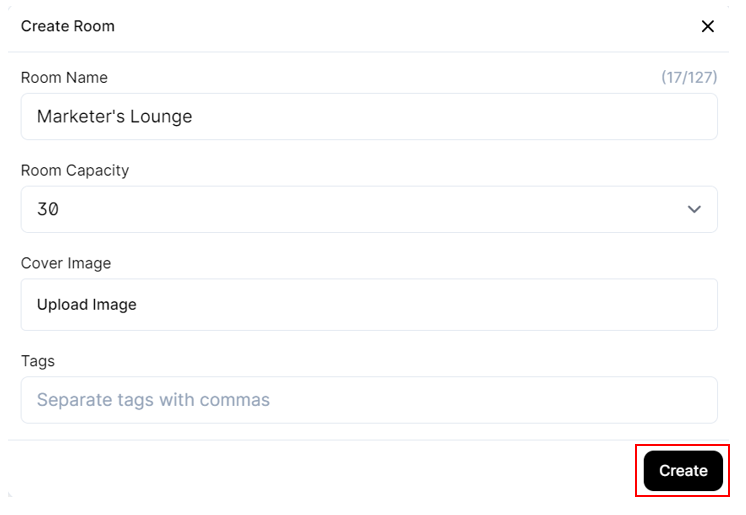
Enter the Room Name and Capacity, add a Cover Image (Optional) and Tags (Optional) and click Create.
To learn more, refer to our guide on How To Create Rooms.
Add booths (optional)
Booths provide an opportunity for your attendees to engage with event sponsors. You can also use booths to share content about your company, products, or services. An event can have a maximum of two booth tabs.
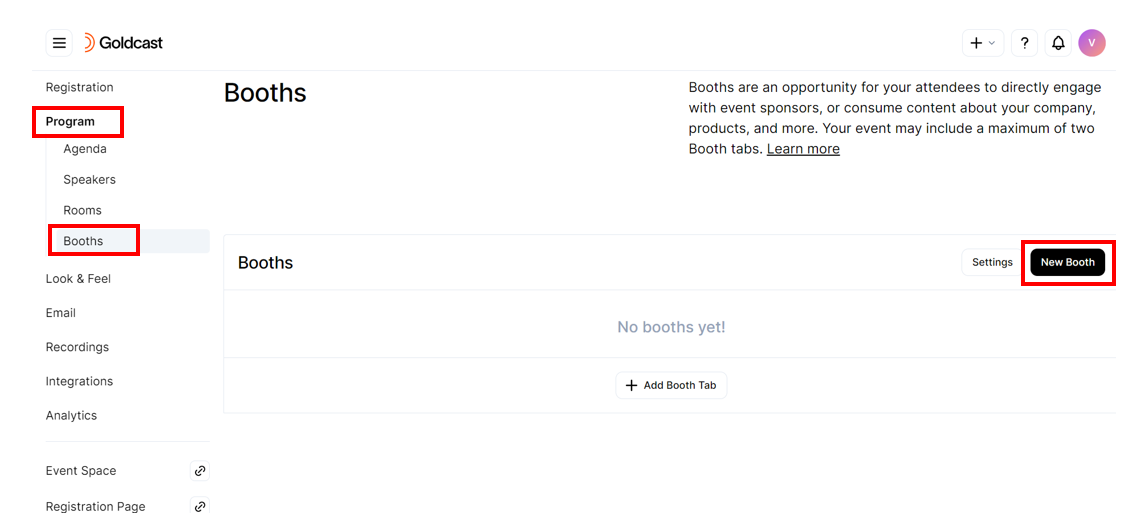
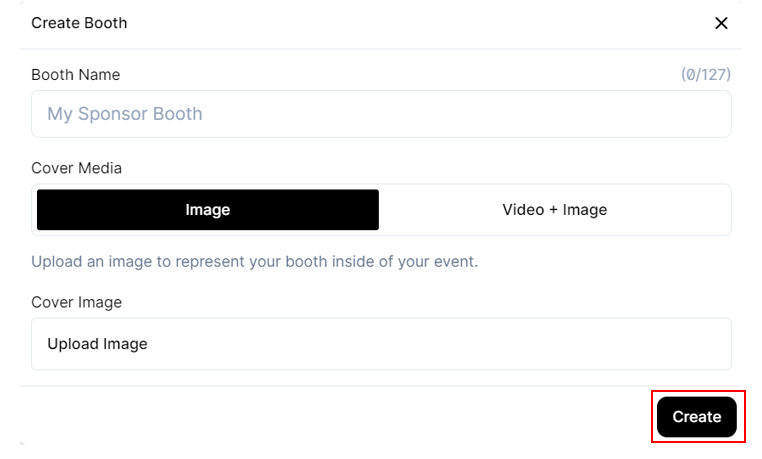
To add a booth, navigate to Program → Booths and click the New Booth button. To learn more, refer to our guide on How To Create Booths.
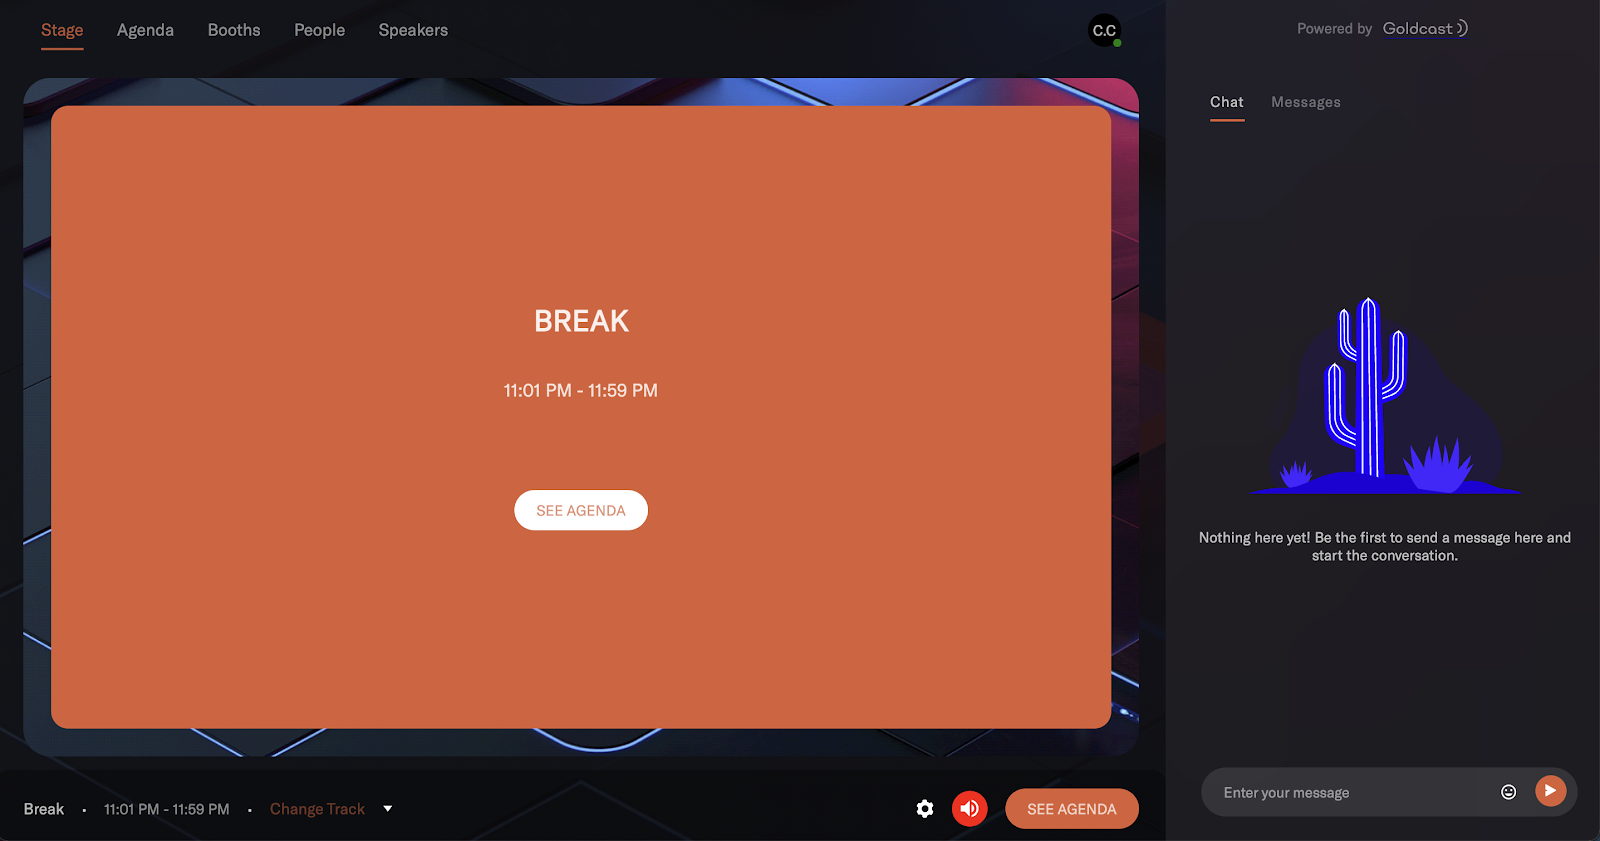
Add breaks (optional)
Adding short breaks between sessions allows attendees to grab a snack, hydrate, use the restroom, and avoid screen fatigue without missing any action.
To add a break between your sessions:
- Navigate to Program → Agenda and click the Schedule Break button.
- Add the title, start and end time, and description (optional).
During the break, the buffer video (if you’ve added it) will play onstage. If there’s no buffer video, a slide will appear onstage, indicating attendees know a Break is in progress.
Set session redirection strategy
Once you’re done creating and adding sessions, the next step is to set the session redirection strategy. Goldcast offers two choices:
- Automatic: In this method, sessions start and end at scheduled times.
- Manual: Here, you’ll have to manually start and end sessions.
The default session redirection strategy is automatic. To change it:
- From the event’s dashboard, navigate to Program → Agenda.
- Click the Settings button, and change the redirection strategy to manual.
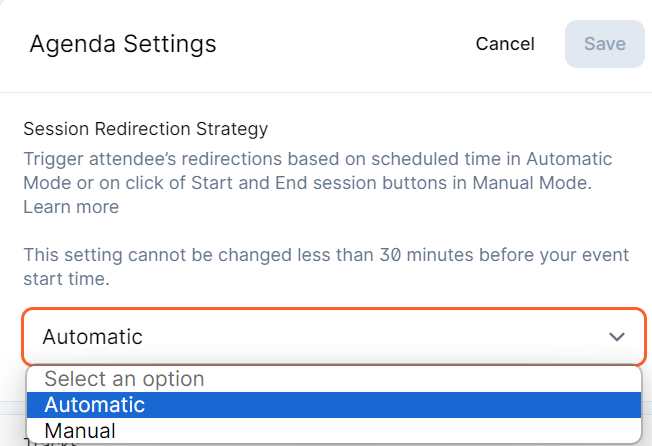
Note: You cannot change the redirection strategy 30 minutes before the event. To learn more, refer to How Do Session Redirections Work.
Create and assign tracks (optional)
You can also assign each session to one or more tracks. Tracks make it easy for attendees to filter available sessions based on their preferred topics and choose which session to attend when multiple ones happen simultaneously.
To create a track:
- From the event’s dashboard, navigate to Program → Agenda.
- Click the Settings button, and click Add Track.
- Enter the track name and reorder as required.
- You can create as many tracks as needed.
- Click Save.
To assign tracks to sessions:
- From the event’s dashboard, navigate to Program → Agenda.
- Click the session you want to edit, and select the preferred tracks.
- Turn on the All Tracks toggle to make the session available to all tracks.
For detailed information, refer to When and How To Create Tracks, Restricting a Track to Certain Attendees, and Adding Track Selection to Your Registration Form.
Pro Tip: Once you’ve built all of your sessions, customize the rest of the event information like registration, look & feel, email, and integrations. For a step-by-step guide, refer to Steps 2 to 10 here.
Driving Engagement in Your Event
Boosting engagement helps maintain attendee attention and makes your sessions more interactive and valuable. Use the following Goldcast features to enhance your multi-session events:
- Rooms – Enable small group networking by setting up virtual breakout rooms. Attendees can join based on their interests or topics.
- Booths – Highlight sponsors or your own products with interactive booths. Booths can include videos, chat, and downloadable resources.
- Tickers – Display scrolling banner messages during sessions to share real-time announcements, links, or interactive prompts.
- CTAs (Call-To-Actions) – Prompt attendees with buttons for key actions like “Visit Sponsor Site,” “Request a Demo,” or “Download Slides.”
These tools help keep attendees active throughout the event and improve retention across multi-session timelines.
Extending the ROI of Your Event Through Content Strategy
After the live sessions end, use content repurposing strategies to extend the value of your event. Goldcast offers tools to streamline this process:
- Content Lab – Automatically generate video clips, blog post drafts, takeaways, and emails from recorded sessions. Perfect for social media and follow-up campaigns.
- Agentic Video Editor – Use chat-based commands or editing “recipes” to trim sessions, add captions, and generate polished highlight reels.
- Goldcast Video Hub – Publish recorded sessions in a branded on-demand library. Great for long-tail lead generation and SEO.
Pro Tips
- Use Content Lab mid-event to share Day 1 highlights before Day 2 begins.
- Create recap videos to keep attendees engaged post-event.
- Embed your Video Hub on your website or link to it in follow-up emails.